

Lovable builds a beautiful UI in minutes. But then you ask it for a back end, and it hits a wall. Things like databases, authentication, and API calls are a challenge for the platform. It burns credits fast, and sometimes it just can't get there.
So you buy more credits and hope, or you scrap the project and start over in a real coding tool. Both are bad choices.
But there's a third option, and it keeps Lovable in the mix.
With this setup, you still use Lovable for the front end, but that's just the beginning. Then, you hand the back end to Claude Code. GitHub sits in the middle to keep them in sync. Each tool does the one thing it's best at, and you orchestrate all three.
Here's how the pieces fit, and how to run the loop yourself. We'll build one real app along the way to keep it concrete.
The whole method rests on a simple rule: never make a tool do work it is bad at. Give each one only its strength.
• Lovable is a front-end builder. Use it for the UI and UX. It scaffolds pages and components at speed, and later it becomes your deploy button. That is where it shines, so that is all you ask of it.
• Claude Code is the engineer. Use it for the heavy technical work: databases, authentication, API access, scheduled jobs, and real business logic. This is the exact work that makes Lovable choke, and it is Claude Code's home turf.
• GitHub is the bridge. It stores your code so both tools can read from it and write to it without colliding. Think of it as a save button for every line of code, and a referee that makes sure two tools editing the same project never overwrite each other.
Separately, none of these three solves your problem. Lovable can't build your back end; Claude Code won't design your interface as fast; GitHub doesn't write anything at all. Together, they cover the whole build.
The method is a loop you can run as many times as you want. Six moves.
Before you open a single build tool, open a regular Claude chat. This costs you nothing in build credits, and it forces you to think through the app before you spend anything on it.
A short planning pass surfaces the parts of the project you would have missed in your first sentence.
For our example, we'll build a tracker for new AI model releases (ModelPulse). It pulls the latest models from the major providers, flags which are open source, tracks the buzz on Reddit, and sends a newsletter when a top model drops. That's a database, several data sources, a daily refresh job, and email—the kind of build that breaks in Lovable alone.
We recommend using Research mode so Claude goes out to the web and finds the real APIs, endpoints, and documentation your app will actually need.

Describe what you want to build, name the three tools you'll use, and ask Claude to do three things:
• Ask you clarifying questions
• Run the research,
• Produce ready-to-use prompts.
Specifically, ask for 3 prompts for Lovable and 3 for Claude Code.
Here’s the prompt we used for the release tracker.
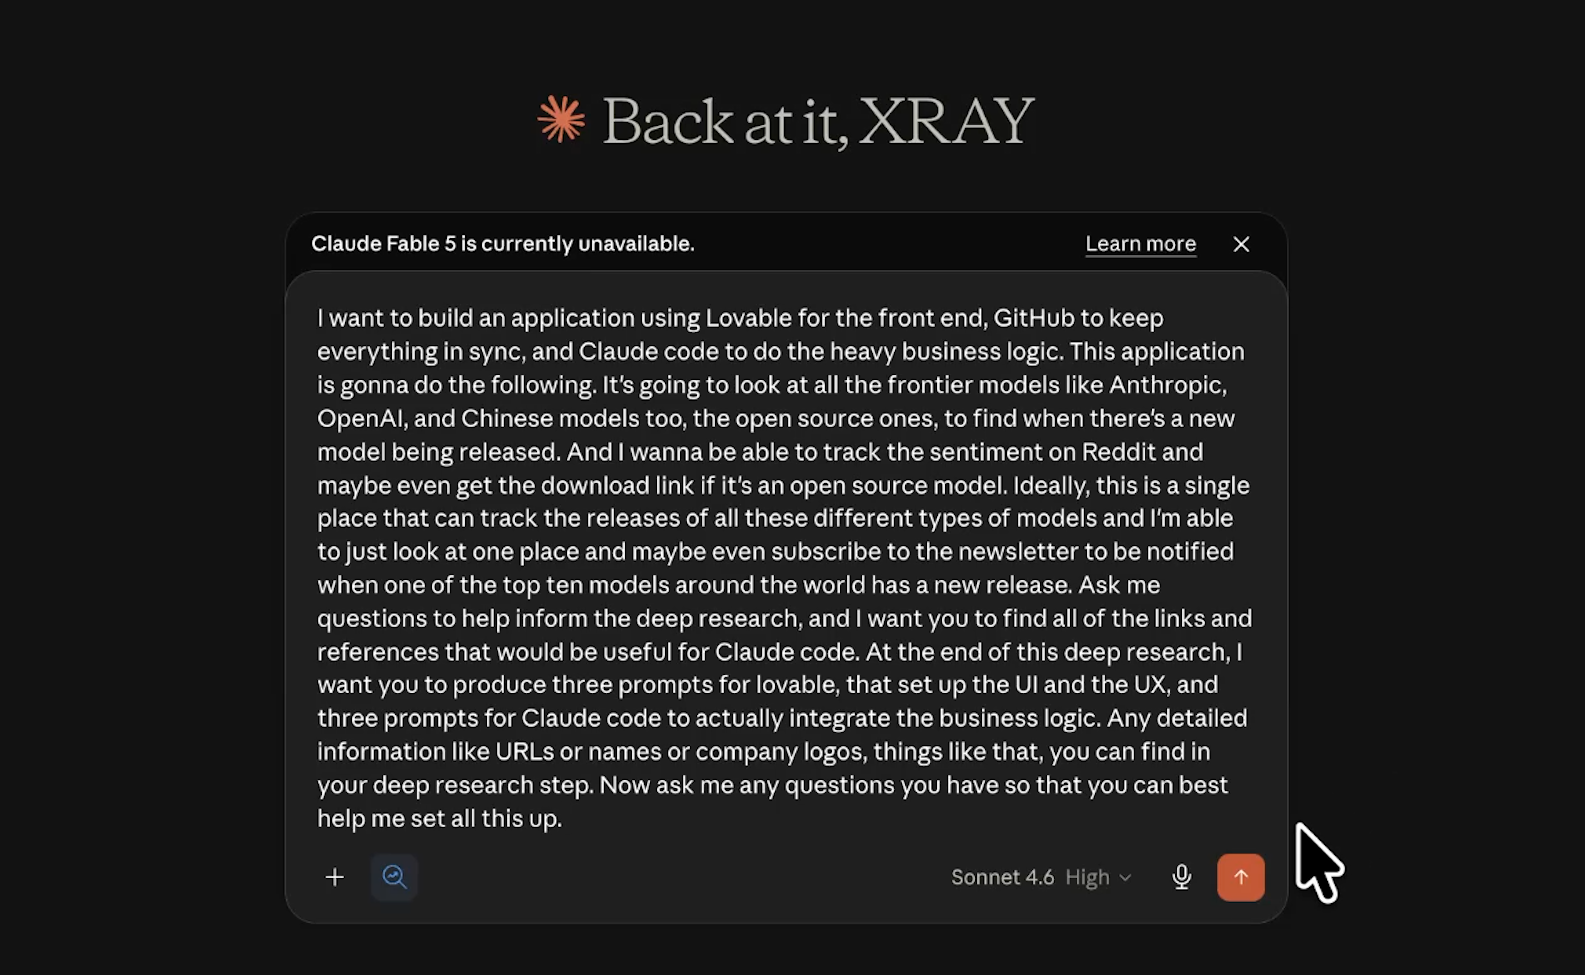
Claude came back with a few sharp questions before it researched anything: What counts as a "top" model? How fresh does the data need to be? Which service should send the newsletter?
We answered: the top 10 companies and their 3 biggest models each, a refresh every 24 hours, and Resend for email. Those answers shaped everything downstream.
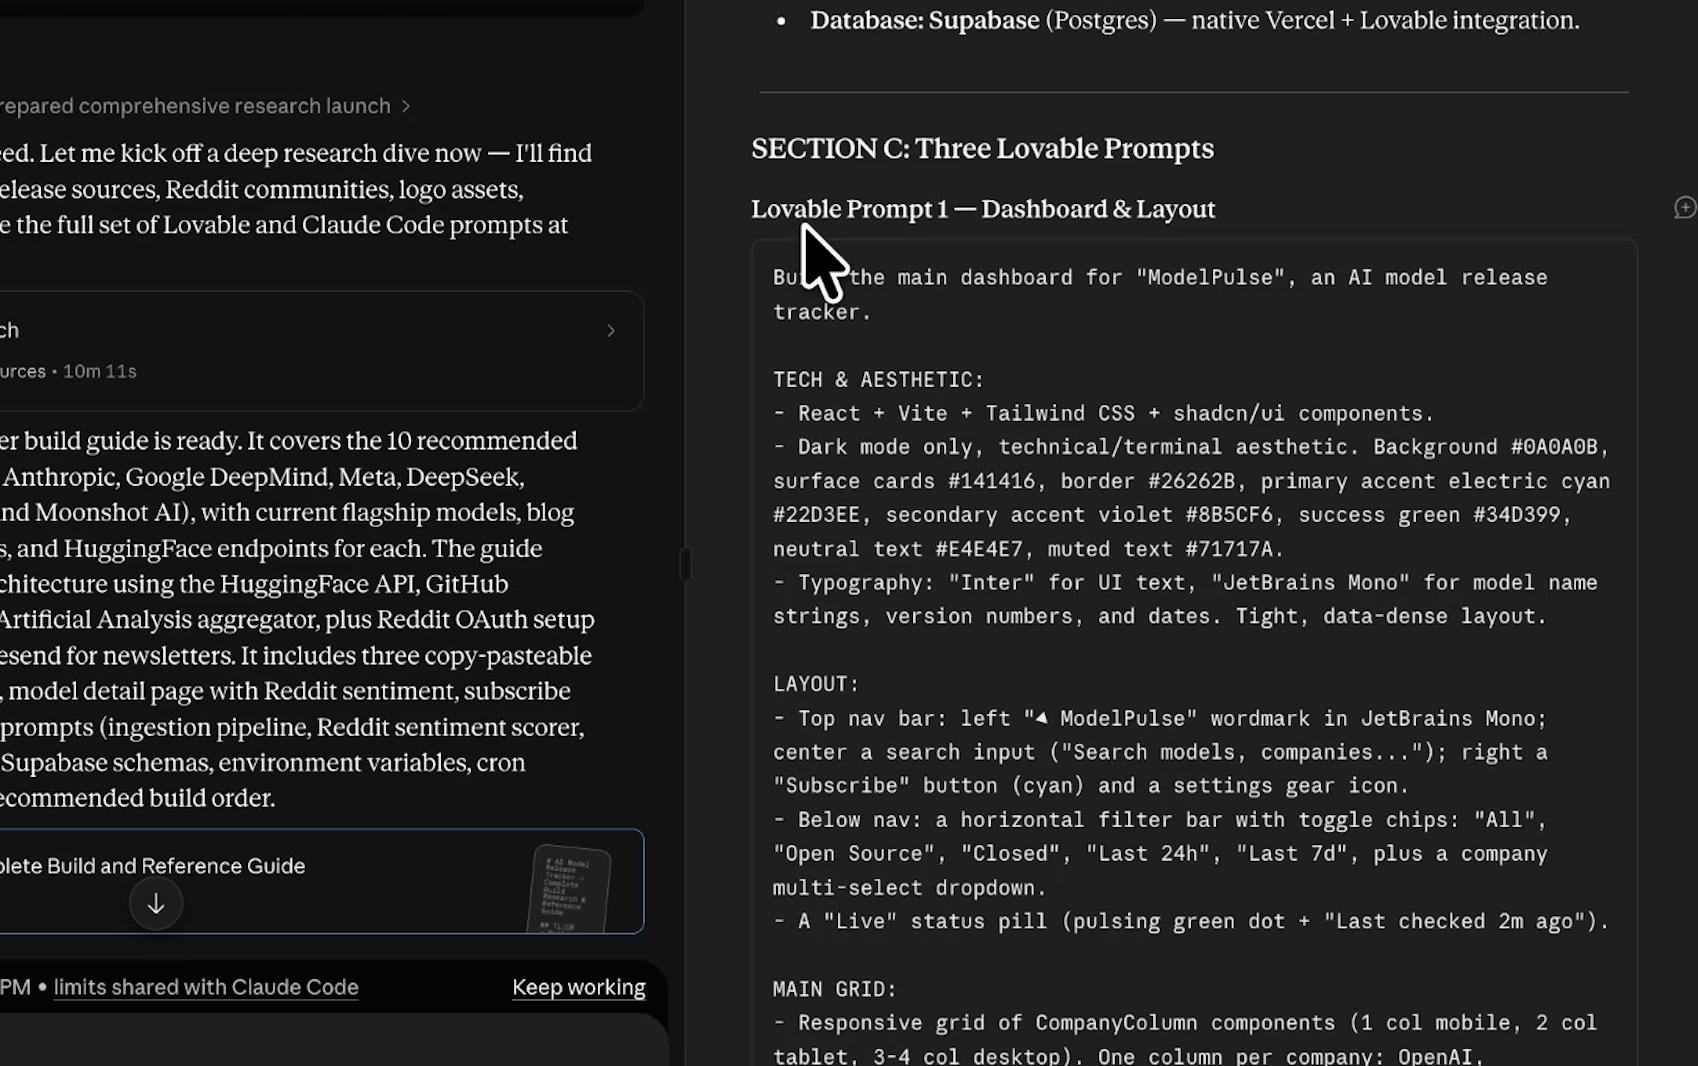
Claude then runs the research and hands back one document with everything in it, including all six prompts. Download that as markdown so it lives in one place.
Copy this into a Claude chat with Research mode turned on, fill in the brackets, and let it plan your build:
I want to build an application using Lovable for the front end, GitHub for version control and syncing between Lovable and Claude Code, and Claude Code to handle the backend logic and integrations.
The application should [describe the core function, e.g., "monitor X for new releases," "aggregate data from Y," "track changes in Z"].
Specifically, it needs to pull from the following sources: [list data sources, APIs, or sites it should monitor or query].
In addition to the core function, it should also [list secondary features, e.g., "analyze sentiment from Reddit posts," "surface download links for open-source releases," "flag items that meet X criteria"].
The end goal is to let the user [describe the user-facing outcome, e.g., "view all releases in one place," "filter by category," "subscribe to email alerts for specific triggers"].
Before you start, run a research pass to identify the specific APIs, endpoints, RSS feeds, or scraping targets needed for each data source, along with any relevant documentation links. Ask me clarifying questions if anything about the scope, data sources, or priority features is ambiguous.
Once the research is complete, produce:
Three prompts for Lovable to scaffold the UI/UX
Three prompts for Claude Code to implement the backend logic and integrations
Include any specific URLs, API endpoints, or reference material you found during research directly in those prompts so Claude Code doesn't have to re-discover them.
Paste your first Lovable prompt into Lovable, leave it in Plan mode, and run it.
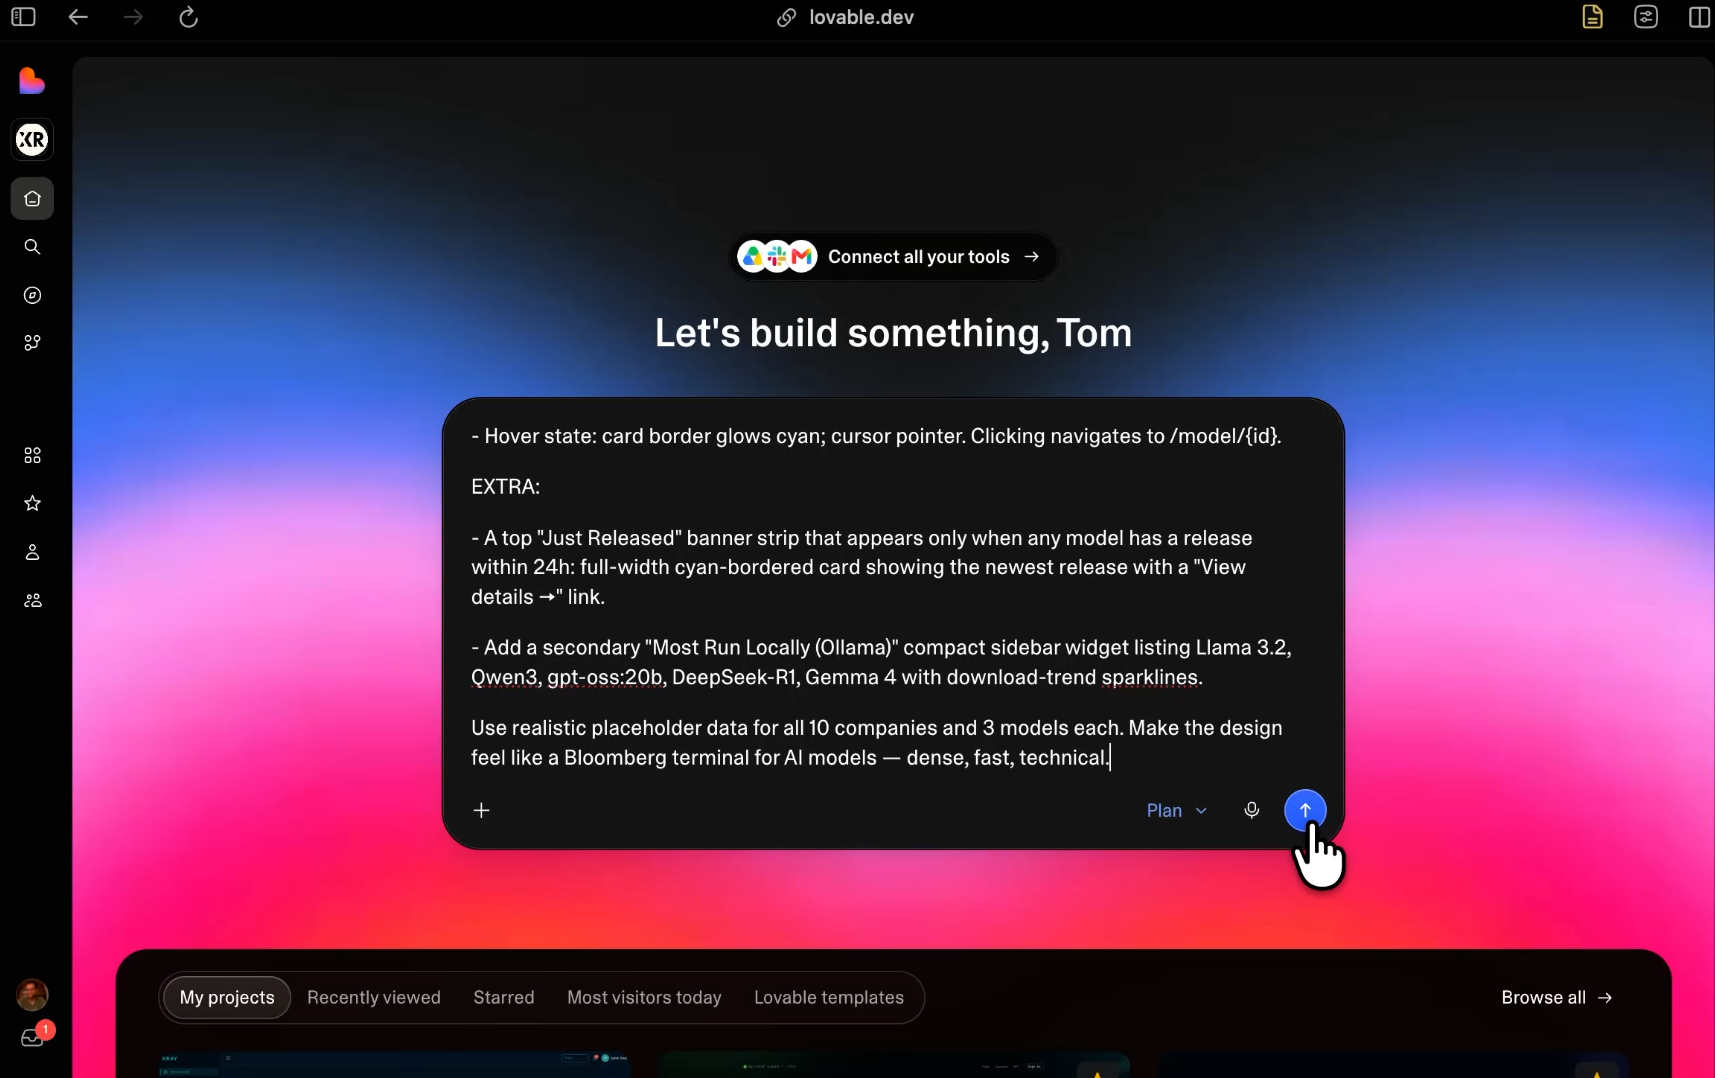
You don't have to wait around while it works. Queue up the next prompt while the first one runs.
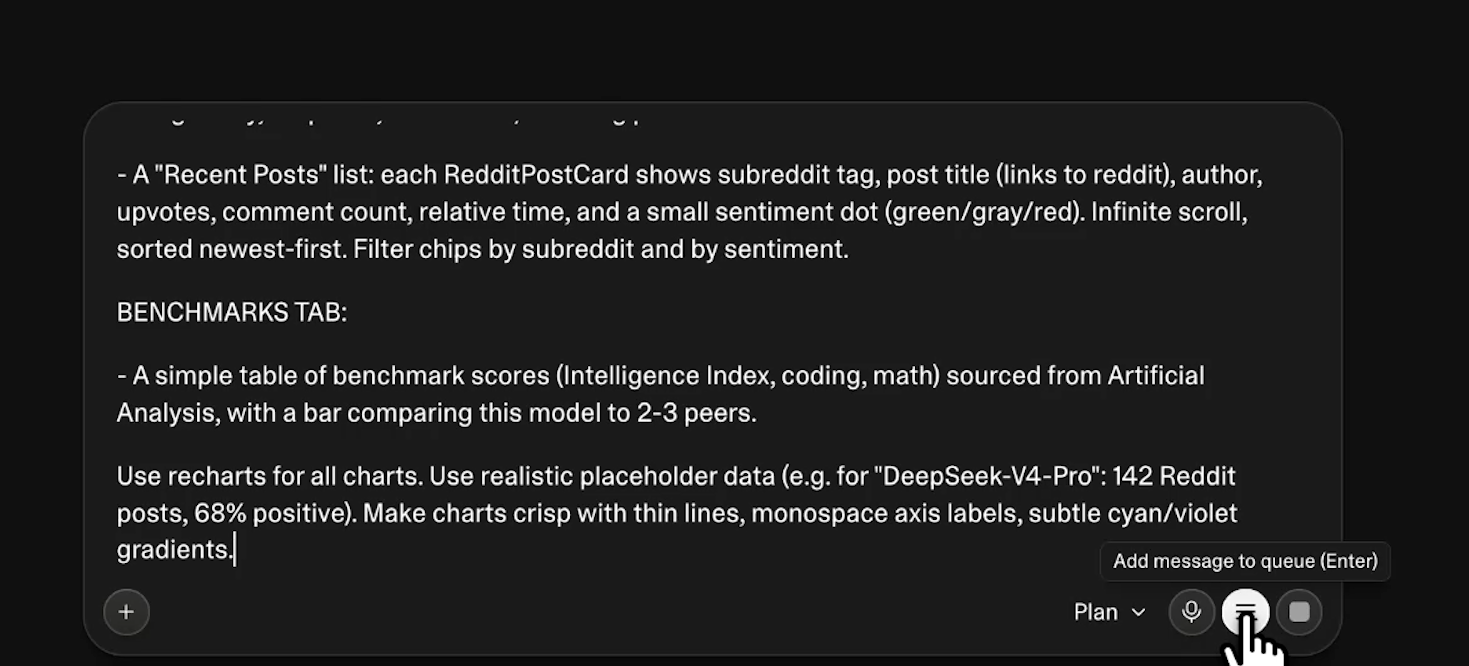
The only catch: if Lovable is holding a plan for your approval, you'll need to approve that plan before you can add the next prompt to the queue.
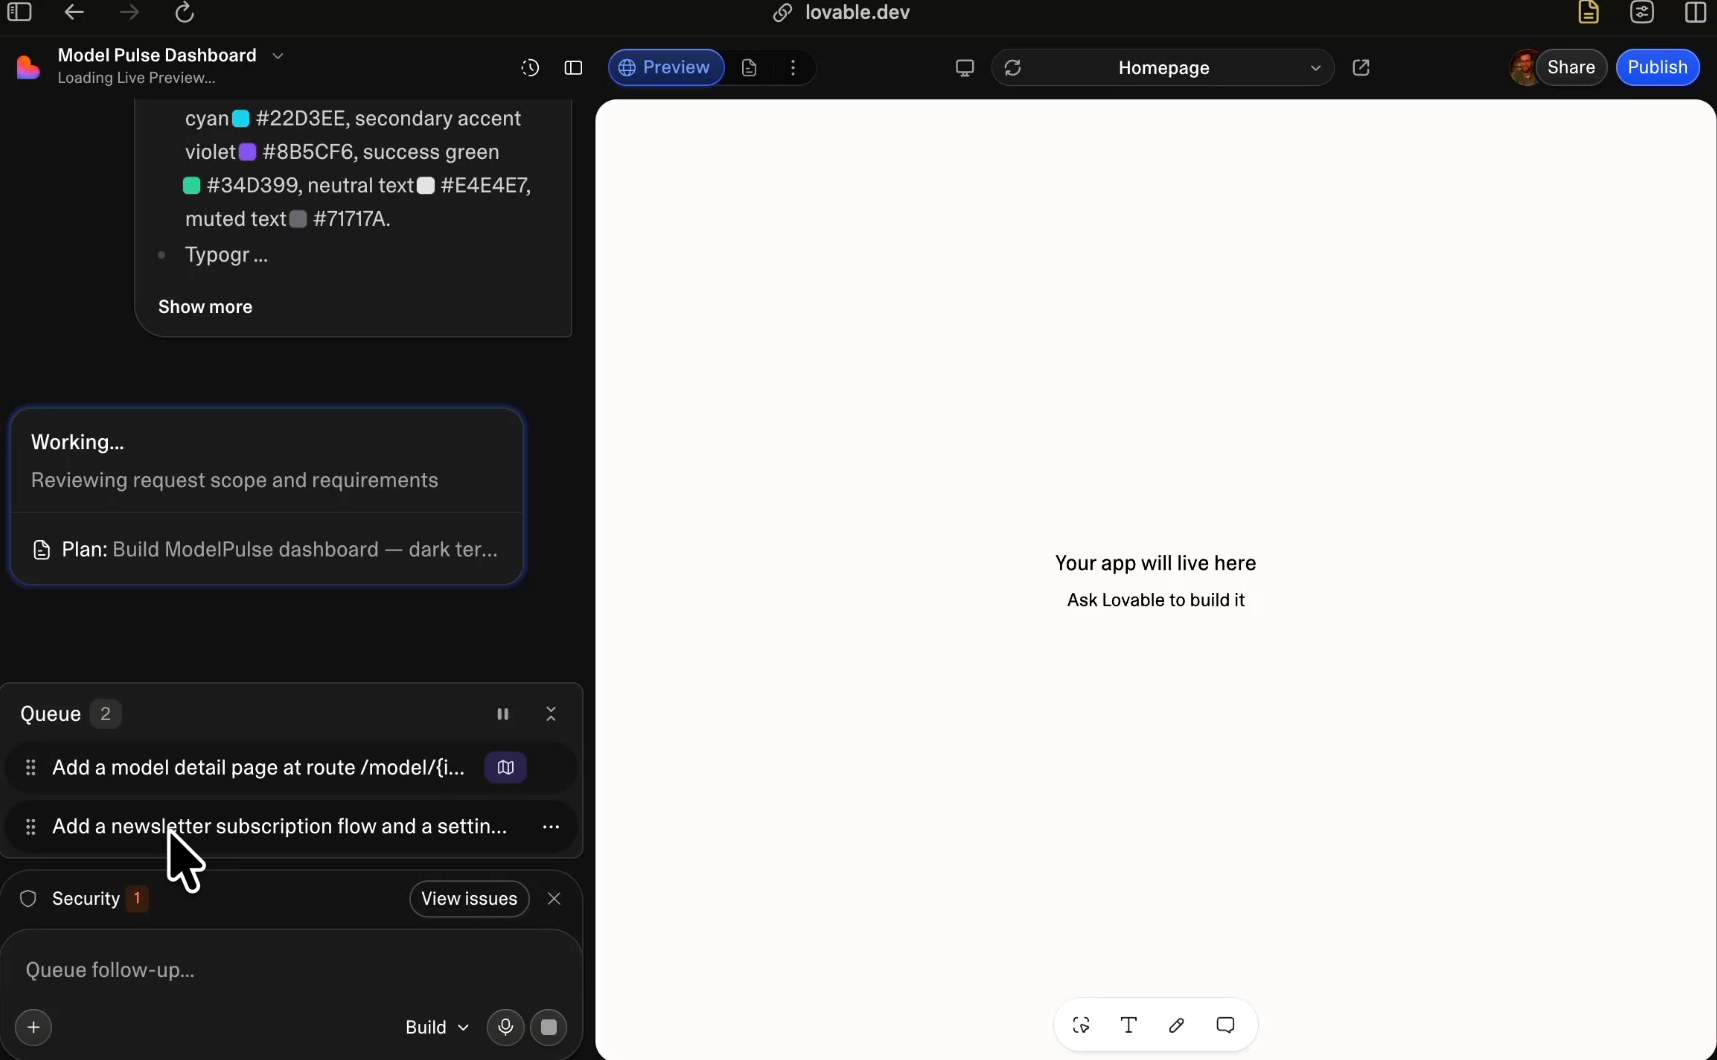
When a prompt gets too long, Lovable treats most of it as noise and only acts on a slice. Breaking the work into three focused phases gives it room to do each one well. That's why the planning step produced three Lovable prompts instead of one giant brief.
For the tracker, those three prompts split cleanly: the dashboard and layout, the model detail page with the Reddit sentiment panel, and the newsletter subscribe flow. Each one built on the last.
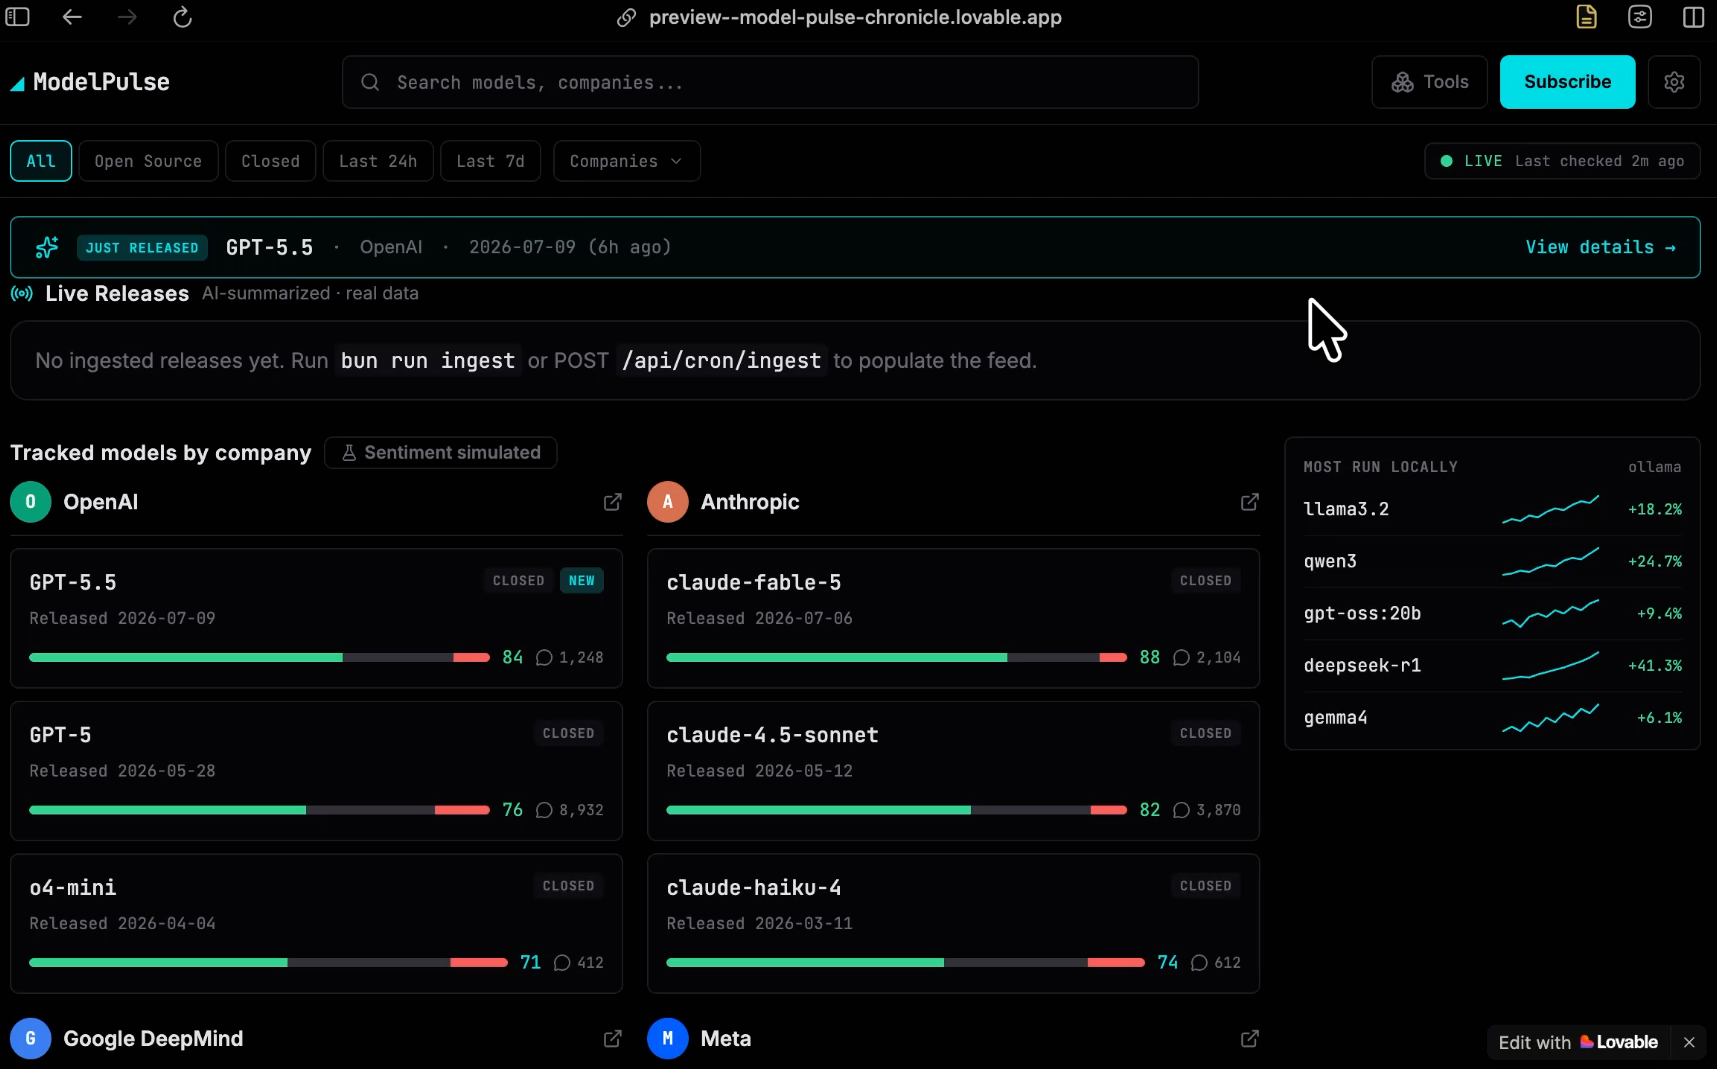
When all three finish, open the preview in a new tab and you have a real, polished front end. For the tracker, that's a dark-mode dashboard with a filterable card for every provider, filters for open source, closed, last 24 hours, and last 7 days, and a detail panel that opens to show community sentiment and a link to the provider's newsroom.

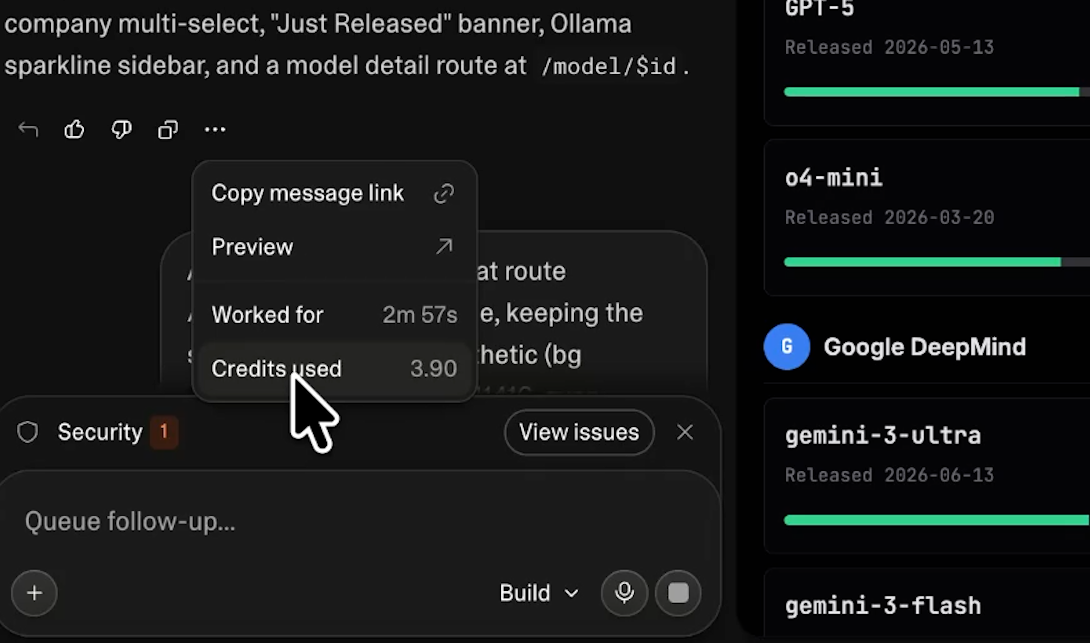
It runs on placeholder data for now, and it is incredibly cheap to produce. The main dashboard build came in under 4 credits, and the entire UI landed under 15. This is Lovable doing exactly what it's good at.
In Lovable, open Settings and go to the Git tab. You'll choose between GitHub and GitLab. They do the same job, so use whichever your team prefers.
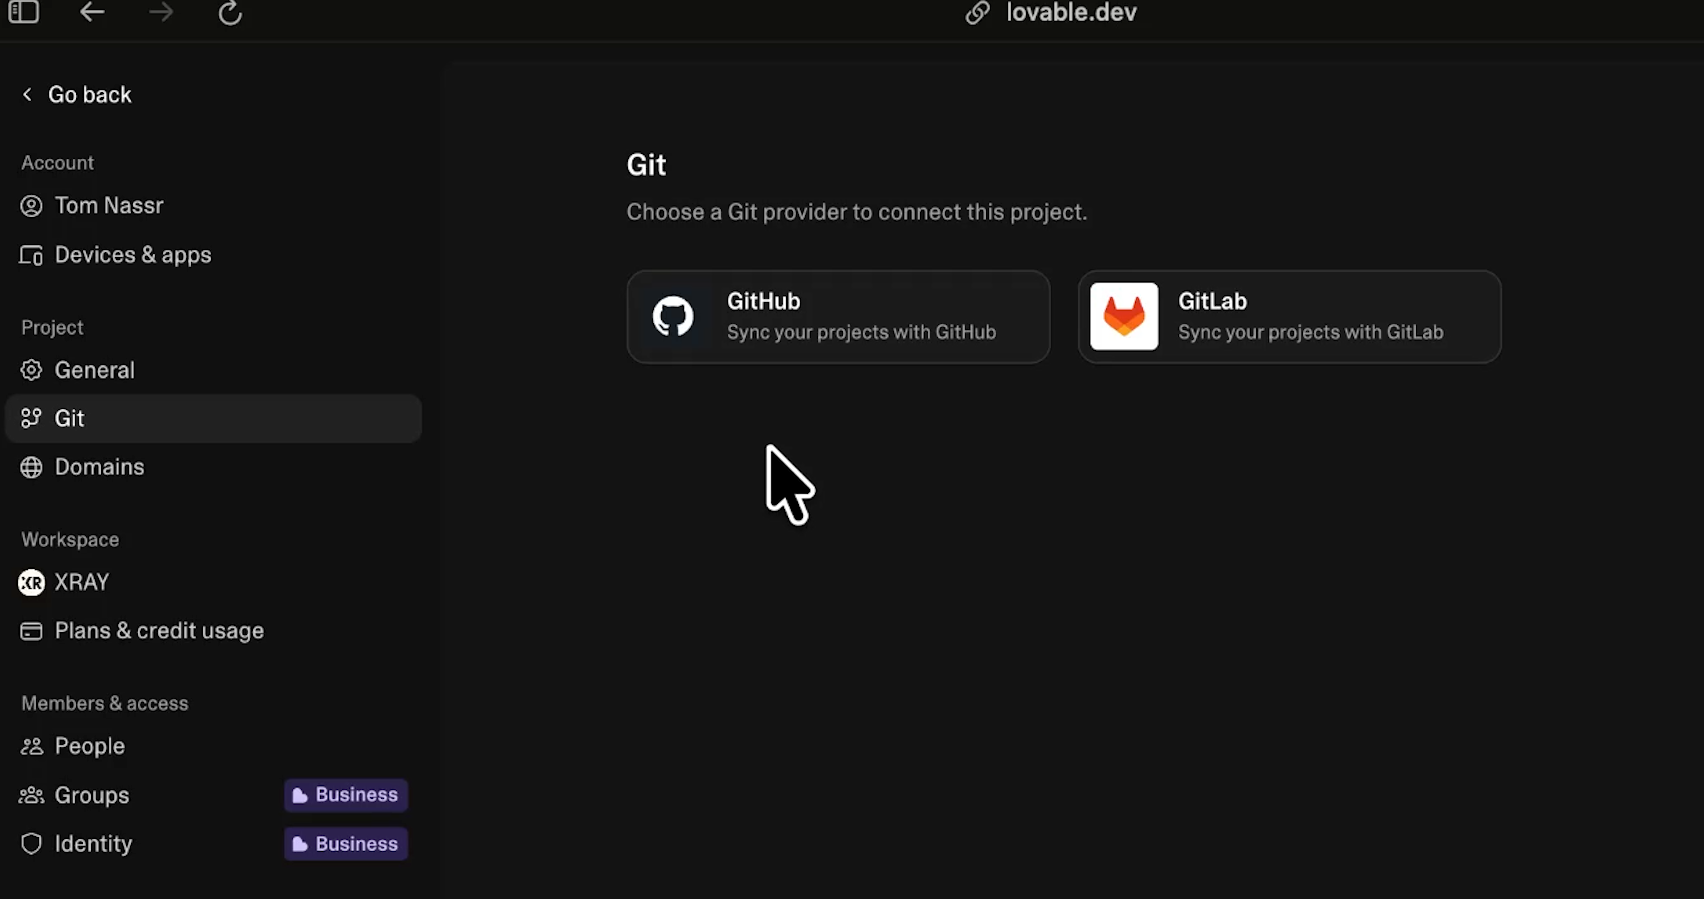
Connect your project to a Github account, and Lovable does the rest. You don't create the repository yourself; Lovable creates it for you and pushes your front-end code into it automatically. Your UI now lives in an environment that Claude Code can interact with natively.
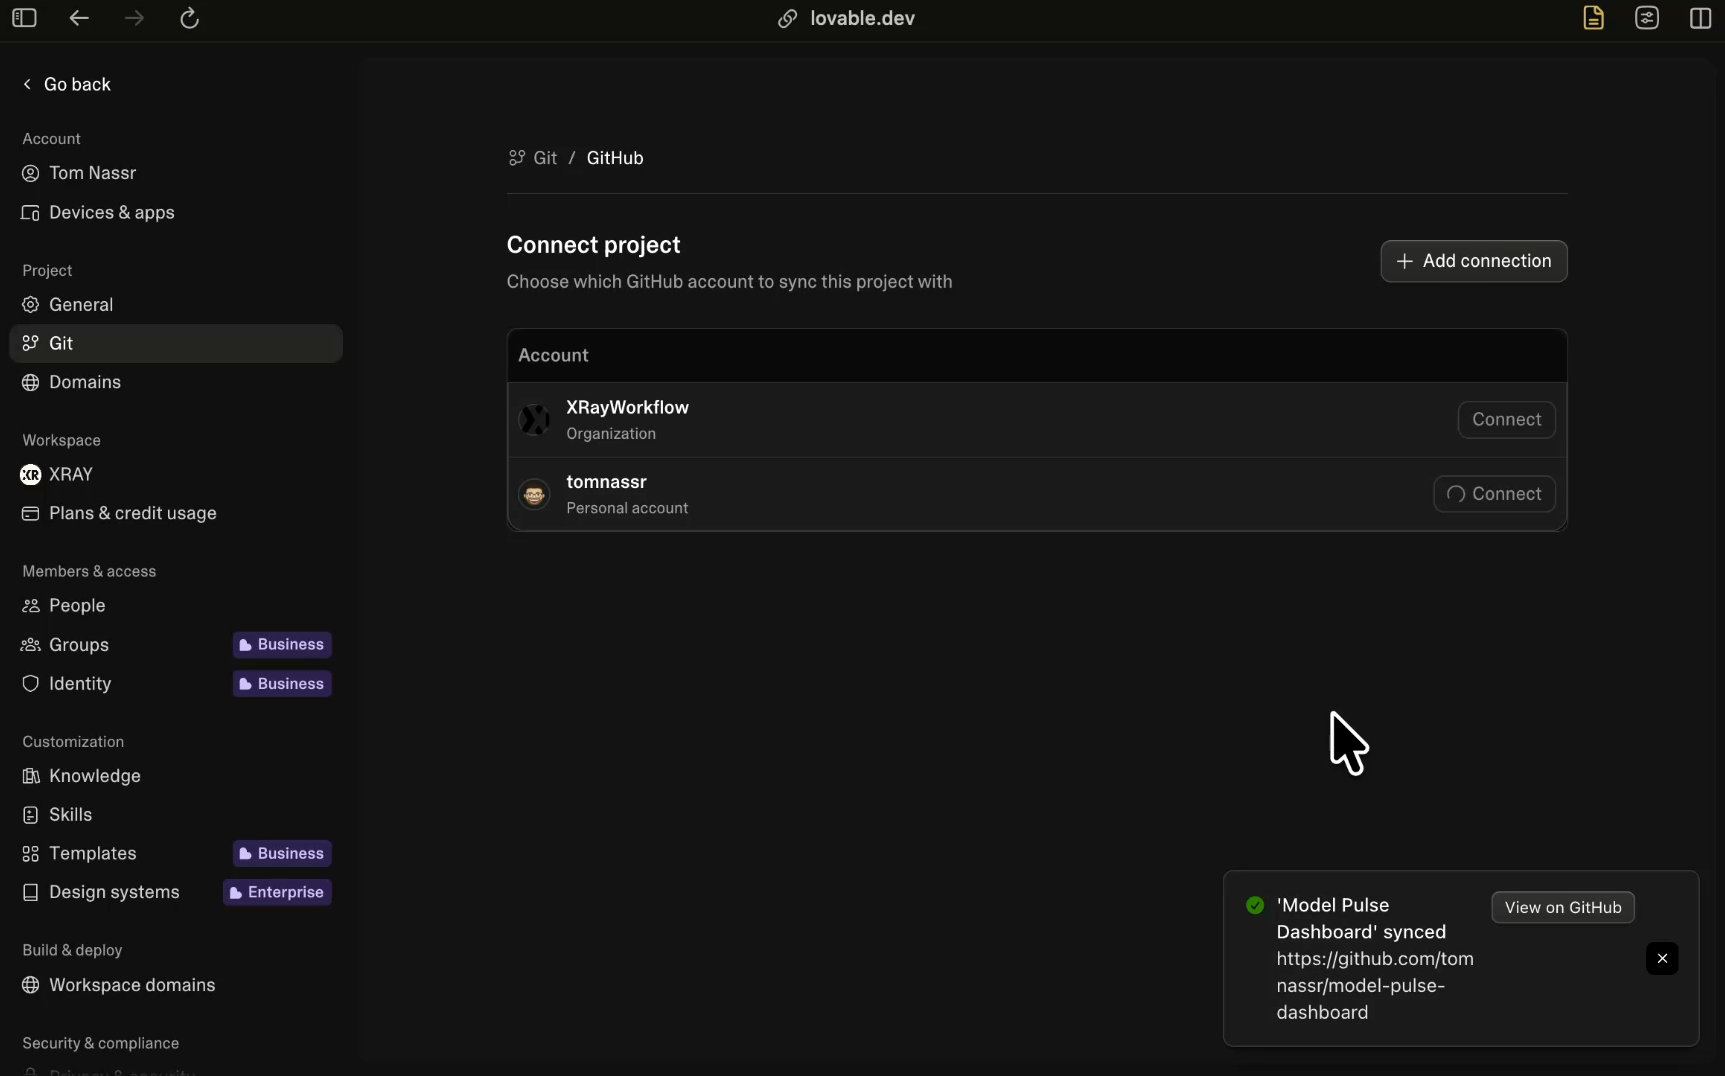
Connect Claude to GitHub, if you haven't already: go to Customize, then Connectors, find GitHub, and click Connect.

In Claude Code, choose your development environment, point it at the repo Lovable just created, and select the main branch. Paste your first backend prompt and let it work.

From here, Claude Code does the heavy lifting. It pulls the front-end code from GitHub and creates its own new branch to work in.
That branch is your safety net: every change Claude makes stays off to the side, completely isolated from your production code, until you decide to bring it in. It writes the backend logic, wires up the data sources, and builds out the database framework.
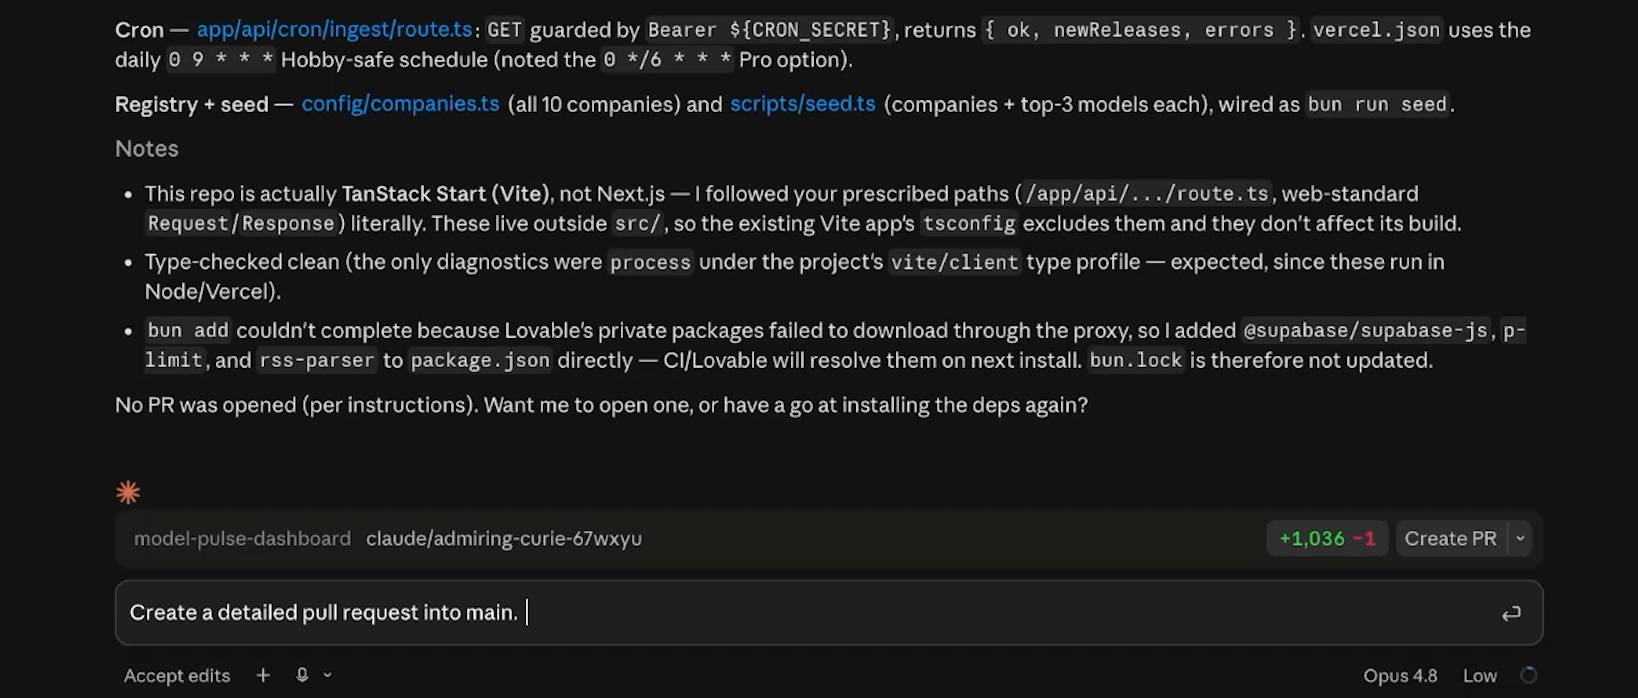
For the tracker, that came out to over a thousand lines of backend code, including the pipeline that pulls from each provider and the scheduled cron job that refreshes everything every 24 hours. None of it touched the front-end components Lovable had already built.
When Claude Code finishes, you move its work from that side branch into main via a pull request.
Ask Claude Code to write a detailed pull request rather than just clicking the “Create PR” button. The documentation detail earns its keep: if a stubborn issue takes more than one try to fix, Claude can look back through everything it already attempted and stop repeating itself, settling the problem in two or three passes.
Open the pull request in GitHub, review what changed. For the tracker, the pull request laid out exactly what was new: the database setup, the provider endpoints, the environment variables, and a rigorous test checklist.
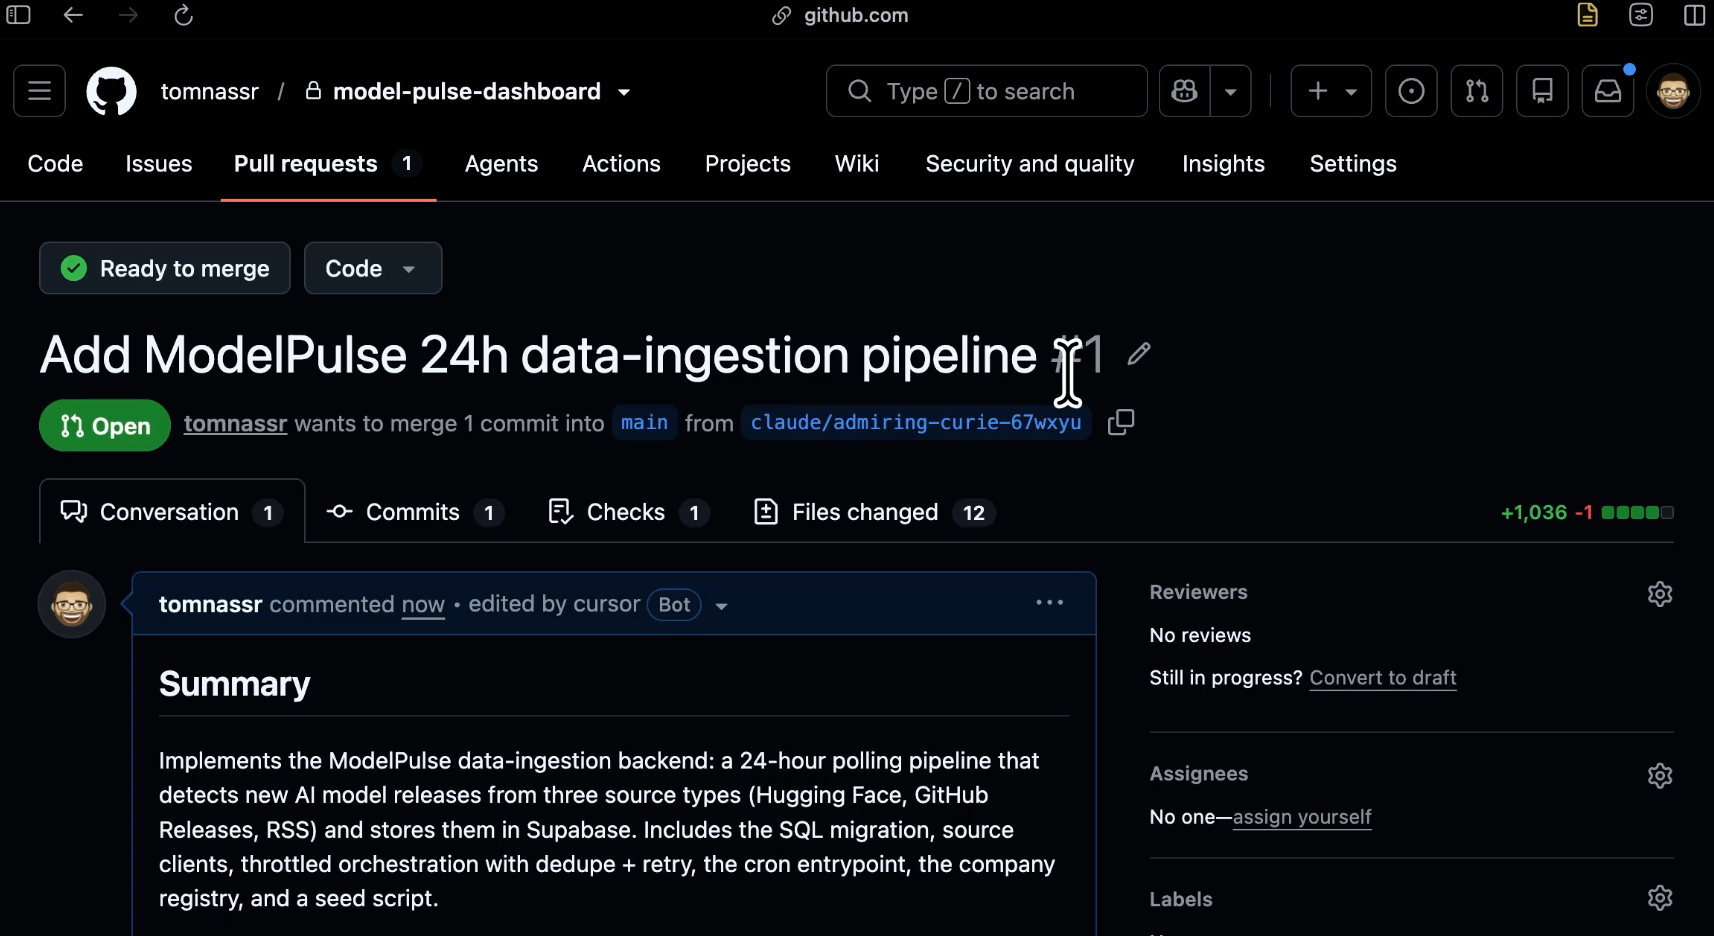
Click “Merge pull request” to merge the two branches.

Because Claude built the back end in its own branch and Lovable owns the front-end files, the two don't overlap. The merge is entirely additive. Claude's technical architecture is injected into the project without risking a single element Lovable made.
Back in Lovable, you'll now see two branches on the Git page and two new messages in the chat—one for the commit and one for the merge. Stay on the main branch.
The inline preview screen often caches the last version Lovable compiled, which can predate the merge. To make sure you're looking at the live version running on your new architecture, click the clock icon, select the latest entry in the project history, and open that preview in a new tab. Note that you may need to give it some time to compile.
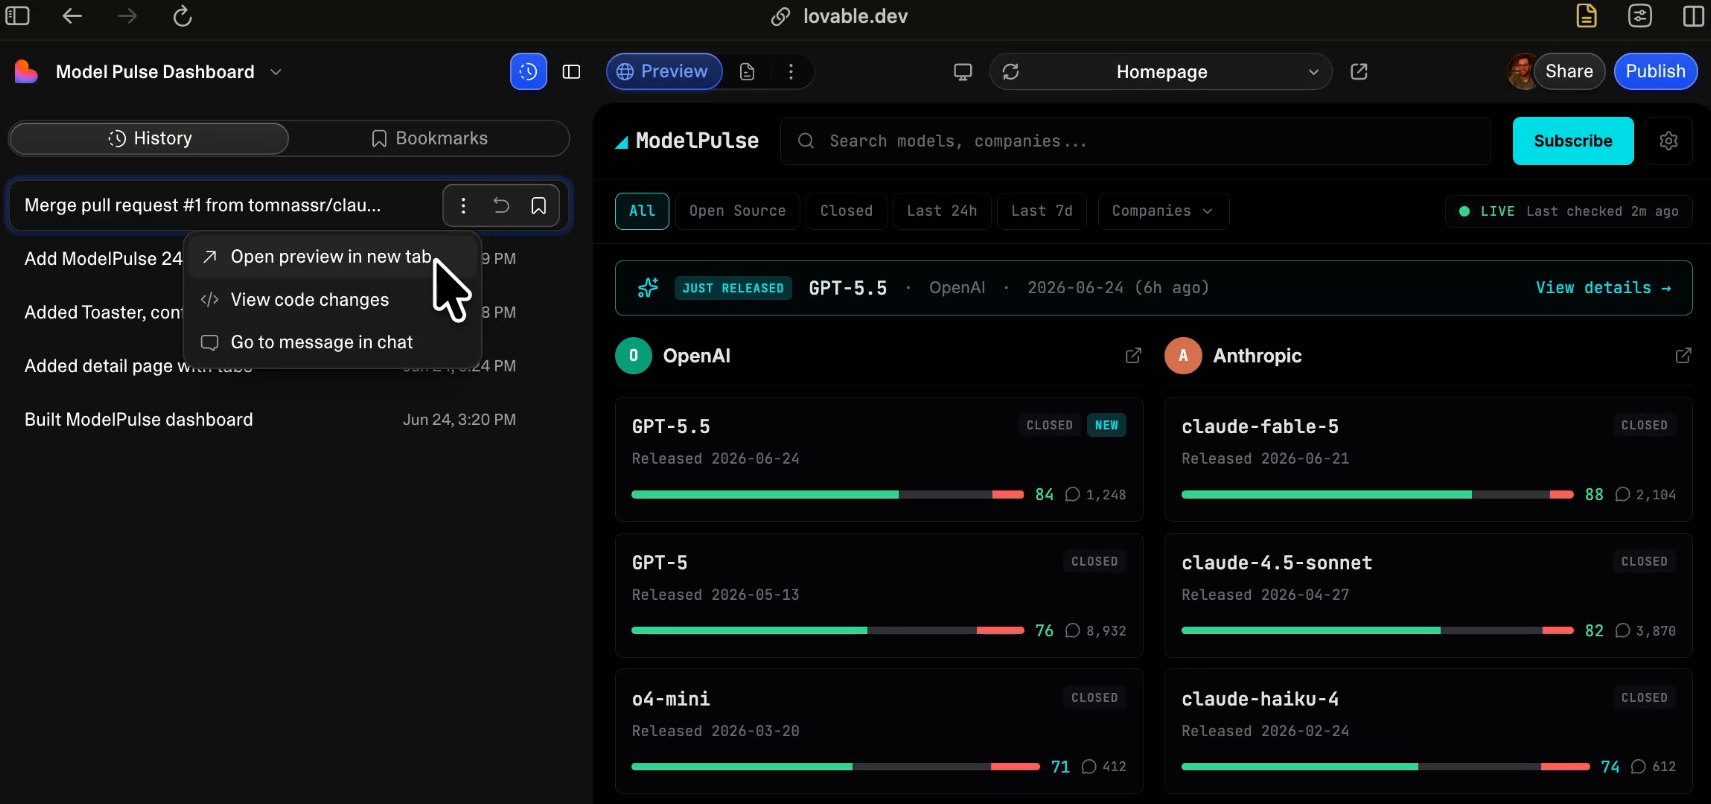
Then you're looking at the finished app: the front end Lovable built, running smoothly on top of the live backend services Claude Code wrote, seamlessly joined through GitHub.
And since Lovable is also your deploy layer, shipping the fully full-stack app to a custom domain is a single click—at zero extra credit cost. Lovable is where you start, and it's where you finish.
You never had to write structural code from scratch. You never wired a database by hand. You never even needed a local development machine, since all three tools run entirely in the browser.
This orchestration loop is the exact blueprint behind how we scale applications at XRAY. The old manual version of this build—coding an isolated front end and an asset-heavy back end by hand—is no longer your job. Your job is to act as the architect. You push past Lovable's technical thresholds while retaining everything that makes the platform an incredible tool: the speed, the layout precision, and the one-click deployment.
Run the loop once and you'll never build a siloed app again. Edit in Lovable, extend in Claude Code, merge through GitHub, preview in Lovable. Repeat as far as your vision takes you.
The XRAY blog has hundreds of free tutorials on AI ecosystems and operations, built on the same automated workflows we deploy with clients every single day.
If you'd rather accelerate your builds instead of navigating the loop alone, book a session with XRAY Hourly. We pair you with a vetted technical expert who builds right alongside you live over Zoom, optimization-tuning your actual business workflows while you master the tools. You leave with a working, full-stack deployment, not just a document of notes. Visit xray.tech/hourly to learn more and book your first session.