No-code automation giant Zapier is a great platform for people who are just getting started with automation. But while no-code automation is a skill that anyone can develop with time and practice, there are still some hurdles to avoid and strategies to follow for success.
If you’re new to the field and starting to experiment with building automations in Zapier, we have a few tips and best practices in this post that will help you as you’re building Zaps to start speeding up your workflows.
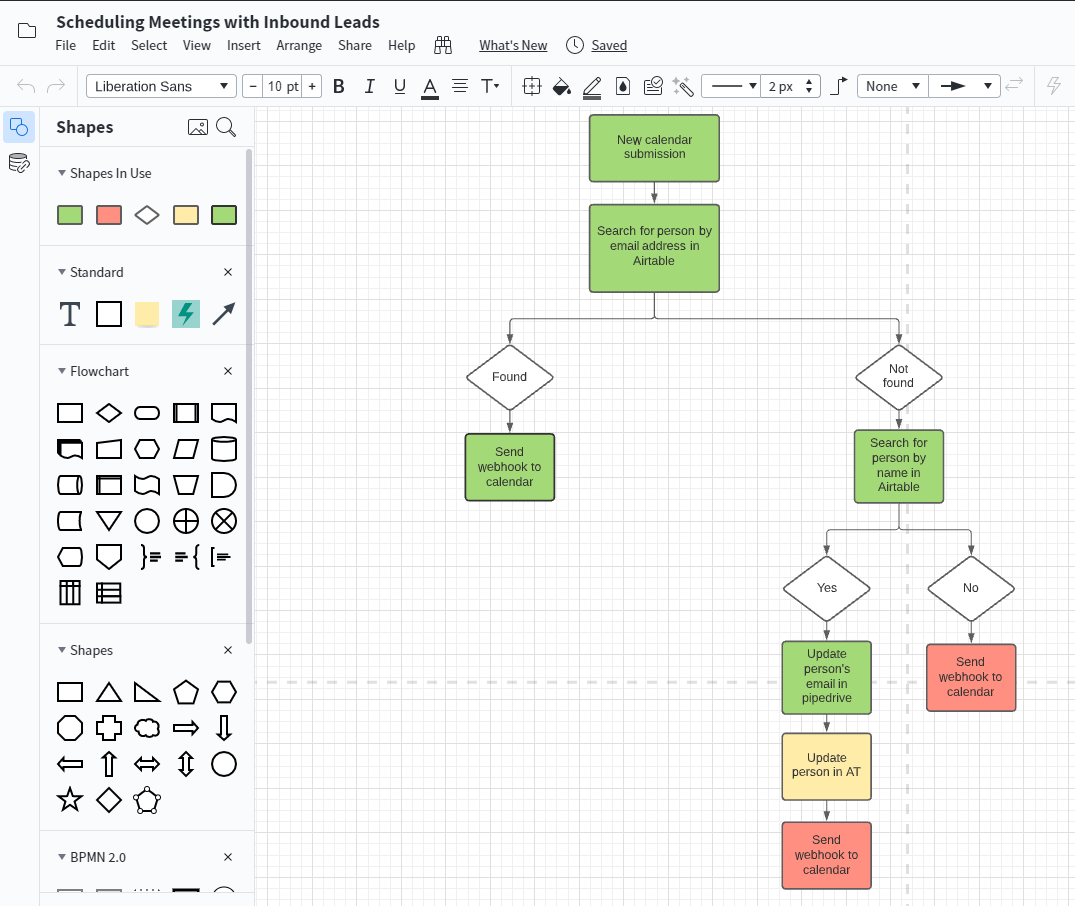
Before you start diving into a somewhat longer or more complex automation, we recommend making a flowchart first that maps out your ideas. Go into Lucidchart, or whichever flowcharting software you prefer, and make a diagram that includes each step that has to go into your automation.
Using some simple color-coding can help you to keep track of the steps you’ve accomplished and the steps that you still need to add into the automation. When we’re creating flowcharts for our automations at XRAY, we’ll often mark finished steps as green, incomplete steps as yellow, and steps that we haven’t started on as red. That makes it easy for any of our techs to check on the team’s progress at a glance.
Making a flowchart is also a great way to share your automations with your team. For those who aren’t familiar with Zapier and its UI, a flowchart is a much more intuitive way to understand what an automation does and the purpose it serves.
If you’re hoping to get more of your team to start adopting automations into their workflows, simple flowcharts can be an invaluable asset for explaining how they can use what you’ve already made.
As your Zaps start to pile up, it will become crucial to give them descriptive, informative names. A helpful name will make it easier to find the Zap you’re looking for manually or with Zapier’s search function, which only looks at a Zap’s title.
Since Zapier doesn’t put a limit on the character lengths for Zap titles, feel free to add as much detail as you want. A short sentence is often going to provide more practical context than a brief, punchy title.
“Find emails from a specified client and copy them into that client’s Airtable directory” might be a bit of a mouthful, but it tells you exactly what the automation does, and will help to differentiate it from other Zaps you may make that connect GMail and Airtable.
Along the same lines, it’s often a good idea to rename each individual step within your Zaps to something that provides more information than the default titles. If you’re adding a search step, make a note of what the search criteria are; if you’re creating a document, explain what the document contains.
Fastidious naming conventions might seem a little tedious, but they’ll be a lifesaver when you have to revisit Zaps you made months (or years) prior. You won’t have to worry about forgetting what a particular automation does or how it works when the names of each step tell you clearly.
While Zapier is an excellent and versatile platform overall, it does lack in certain areas that make work a bit more difficult. As of right now, Zapier doesn’t have any sort of built-in version control, which means that you can’t revert back to older versions of your Zaps after making changes.
That’s why we recommend always duplicating your Zaps before you start making any major changes. That way, you have a copy of a working version of your automation that you can fall back on in case your changes start to break the Zap.

Even if you’re trying to fix a Zap that’s already having issues, it’s often a good idea to work in a copy of the Zap so that you can preserve any steps that were working - or confirm which steps were causing the problem.
To copy a Zap, just click on the arrow next to its name, and choose “Copy” to immediately create an exact copy.
As your automations work quietly in the background with little or no input from you and your team, it’s important to have a way to keep track of what they’re doing. Knowing when a document was generated or when a report was filed can help you to work more efficiently and prevent you from accidentally doing redundant work.

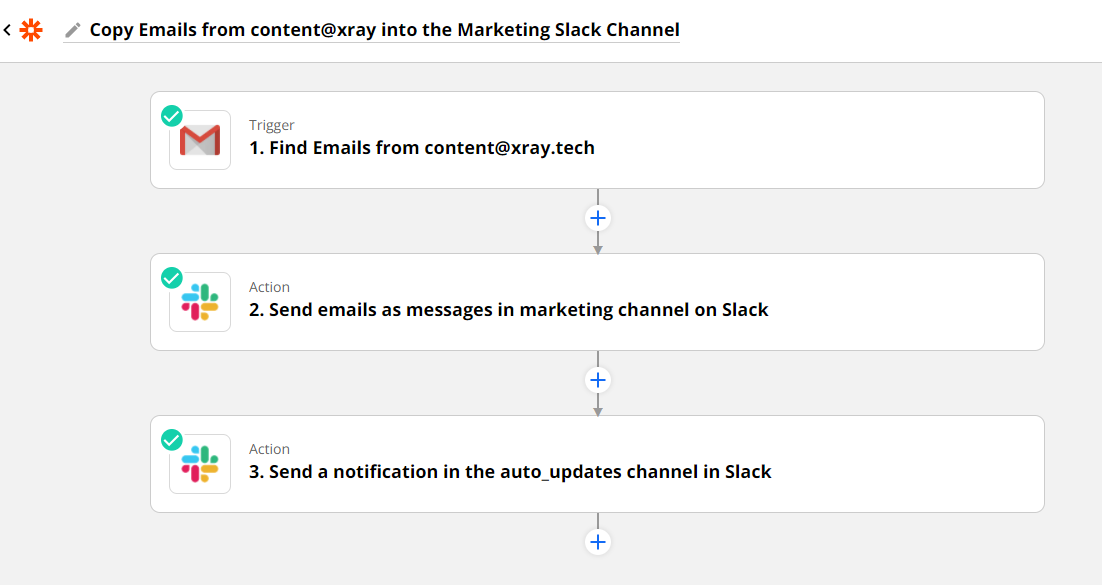
A simple way to stay in the loop is to add a chat notification at the end of all of your automations. Just add a step to send a message in Slack, Microsoft Teams, etc., and include a brief message with what the Zap just did and a link to the Zap itself. You may also want to include links to any documents or resources that the automation created for easy reference.
At XRAY, we put all of our automation notifications into a dedicated “auto_updates” channel, so we can check on our automated activity all in one spot.
Before you start building your automations, it’s a good idea to get a sense of what’s possible with the tools at your disposal.
We’ve made a web app designed specifically to show you the integrations Zapier has for any app that you search for. Just go to xray.tools, enter the software’s name to build your toolbelt, then click on View to see the triggers, actions, and searches that Zapier supports for each app.
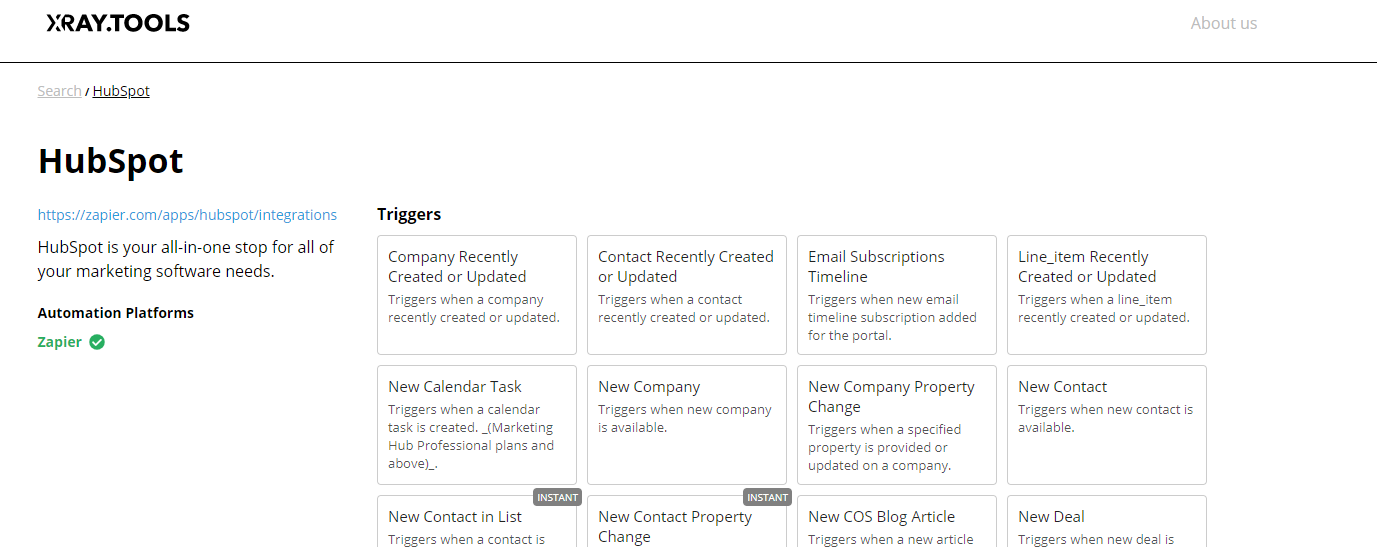
While our search only checks Zapier for now, we’ll soon add support for other platforms like Integromat. You can also click on “Get Shareable Link” to generate a link with your toolbelt prefilled into the search, so you can easily share the results with your team or refer back to it later.
These tips should help you to kickstart your early Zaps and stay organized as you start creating more automations and experiments to support your workflows.
If you’d like to learn more about integrating automation into your daily work, check out our blog or our YouTube channel. You can also follow XRAY on Twitter, Facebook, or LinkedIn.