
No matter what your level of technical expertise is, you don’t need to waste your time on tedious, repetitive tasks. With no-code automation providers like Zapier, anyone can automate the mindless work that’s eating their time.
In this post, we’ll show you everything you need to know to get started with Zapier and begin creating automated workflows of your own.
To get started, let’s address a simple question: What is Zapier?
If you’re already familiar with what Zapier is, you can just scroll down to the tutorial section of this article and start building your first Zap.
But for everyone who’s just discovering the application for the first time, Zapier is a no-code automation provider.
What that means is that Zapier lets you connect two or more web apps to move data between them automatically.
As a no-code app, Zapier lets you create these connections without needing to write any code. That’s right; you don’t need to know the first thing about coding or software engineering to build automations in Zapier!
Now let’s break down what an automation looks like piece by piece.
In Zapier, an automation (or “Zap”) consists of one triggering event – which prompts the automation to run – and one or more automatic actions that occur whenever the trigger is activated.
For example, you could build a Zap that connects Google Drive to a database app like Airtable. You could design your automation like this:
• Every time a new record is added to the “Clients” table in my Airtable base, create a new folder in Google Drive with the client’s name.
• Then, create a new Onboarding Agenda doc within that folder.

In this simple 3-step Zap, the trigger is the creation of a new record in the specified table.
The actions are to make a new folder in Google Drive and a new onboarding doc. These actions will run automatically whenever we add a new record to the table.
There’s a lot more that you can do with different triggers, filters, and formatter steps, but you don’t need to worry about all of that right now. You can check out the other videos on our channel for more in-depth tutorials once you’ve developed an understanding of Zapier’s fundamentals.
For now, let’s get back to the basics of Zapier.
Now let’s take a look at actually building a Zap.
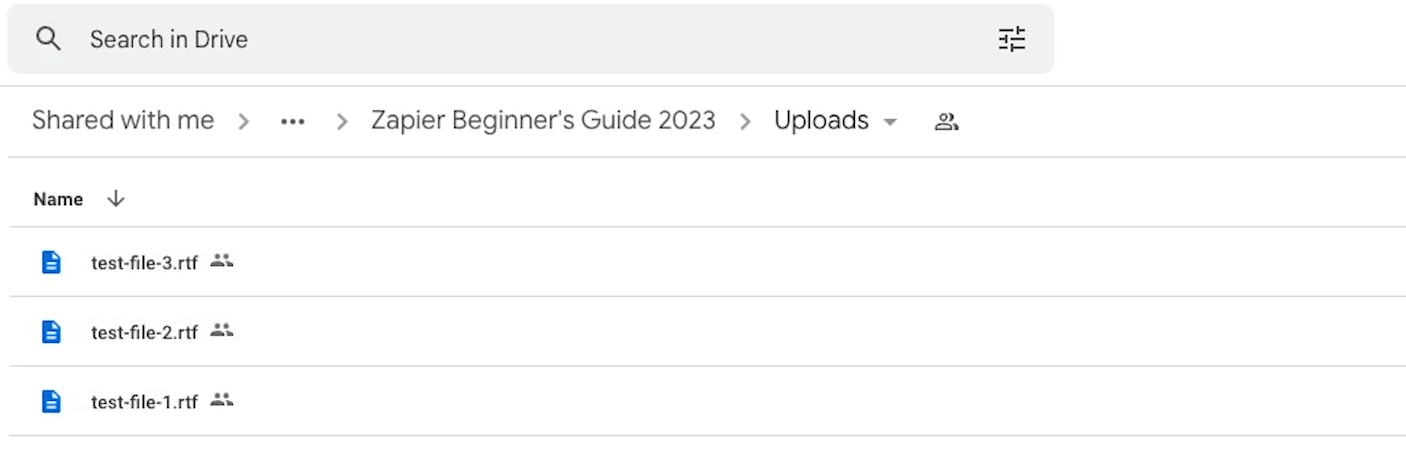
For our example, we’ll be creating an automation that runs whenever a new file is added to a specified “Uploads” folder in Google Drive.
Whenever a file is added, it will send us an alert in Slack as a direct message.

This will be a simple two-step Zap, so you can follow along on Zapier’s free plan. If you’re not using Slack or Google Drive, you can either create free accounts, or use similar apps like Microsoft Teams or Dropbox.
The exact configuration options will be a little different, but it will still largely involve the same concepts.
First, go to www.zapier.com and create an account (or log in if you already have one). If you’re creating an account for the first time, Zapier will grant you a free trial of some premium features.
If your free trial has already ended, don’t worry; you can complete this tutorial with Zapier’s free plan.
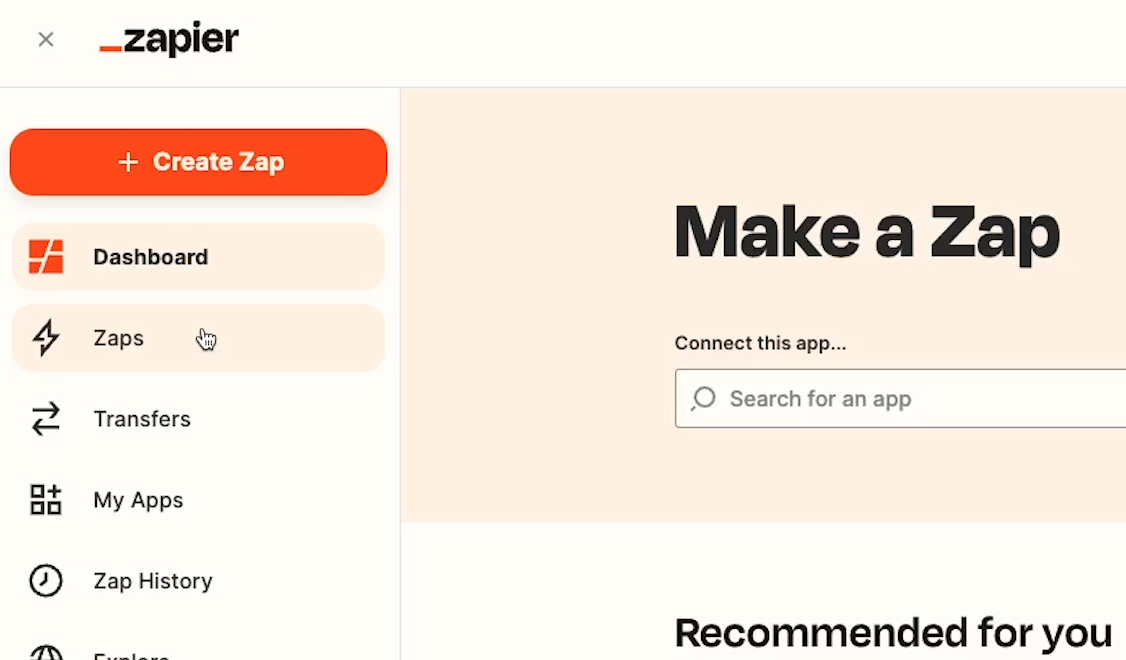
When you open up Zapier, it might be tempting to click on the big orange button to create your first Zap, but hold on!
First, click on “Zaps”.
Then, create a new folder for your Zap. It’s always good to stay organized so you can easily find your automations later when you need to perform maintenance.
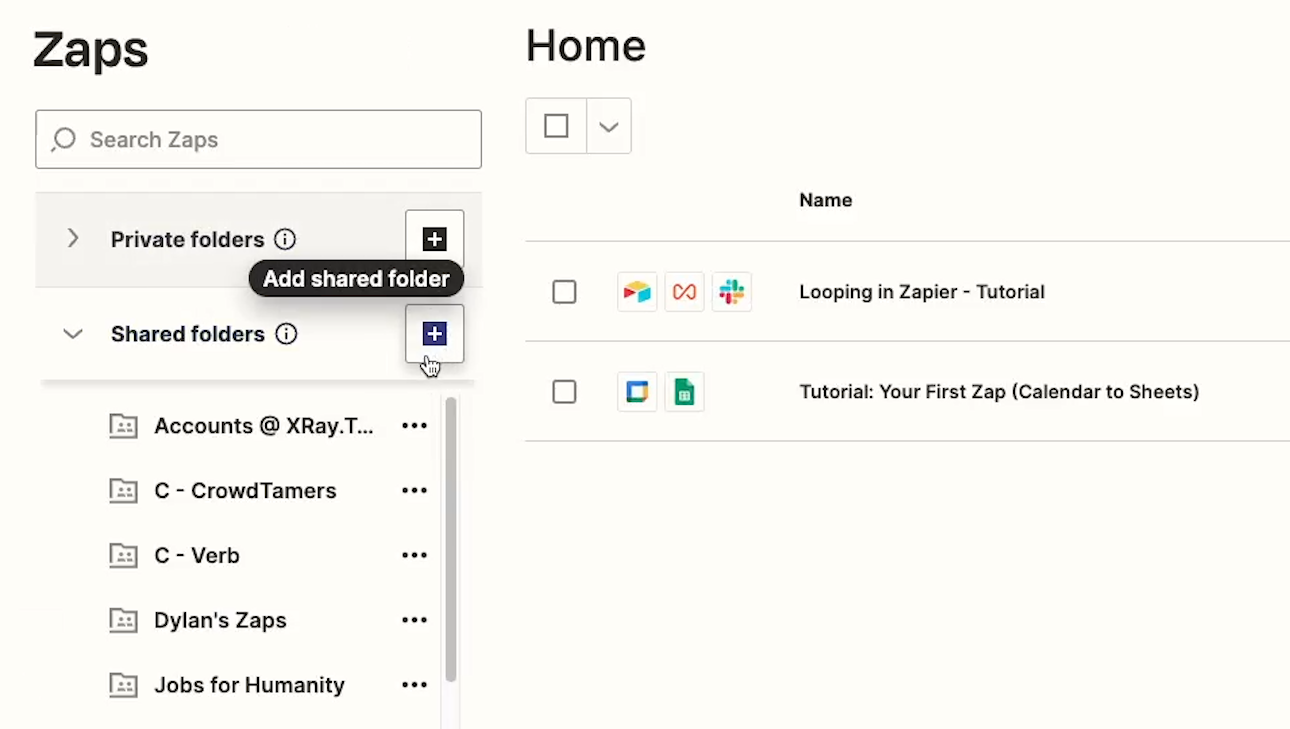
In our example, we’ll choose our “tutorials” folder.
Once you have a folder selected, click on “Create” to make a new Zap.
Make sure to give your Zap a descriptive name, like “Send Slack Alert for New Files in Uploads Folder”.
Now, Zapier will prompt you to create a trigger. Like we outlined before, the trigger is the event that will prompt the automation to run.
You’ll need to pick the app where your trigger will occur. For our example Zap, that’s going to be Google Drive.
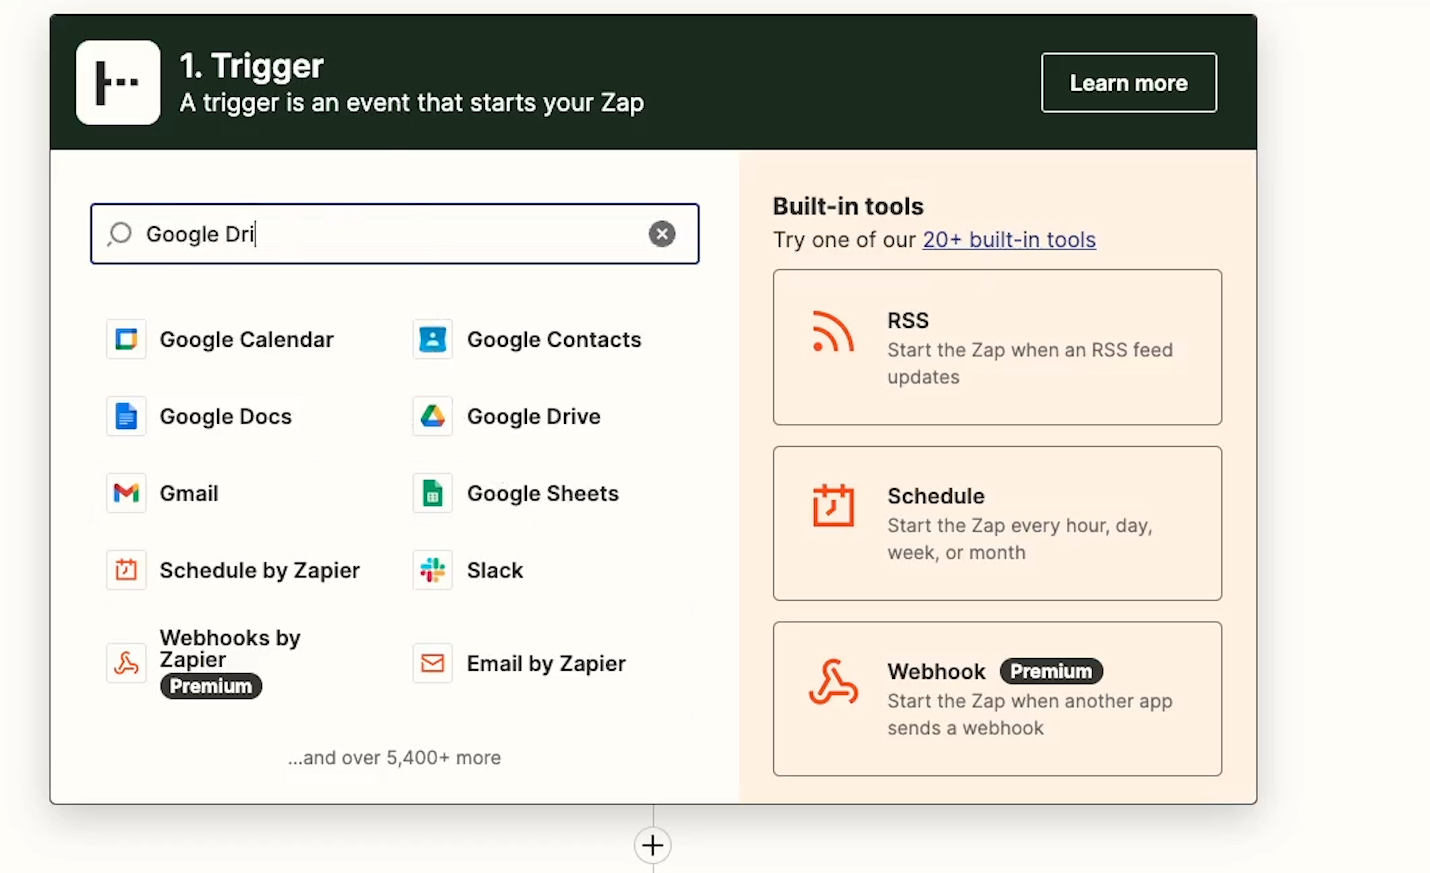
Zapier will put a small selection of commonly used apps in the trigger creation panel for easy access, but you can also search for your app with the search bar to find the thousands of other integrations Zapier has.
Once you’ve selected Google Drive as the trigger app, you’ll need to choose the event. When you click on the dropdown, you’ll see two options that may both seem relevant: “New file”, and “New file in folder”.
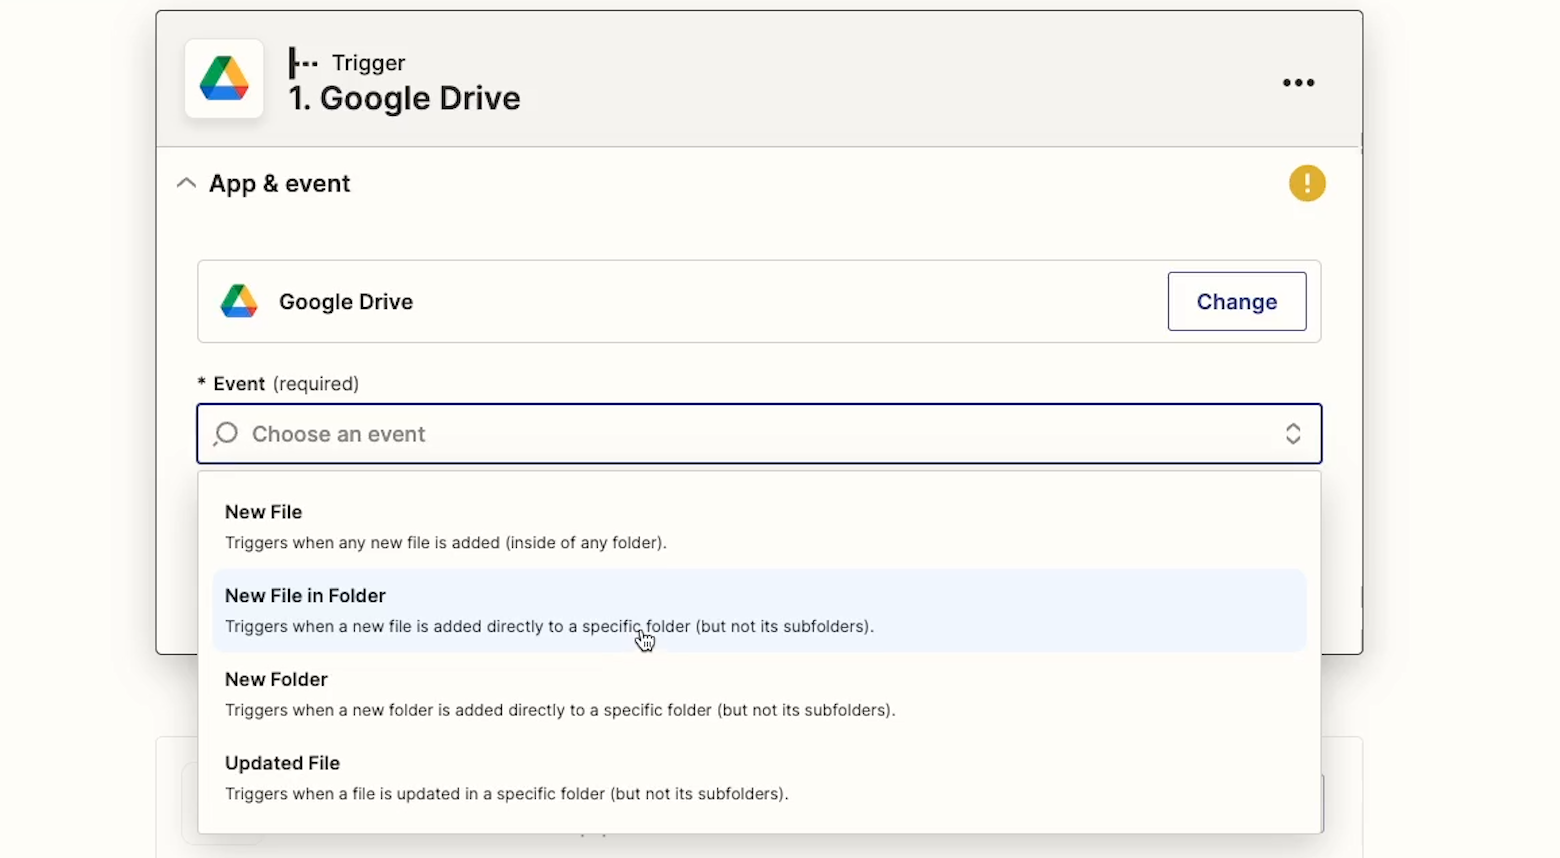
“New file” would cause the Zap to run whenever a file is added to any folder in our Drive account. “New file in folder”, on the other hand, will let us limit the trigger to a specific folder.
Always make sure to read the description of each trigger to find the best match for your planned automation.
Once you’ve chosen your trigger, you can click on “continue”.
Now, Zapier will prompt you to choose an account for your trigger. This is the account that Zapier will use to actually access Google Drive (or whichever app you’re using for your trigger).

Click on “Connect a new account”, and sign in to your Google account in the window that pops up.
Zapier will ask for some pretty extensive permissions, but that’s OK. You essentially want Zapier to be able to act on your behalf while using this app, creating folders and files based on the automations you set up.

Once you’ve signed in, you can select your account from the dropdown.
If you ever want to manage the accounts you’ve connected to Zapier, you can just go back to the dashboard and select “Apps”.
Now, click continue to start configuring your trigger.
Next, you’ll need to choose the Drive and Folder that you want Zapier to watch. There’s usually only one option for Drive - My Drive.
But you’ll probably have many folders in your Drive to choose from. You could click through folders in Zapier to find the one you want, but we always recommend just entering the folder’s ID directly whenever you need to find a folder in Drive with Zapier.
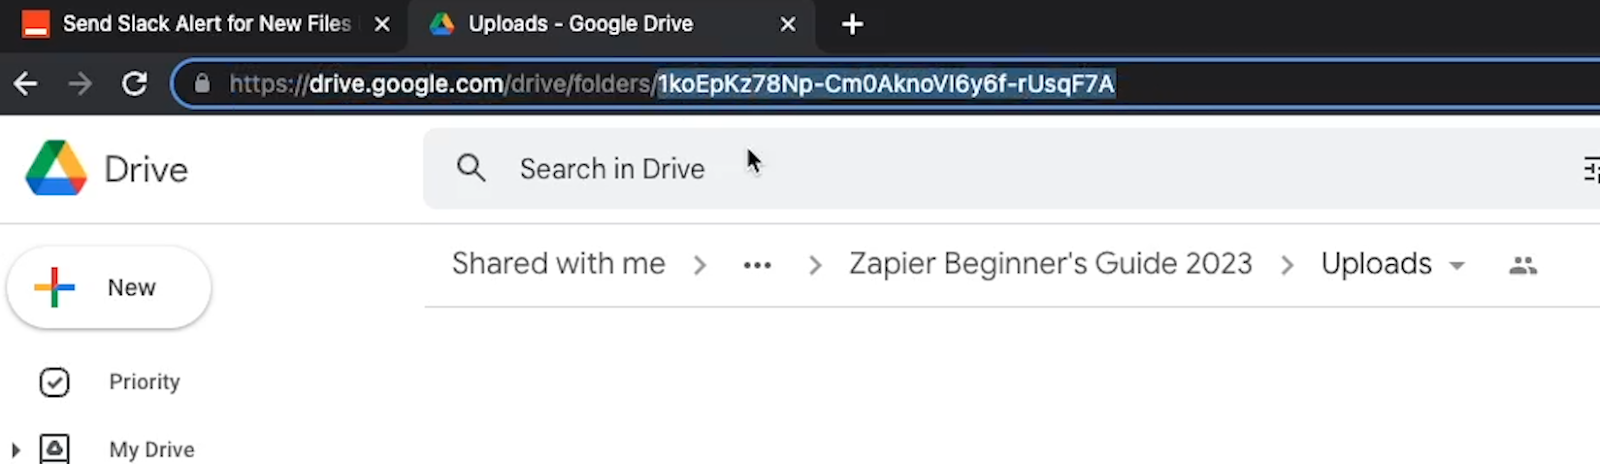
Just open up your Google Drive folder in another tab, and copy these characters after /folders/. To paste it in directly, click on “Custom”, then enter the ID into the field.

Click “Continue”.
Next, you’ll need to test your trigger.
Whenever you’re building a Zap, you’ll need to use real test data. In other words, in order to build this Zap that checks for files in your “Uploads” folder, you need to have at least one file in your “Uploads” folder already.

Upload a test file, like a .txt doc, then click on “Test Trigger”. When you test the trigger, Zapier will look for data that matches the conditions you specified - in this case, it will look for any file in the “Uploads” folder.
Each Zapier trigger will return some information about the file or object it found.
In this case, you’ll see a plethora of metadata about the file in Drive. Some of it could be very useful, but a lot of it is basically just noise.
If you scroll down, you should see the file name, which will confirm that everything’s working as intended.

Once your trigger is all set, you can click on Continue.
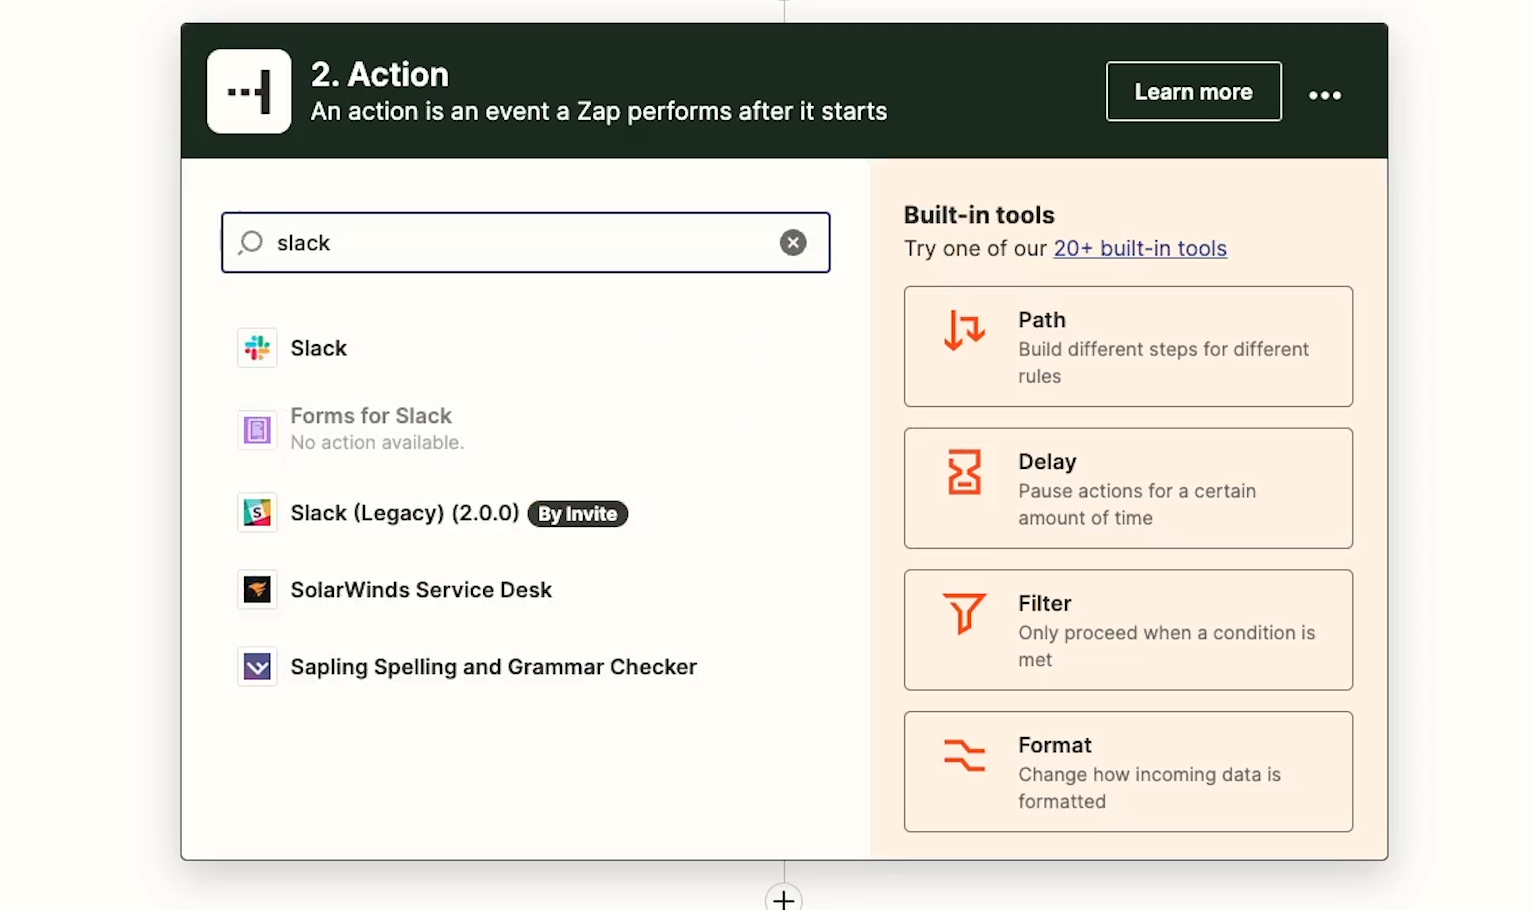
Now, you’ll be prompted to add an action.
Just like with your trigger, you can search for the app you want to use here - in this case, choose Slack.
We’ll go with “Send Direct Message” as our event, since we just want to send a private alert - don’t want to make too much noise on Slack.
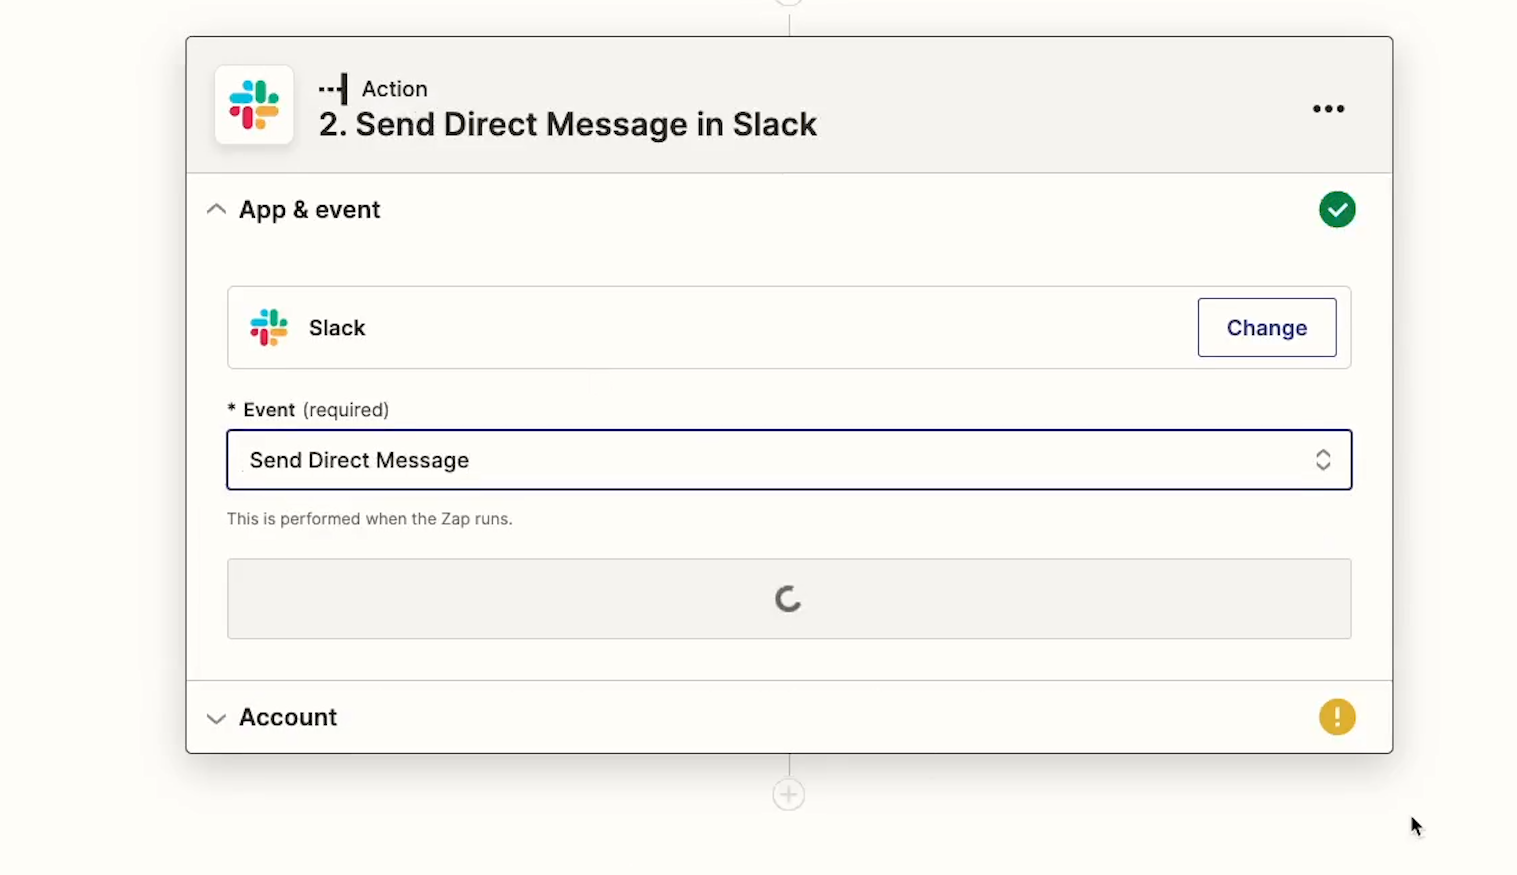
And just like with Google Drive, you’ll need to add a Slack account in order to use it in Zapier.
There are several options here for creating and sending our Slack message, but only two are required - the username of the person we’re sending the message to, and the message itself.
You can just copy and paste your user ID from Slack for the former. To paste it in directly, click on “Custom”, then enter the ID into the field.
For the latter, you can compose a quick message directly in Zapier.
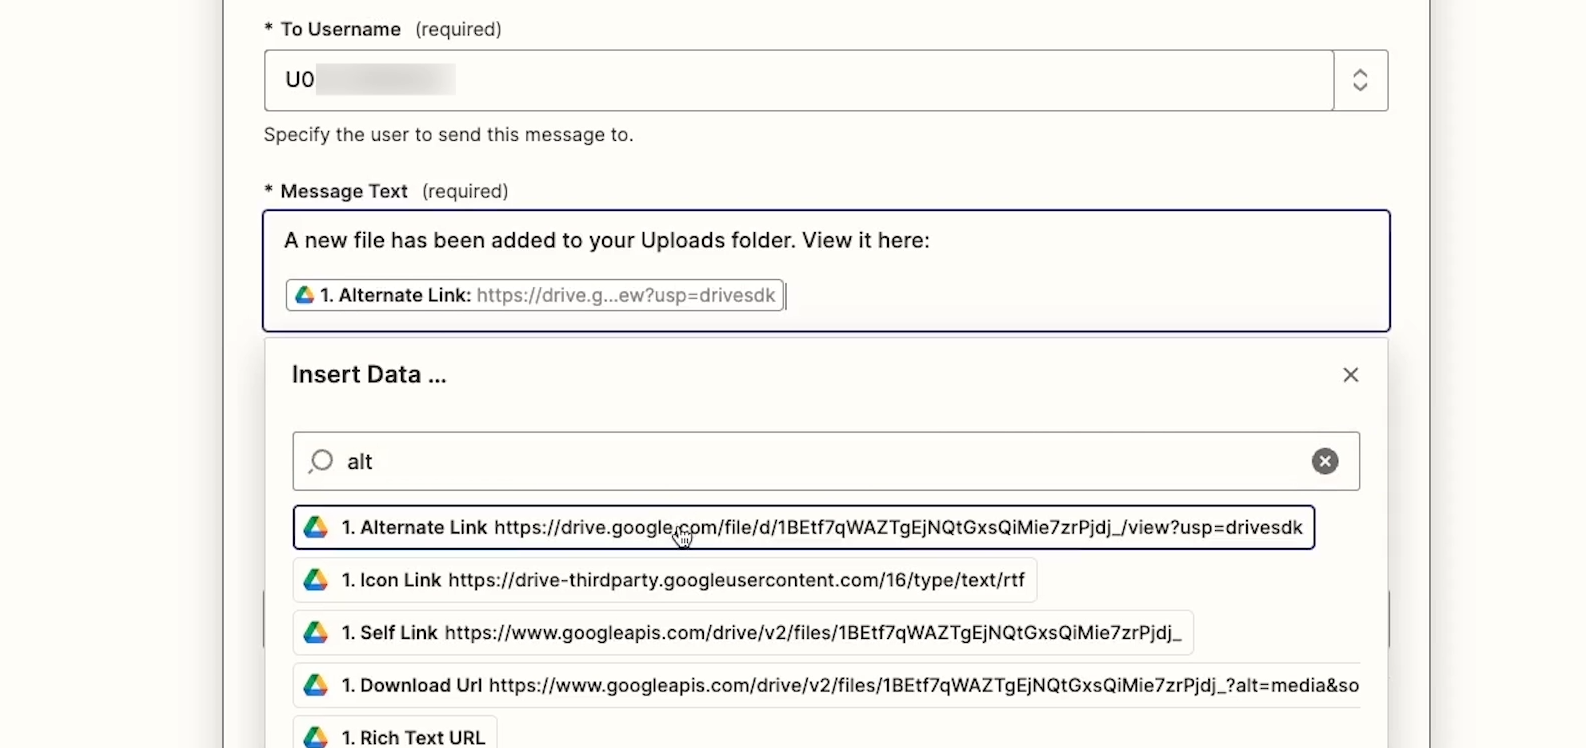
Enter some alert text directly into the “Message Text” field: “A new file has been added to the Uploads folder. View it here:”

Then, by clicking on the “insert data” tab, you can use data that Zapier retrieved in the trigger.
In this case, we want a link to the new file.
Search for “Alt” to find the “Alternate Link” - that’s what Zapier calls the URL of a file in Google Drive.
This link that we’re inserting is dynamic information - whenever the automation runs, it will use the data that’s currently triggering the automation.
Dynamic data like this is one of the essential features of any automation provider. It’s what will make your automations adapt to the data they’re currently handling, instead of always regurgitating a completely pre-configured action or block of text.
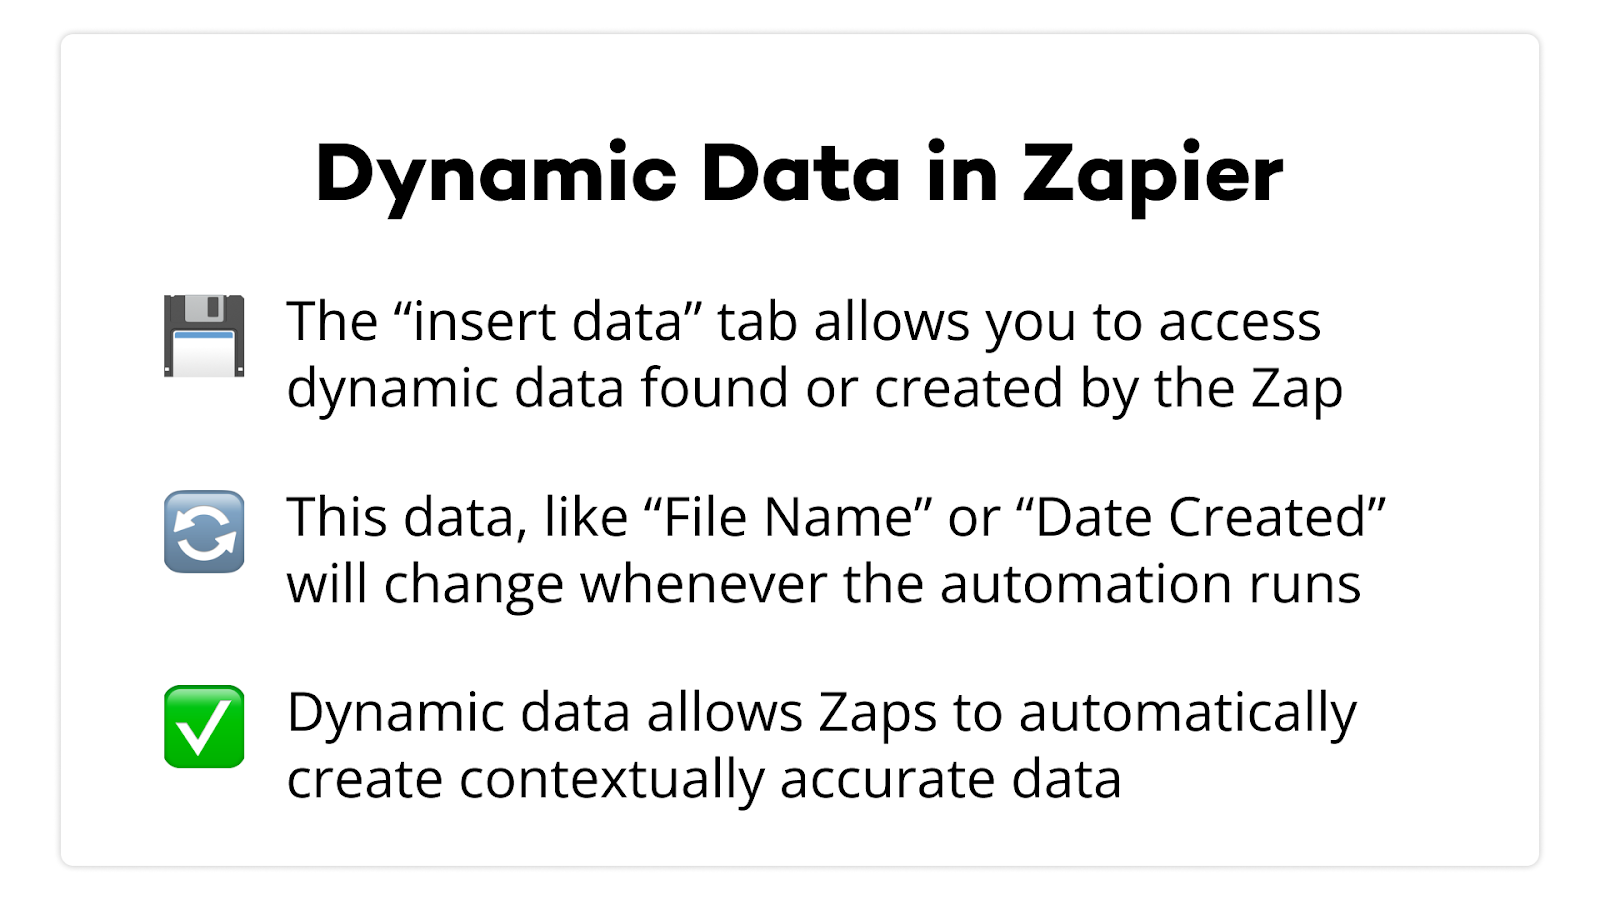
In other words, if we have 5 different files enter our upload folder, we’ll get 5 different messages in slack. And each one will link to a different file.
This is what a dynamic automation looks like.
To finish your message, we’d recommend customizing a few more of the available settings.
Set the “bot name” to something unique, like “New File Frankie”. This is the name that the Slack bot will use to send the message. Giving it a unique name will help you to keep track of which automation is sending you an alert after you’ve set up several automations.
Then, set the “bot icon” as a robot face or any other emoji that you’d like. You’ll need to configure it like this:
:robot_face:
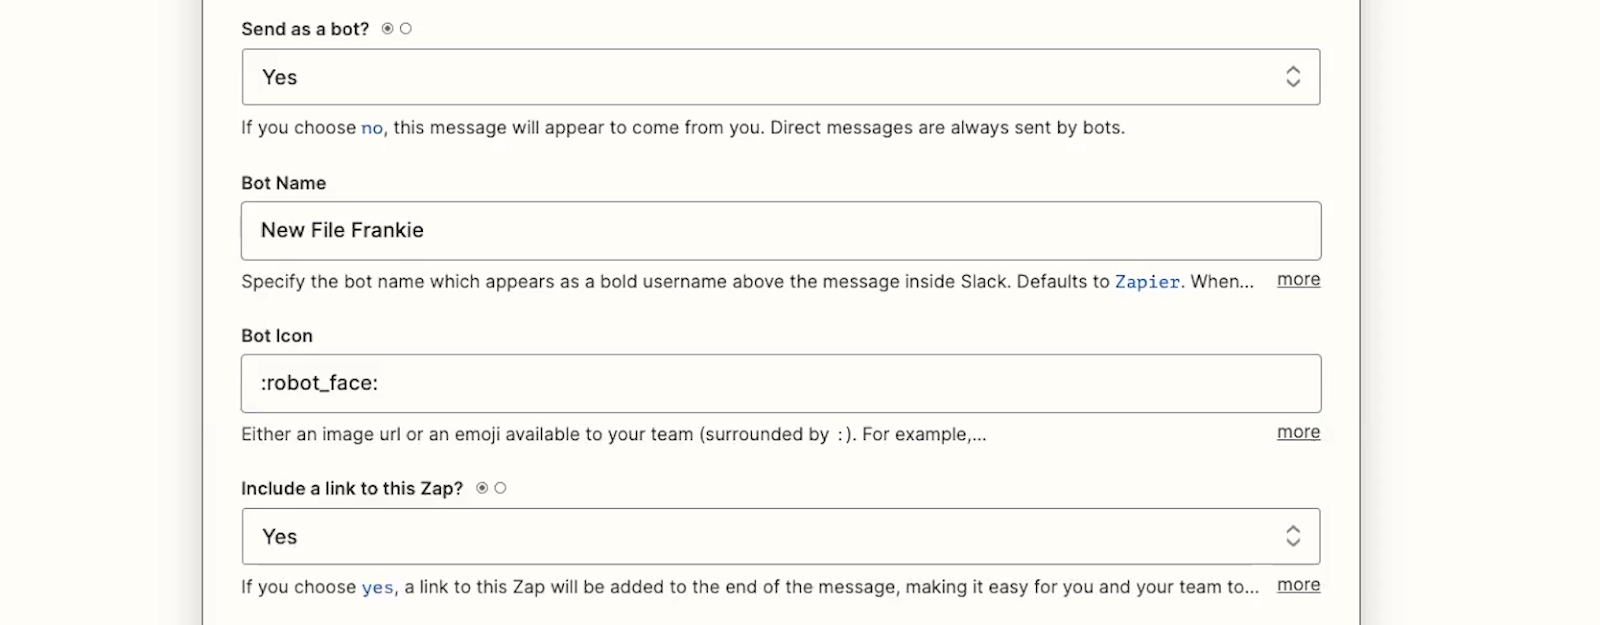
Finally, set “Auto-expand links” to NO. Auto-expanded links will include a preview image, which can make the message take up far more real estate on your screen than necessary.
If you’re curious about what the other fields and settings do, Zapier provides helpful descriptive text for each one.
Now that your message is all set, click continue and test the action.
Instantly, you should get a message in Slack.
We’re almost done setting up this Zap. But first, it’s always good practice to run a live test to see how it will actually work in practice.
Publish the Zap and turn it on, then upload a file to the “Uploads” folder.
When the Zap is live, it will check for new folders on a set interval. On a higher-level plan, it will run every five minutes, but on lower tiers, Zapier may only run every fifteen minutes.
So you may want to grab a snack or knock out a quick task while you’re waiting.
After a few minutes, the alert should show up in Slack exactly as intended.
That means your Zap is all set and ready to use.
If it didn’t work as you expected, you can try our troubleshooting tips here.
Now let’s explore some of the other features that you can access from Zapier’s Dashboard.
While building Zaps is the main thing that you’ll be using and accessing Zapier for, it’s also good to familiarize yourself with the other options and features that you have at your disposal.
In your Dashboard, you’ll see a few helpful choices.
You can search for an app to start building a new Zap, or browse Zapier’s recommendations for new Zaps to build.
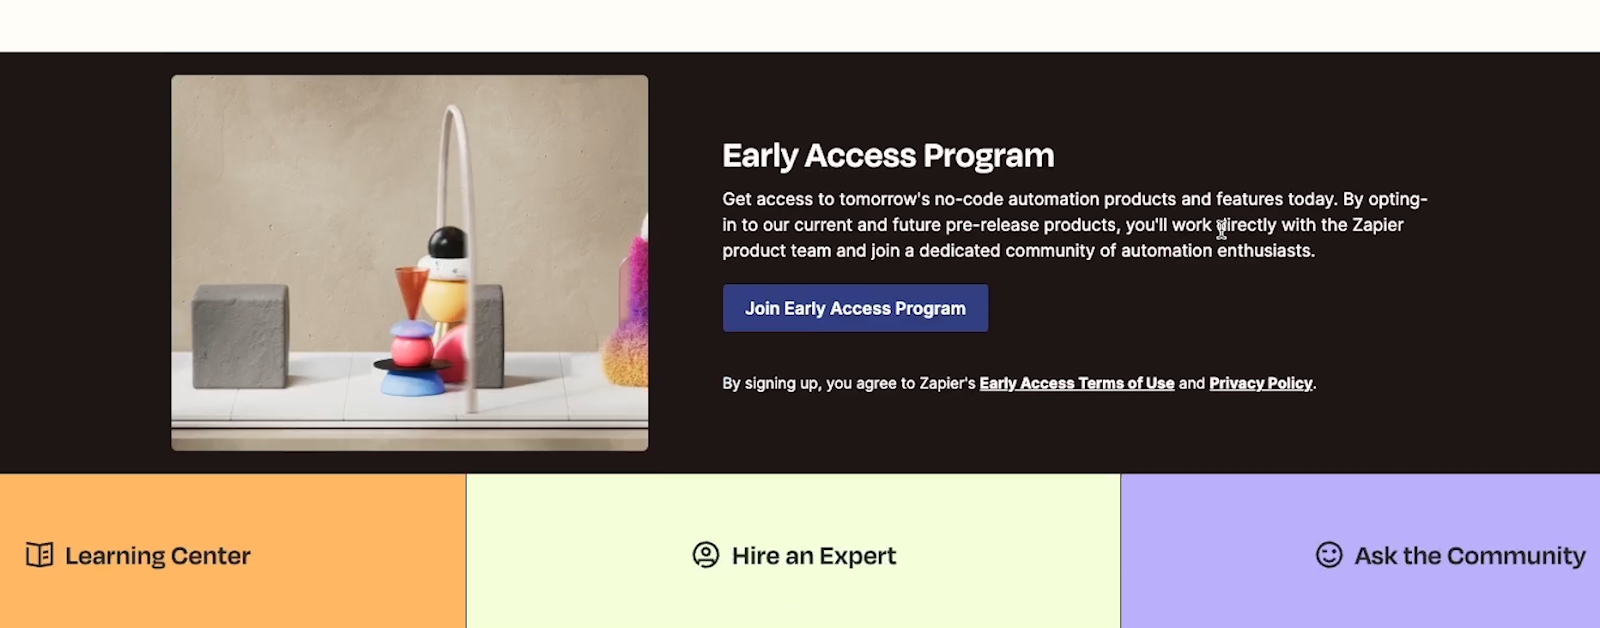
And if you scroll down to the bottom of the page, you’ll see a few more resources. With these links, you can sign up for early access to new features that are still in-development, or check out the “Learning Center” for Zapier’s own tutorials. If you need more support, you can click on “Hire an Expert” to view the Experts directory, or select “Ask the Community” to visit Zapier’s forums.
Under “Zaps”, you can see all of your Zaps and the folders you’ve stored them in. Here, you can edit Zaps you’ve already built, create new ones, or delete Zaps that you don’t need anymore.
You can also turn Zaps on or off if you just want to pause them for a while.
Under transfers, you can build a different type of automation. In Zapier, a “transfer” is used to import a large dataset from one app to another.
For instance, you might want to use a transfer to move your company directory from Google Sheets to Airtable. In this tab, you can see your existing transfers or create a new one.
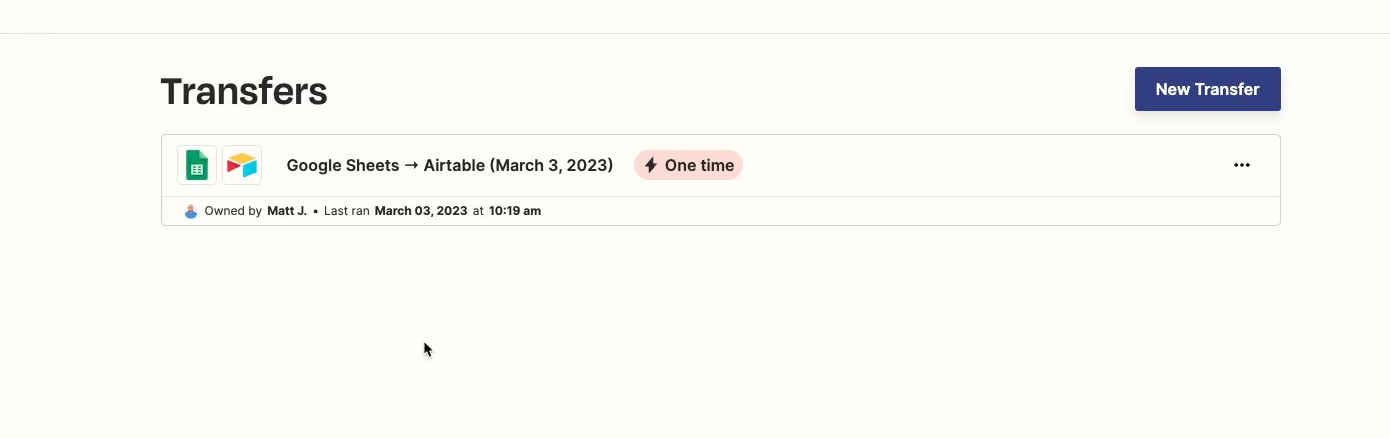
Frankly, transfers aren’t that great of a feature yet. They might become more useful in the future, but for now, you’re probably better off with a simple CSV export for a one-time migration, or using an app like Whalesync for automated syncing.
Under the “My apps” tab, you’ll see all of the apps that you’ve authorized for Zapier to access.
You’ll see the apps that you’ve individually authorized, the apps that your team has shared with you (if you’re on a team plan), and any custom integrations you’ve built.

Authorization for your apps will often expire after several weeks have passed, or after you’ve changed your password for the app, so it’s good to check in on this tab periodically for any issues.
Under Zap history, you can see a record of each individual run for every single Zap. This is a useful tab for keeping track of your total Zap runs and tasks, which can be limited based on your subscription plan.
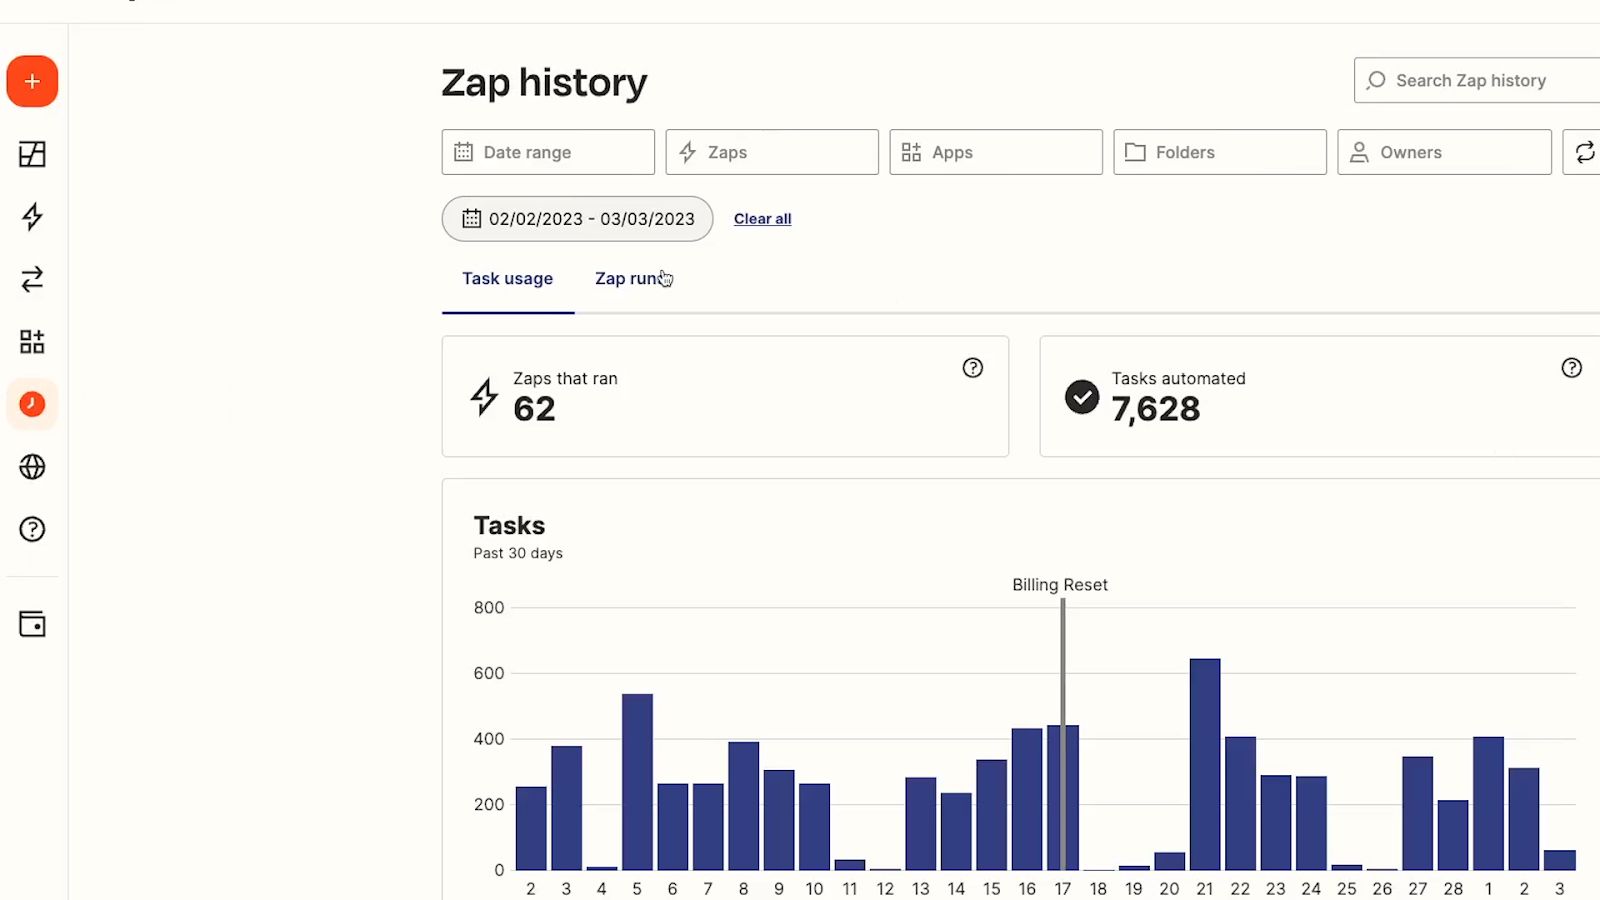
It’s also a helpful starting point whenever you have a Zap that isn’t behaving as expected. Clicking on a failed Zap run, or a run that’s considered “Successful” but didn’t do what you wanted, is a great way to see more detail and start troubleshooting.
You can use the search bar in the top right to find specific data associated with any Zap run to make your troubleshooting quicker and easier.
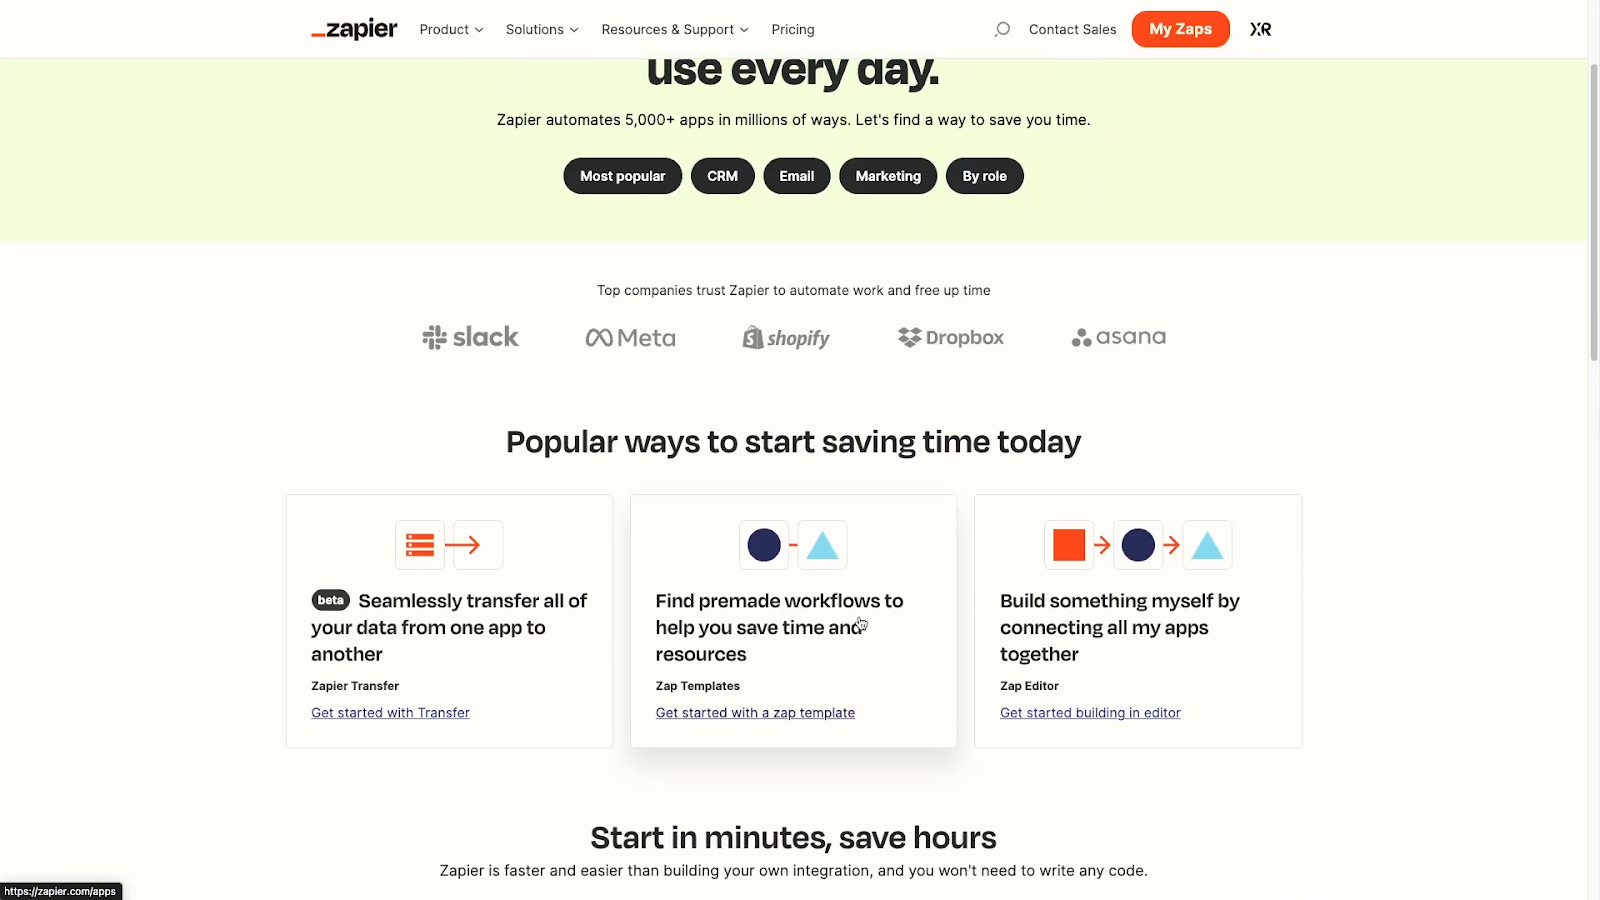
The “Explore” tab will take you out of the Zapier app and back to their website, where you’ll see more ideas and templates for Zaps you can build.
Under “Get Help”, you can get help. No surprises there!
Here, you’ll see a comprehensive list of guides and tutorials to help you learn the basics of Zapier or troubleshoot common errors.
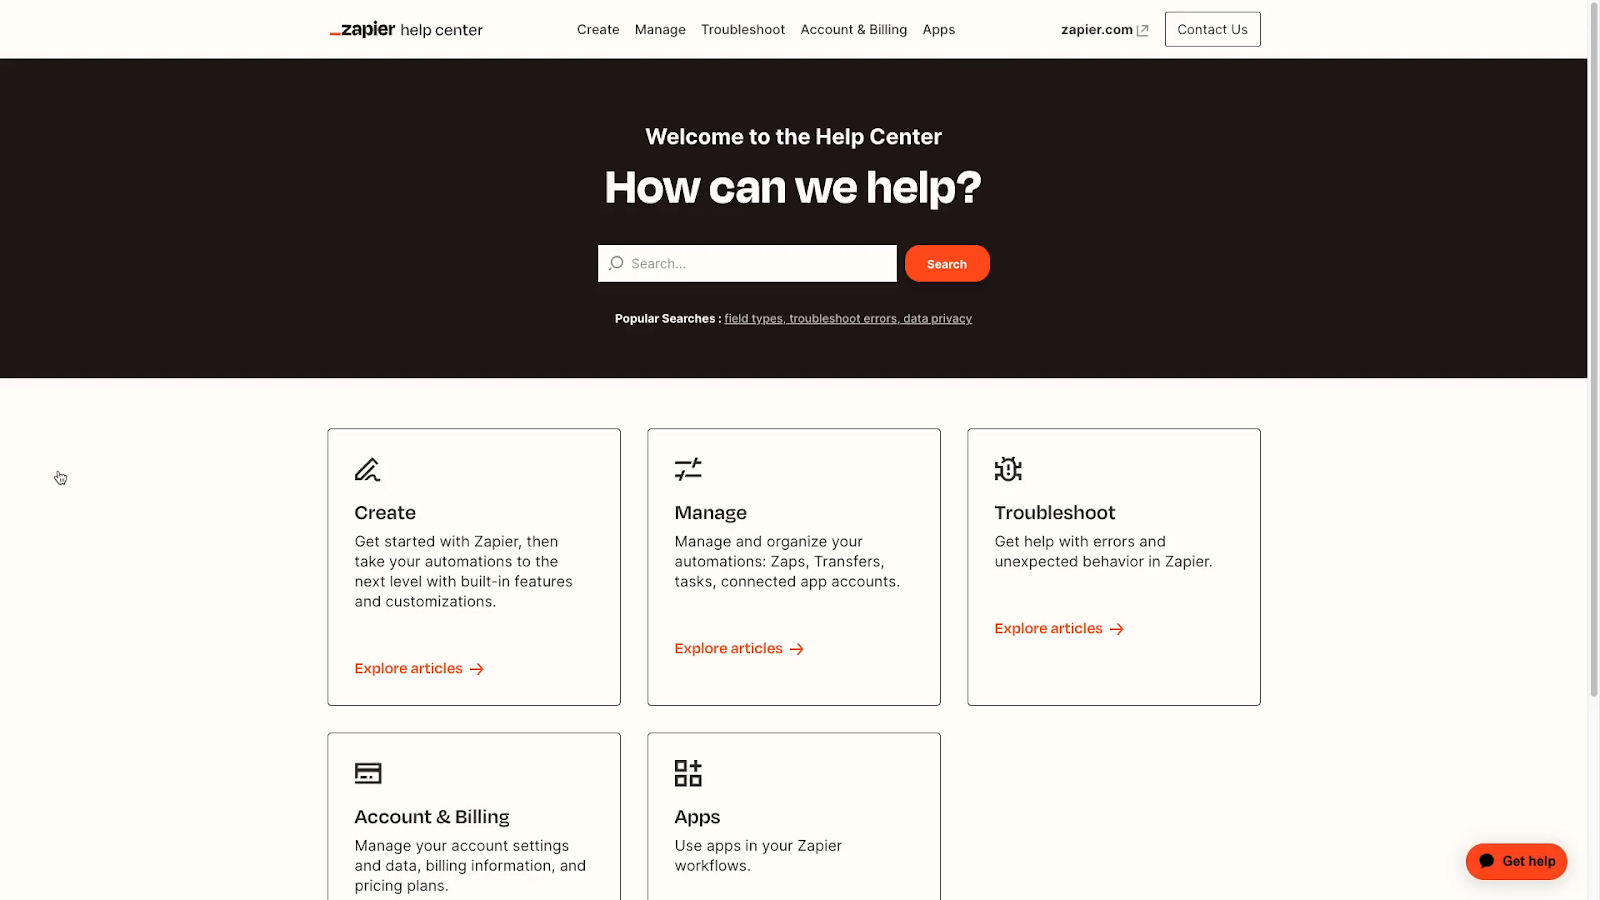
Once again, this takes you out of the Zapier app and back onto their website.
Finally, at the bottom of this panel, you can see your overall usage statistics and manage your plan.
When you click on “manage plan”, you’ll see several options for managing your subscription, your payment methods, and more.
While we’re on the subject - let’s quickly go over the available pricing plans for Zapier.
You can see all of the details in the screenshot below or on the pricing page here, so we won’t bother repeating all of the information. We will give you a few quick tips, though.
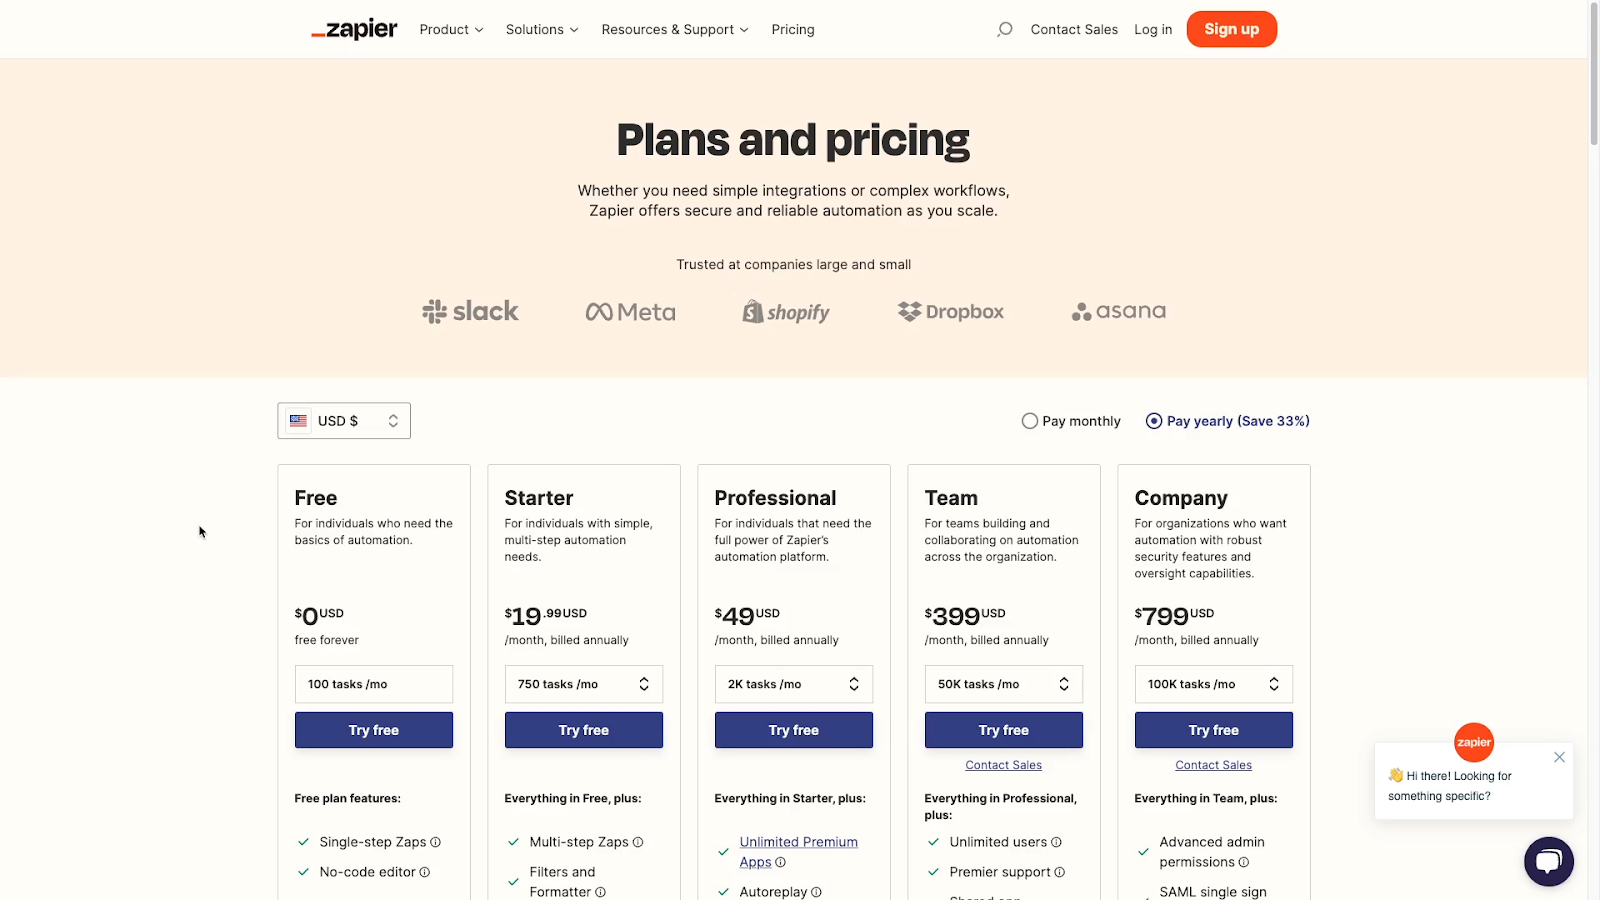
The free plan is only really useful for checking out Zapier for the first time. With the two-step limit, you won’t be able to build many useful automations, and you’re limited to five total Zaps anyway.
The starter plan gives you a bit more to work with, but if you intend to rely on any Zaps in your day-to-day work, you’ll probably want to use the Professional or Professional plus tiers.
Of course, if you’re hoping to make workflow automation a mainstay at your company, you’ll need to consider the Team or Company plans to get everyone at your organization on board.
But as an individual user, the Pro or Pro Plus plans will probably be your best bet if you’re looking to get the most out of Zapier.
As you’re looking at those prices, you might be wondering: is Zapier worth it? Why would I want to pay $20 or more for this every month?
Zapier isn’t the only no-code or low-code automation provider available. There are tons of similar tools available, like Make or Workato, so you may want to consider them as well.
However, there are three key benefits that make Zapier one of the best choices for no-code automation beginners.
First off, Zapier is extremely easy to use.
As we’ve already mentioned, Zapier doesn’t require you to have any kind of coding background at all. You don’t even need to have any experience with similar automation apps.
As long as you’re generally comfortable with using modern web apps, you’re good to go with Zapier.
If you do have some experience with writing code, you may actually want to check out Make instead. You can learn more about Make in this tutorial here.
Second, in addition to being easy to use, Zapier has a huge number of software integrations.
It supports thousands of popular web apps. If you check their list of integrations, you’ll see everything from Google Drive and Hubspot to Microsoft Office and Shopify.
There’s integrations for CRMs, website builders, productivity tools, task managers and more.
Really, unless you’re using custom software, the odds are very good that Zapier supports your apps.
But you can always do a quick search for your app in XRAY.Tools, a simple search engine that shows you what you can automate with the tools you already use.
Finally, Zapier is an extremely popular tool, which gives you lots of options for support if you run into any issues.
You can check out Zapier’s Experts directory to get one-on-one help from experienced pros like XRAY.
You can also check out a plethora of forums to get help from other users.
Ultimately, if you encounter a problem when you’re using Zapier, you can probably find dozens of other people who have been there before and found a solution.
With Zapier, anyone can start automating their work, regardless of their technical experience or background. If you’d like to check it out for yourself, just go to www.zapier.com and follow along with this tutorial.
If you’d like to take your Zapping to the next level, check out our blog or our YouTube channel. You can also follow XRAY on Twitter, Facebook, or LinkedIn.

.pptx.png)

