
Google Drive is a great tool for storing shared documents, but setting up folder structures for new clients and projects can be a tedious task.
In this tutorial, we’ll show you how to automatically create nested folders in Google Drive using Zapier. This means that you’ll be able to make a new folder, create additional folders within that first folder, and so on.
A nested folder automation is a useful addition to a client onboarding workflow, a project launch workflow, or any situation where you need to frequently make sets of similarly structured folders.
Creating folders is a simple automation suitable for any skill level, so you can follow along even if you haven’t used Zapier much at all yet.
As with any Zapier automation, you’ll need to have a triggering event before you can add actions like creating folders.
Your triggering event can be nearly anything, but it’s best for this tutorial if your trigger includes data you can use to name your new folders.
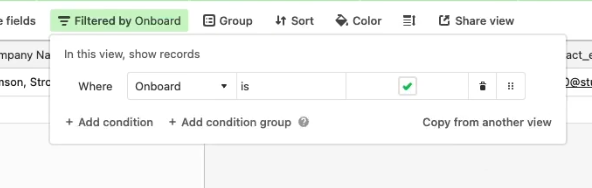
In our example, we’ll use a “New Record” in our Airtable database of clients as a trigger. When we check the “Onboard” column for a client in this database, that record will appear in the “Onboarded Clients” view, and trigger the automation.

Learn more about triggering automations with Airtable views in this post
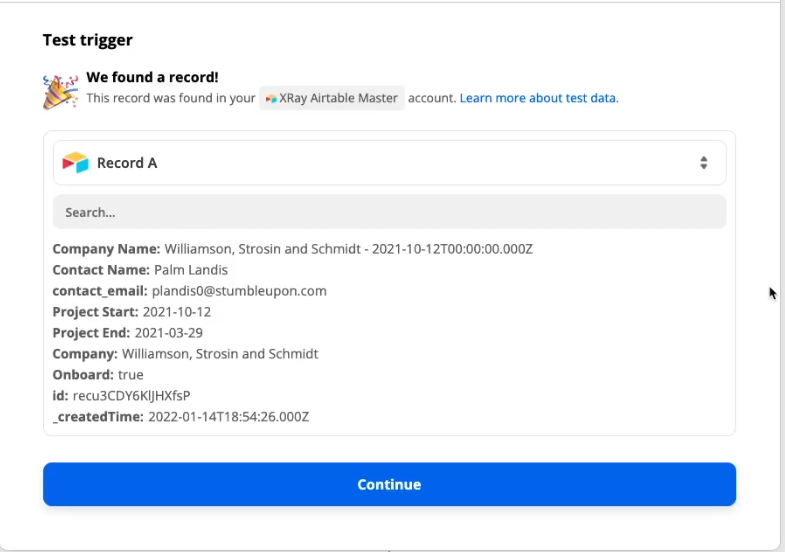
You can use a similar trigger, or use whichever app you’d like here. Test your trigger to get some data, and continue.
Add a step, choose Google Drive as the app, and choose ‘Create Folder’ as the Action Event. Sign in to your Google Drive account, and continue.
Select the Drive that you’d like to use, or leave the field blank to default to using “My Drive”.
Next, you’ll need to specify the folder where you want to create your first new folder.
The easiest and most reliable way to identify a Google Drive folder in Zapier is to grab it from the URL.
In a separate tab, open up your Google Drive and open up the folder that you want to use. In your address bar, highlight the alphanumeric code after “/folders/” .
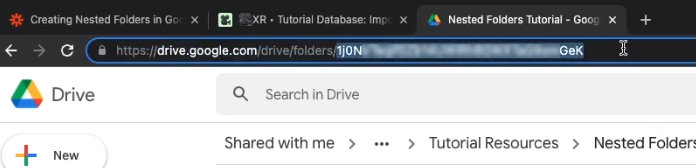
This string of characters is your folder’s ID, and it's the best way to designate a folder for use in Zapier.
Otherwise, you’ll have to navigate a clumsy UI to dig through all of your folders, and depending on the ownership of each folder, you might not be able to find them at all.
So to keep things simple, copy the string of characters after “/folders/” and paste it into the Parent Folder field.

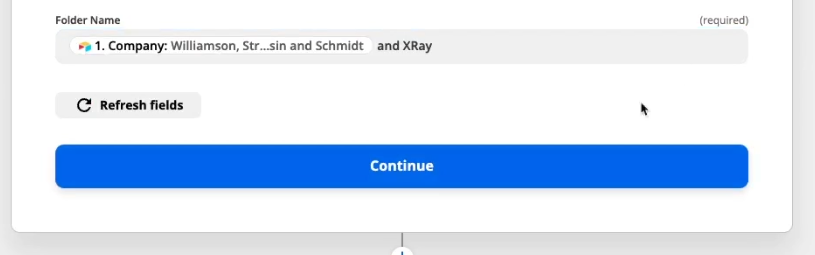
Give your new folder a name. We recommend using data from your trigger to make sure that the name will be unique each time the automation runs. We’ll use the Client Name from our Airtable trigger.
Test this step, and check Google Drive to make sure the new folder has been created as expected. You can enter “alternate” in the “Search folder data…” field to find the alternate link, which is your folder’s URL.
To make a folder within the first folder you created, add another Google Drive - New Folder step.
This time, set the ‘Parent Folder’ as the folder you created in the previous step. You’ll do this with the folder’s ID again, but this time, you don’t have to open up a new tab
Click on the ‘Parent Folder’ field, and click on “2. ID”. This means that Zapier will use the ID of the folder created in Step 2.
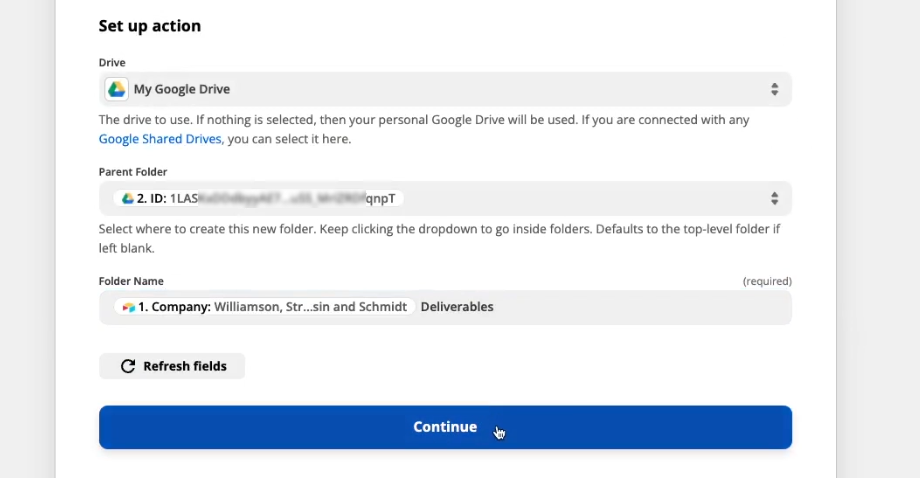
Give a name to your new folder. We’re going to name ours “{Company} Deliverables”. Continue and test this step.
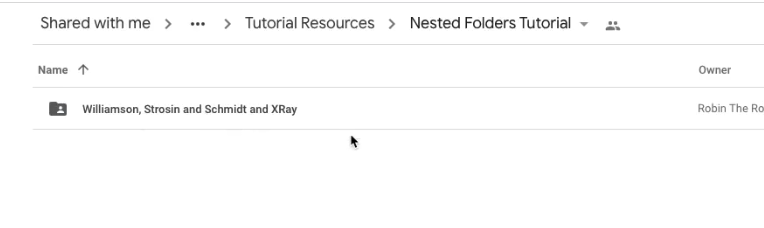
Once again, you can use the alternate link to pull up your folder in drive and confirm that it worked properly.
If you’d like to add more folders, you can repeat these steps as desired.
Now you can turn your Zap on and give it a complete test all at once. Add a new record to your Airtable view (or do whatever you need to in order to activate your chosen trigger), and wait a few minutes.
Once the Zap runs, it will create all of your folders simultaneously.
Now you know how to make nested Google Drive folders with Zapier. This is a simple but useful technique for setting up new clients, new projects, and more. It will also ensure that every folder is created in a consistent way, so you don’t need to waste time looking through disorganized files to find what you need.
If you’d like to learn more about building no-code and low-code automations, check out our blog or our YouTube channel. You can also follow XRAY on Twitter, Facebook, or LinkedIn.

.pptx.png)
.pptx.png)
