
No-code automations are a great way to save time and make your workflows more consistent. But sometimes, a simple linear automation doesn’t cut it. In real-world situations, you may need to accommodate variable inputs and multiple scenarios.
In Zapier, Paths let you build more flexible automations that will perform different actions based on a specific variable inside of your automation.
Adding a little conditional logic to your Zaps with Paths will make your automated workflows much more adaptable to your everyday work.
In this post, we’ll show you how to get started with Paths with a quick and easy example.
In our example, we’ll create a simple Zap that will send an email to anyone who has reached out to work with us through our Webflow site.
The content of the reply will change based on the information the respondent provided when they filled out the Contact form.
Our Contact form includes a dropdown selection for “Service Type” with three options: Project, Membership, and Other.
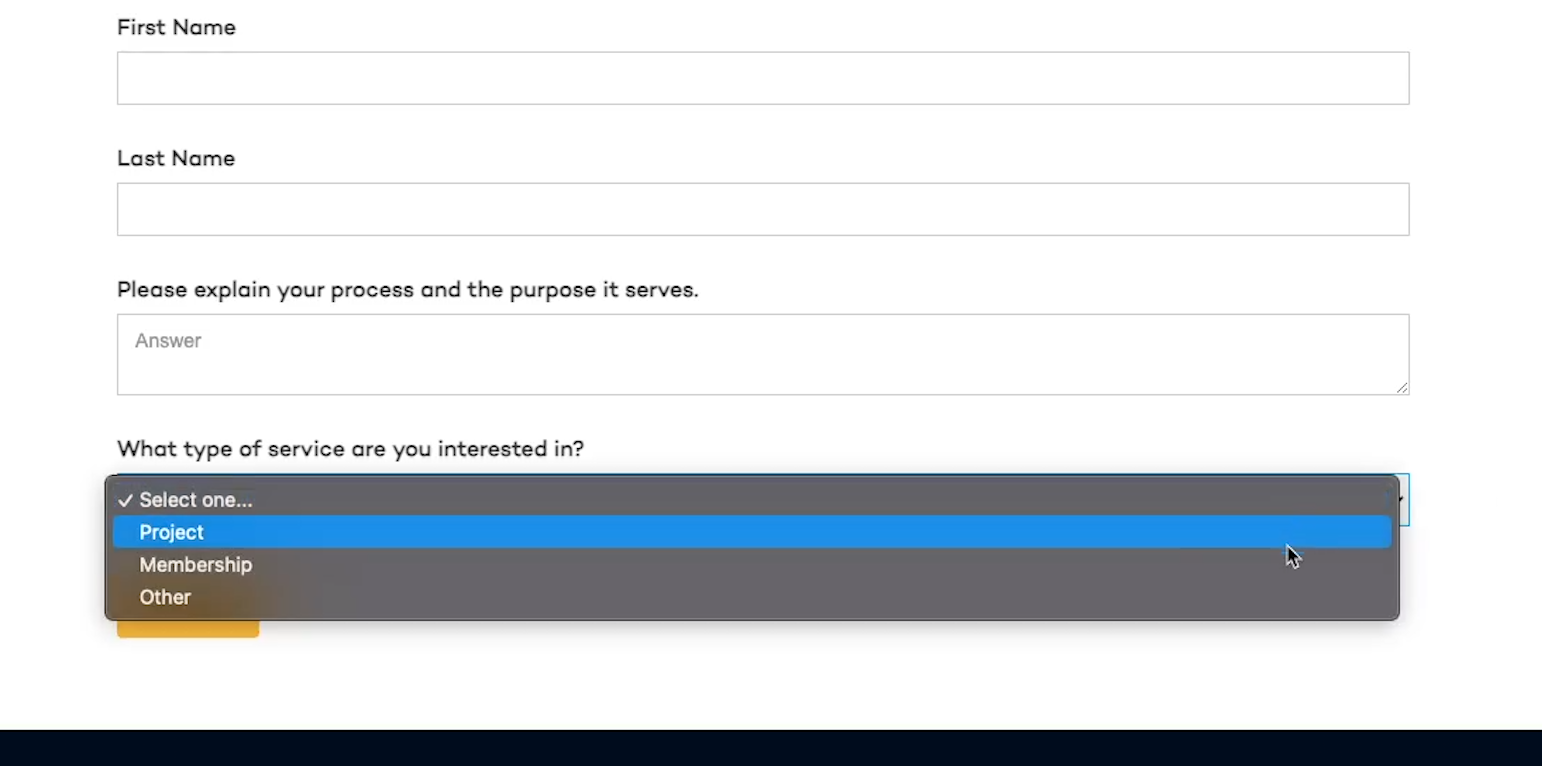
We’ll send one message for “Project”, one for “Membership”, and a default message for “other”.
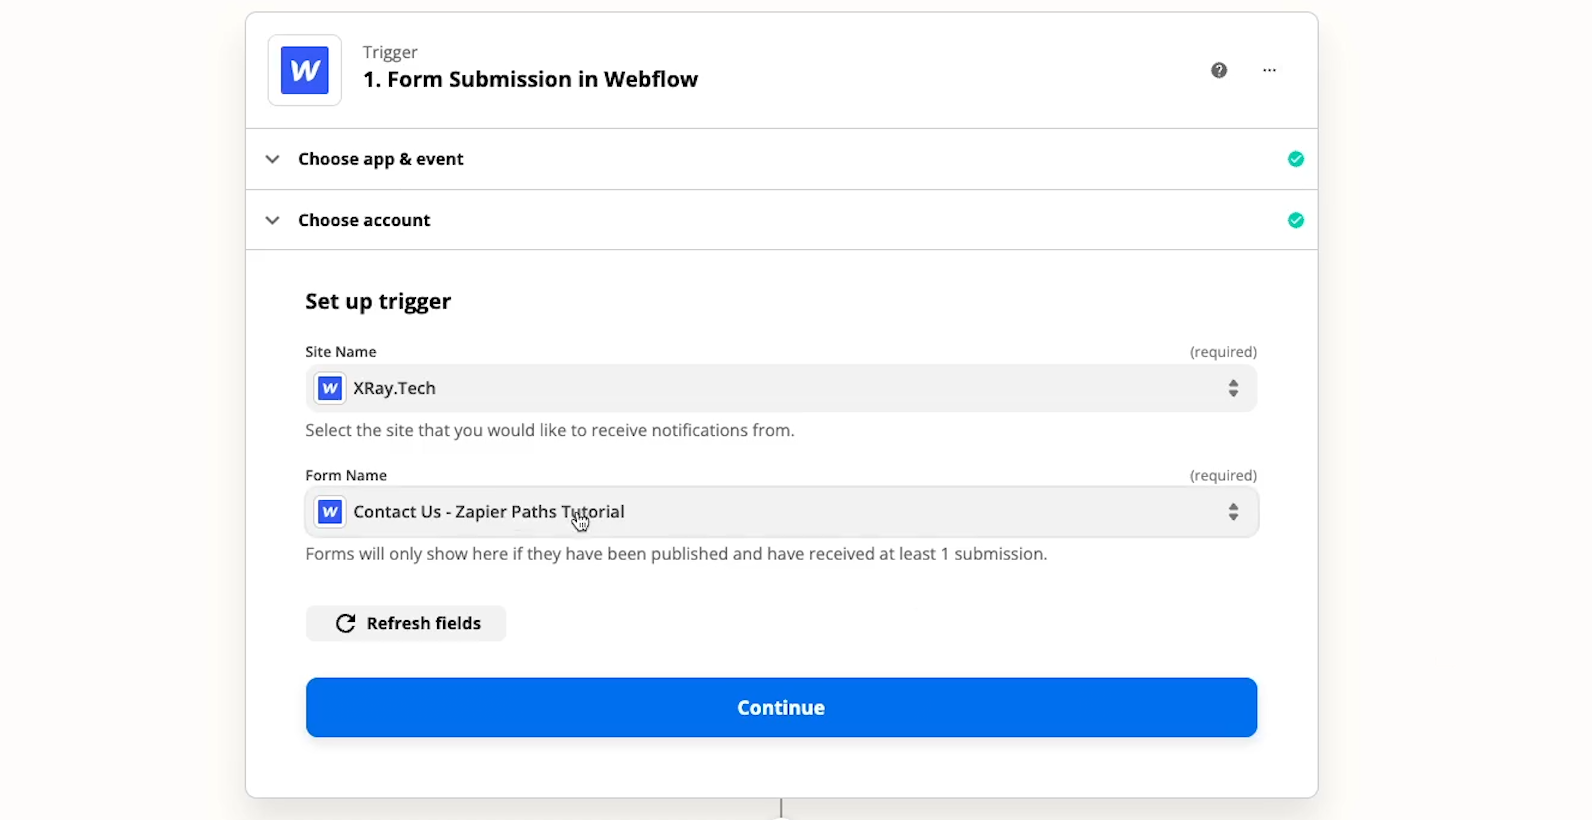
Before you can add paths, you just need to have a trigger to start your Zap. In our example, our Zap will run whenever a new response is recorded in this Webflow form.
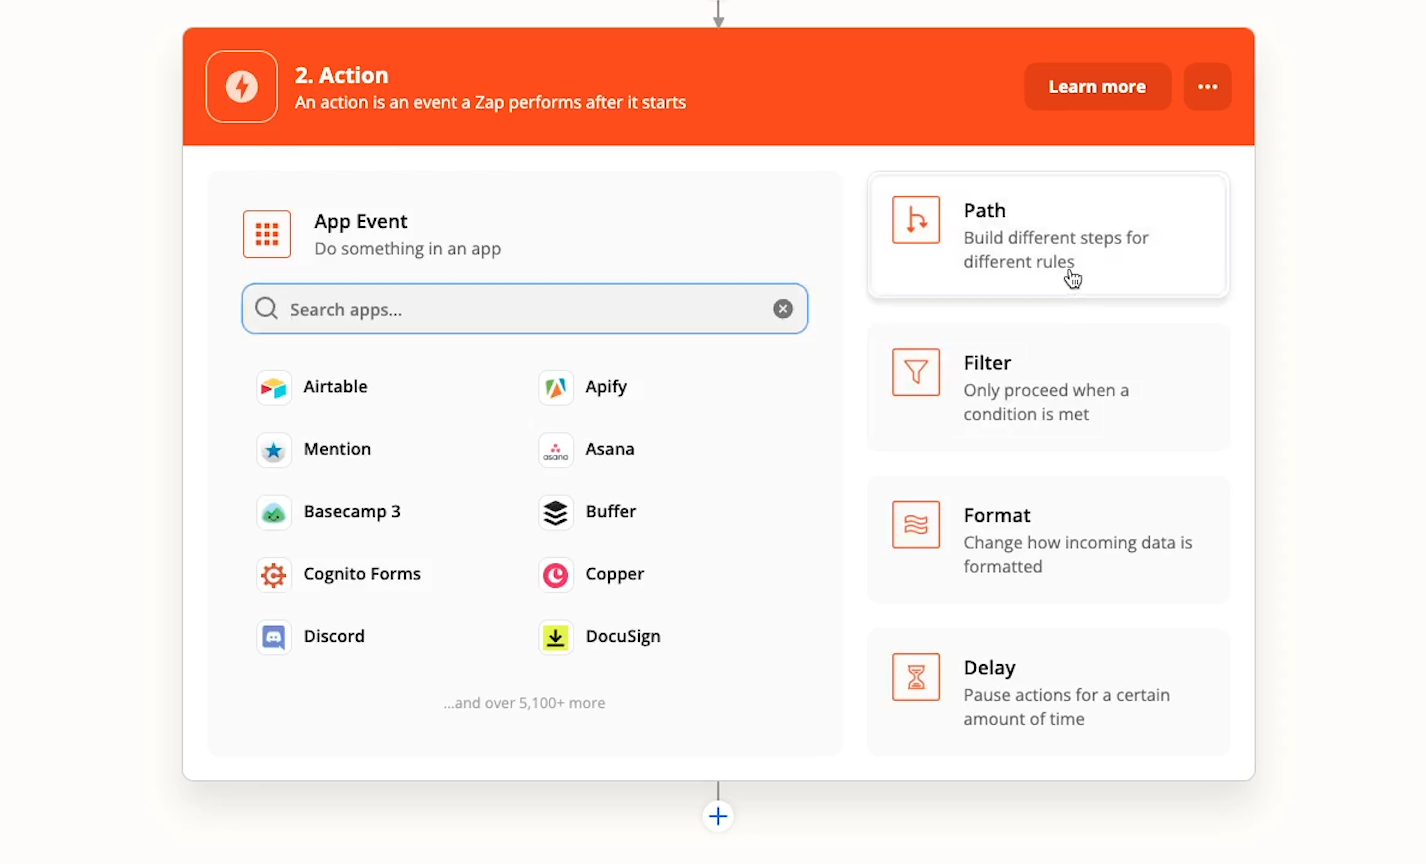
To build the first path, add a new action, and click on “Path”.
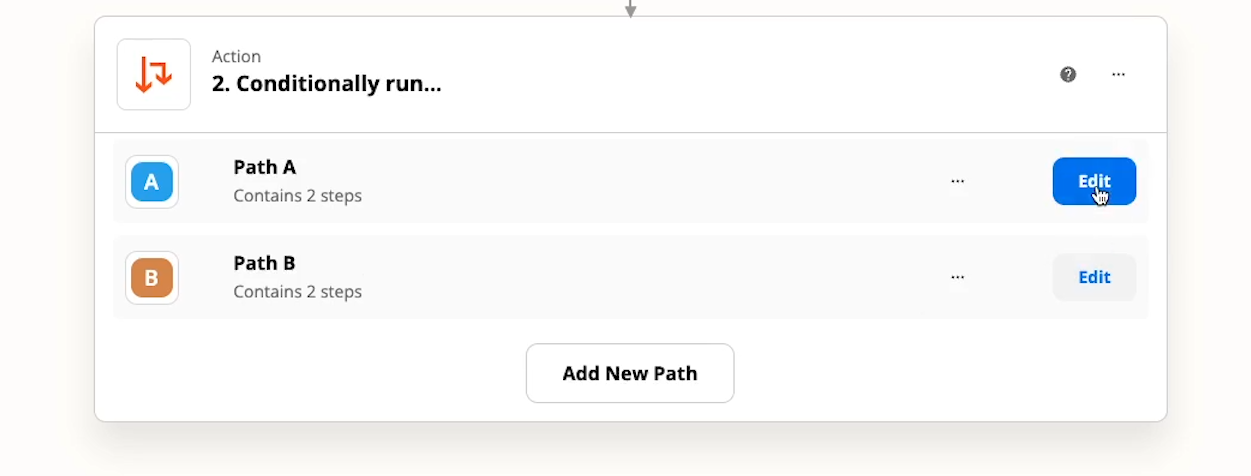
Zapier will now generate two blank paths, labeled “Path A” and “Path B”. Click on “Edit” to edit the first Path (Path A).
Fill in a name for this path, and make sure it’s descriptive. It will be much easier to maintain your automation later if you know what each path does. In our example, this will be the “project” path, so we’ll just call it “Project”.
Now, you need to set a rule. The automation will only continue down this path if the data it’s processing matches this rule.
In our example, the content in Service Type should exactly match the word “Project”.

Once you’ve set your rule, click continue to test it and make sure it works.
Before you continue, you should also make sure to test some data that shouldn’t match this rule.
For instance, in our example, we want to make sure that this path will run when the Service Type is “Project”, but we also want to make sure it won’t run for any other type.
So we’ll go back to the trigger step to choose a different piece of data to work with, and test the rule again.

And just as we hoped, the path wouldn’t have run, because this data has a “Membership” service type.
Once you’re confident that your rule works exactly as intended, you can move on and start adding the actions you want to perform in this path.
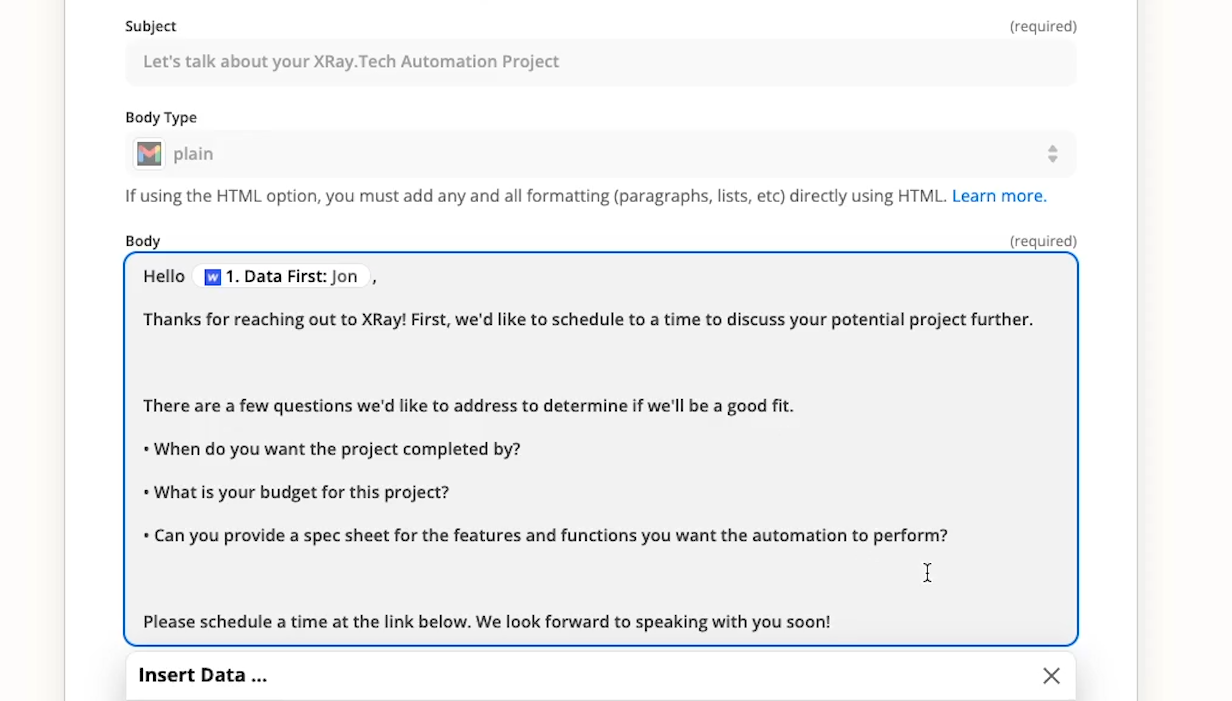
In our example, we’ll send an email with some project-specific text.
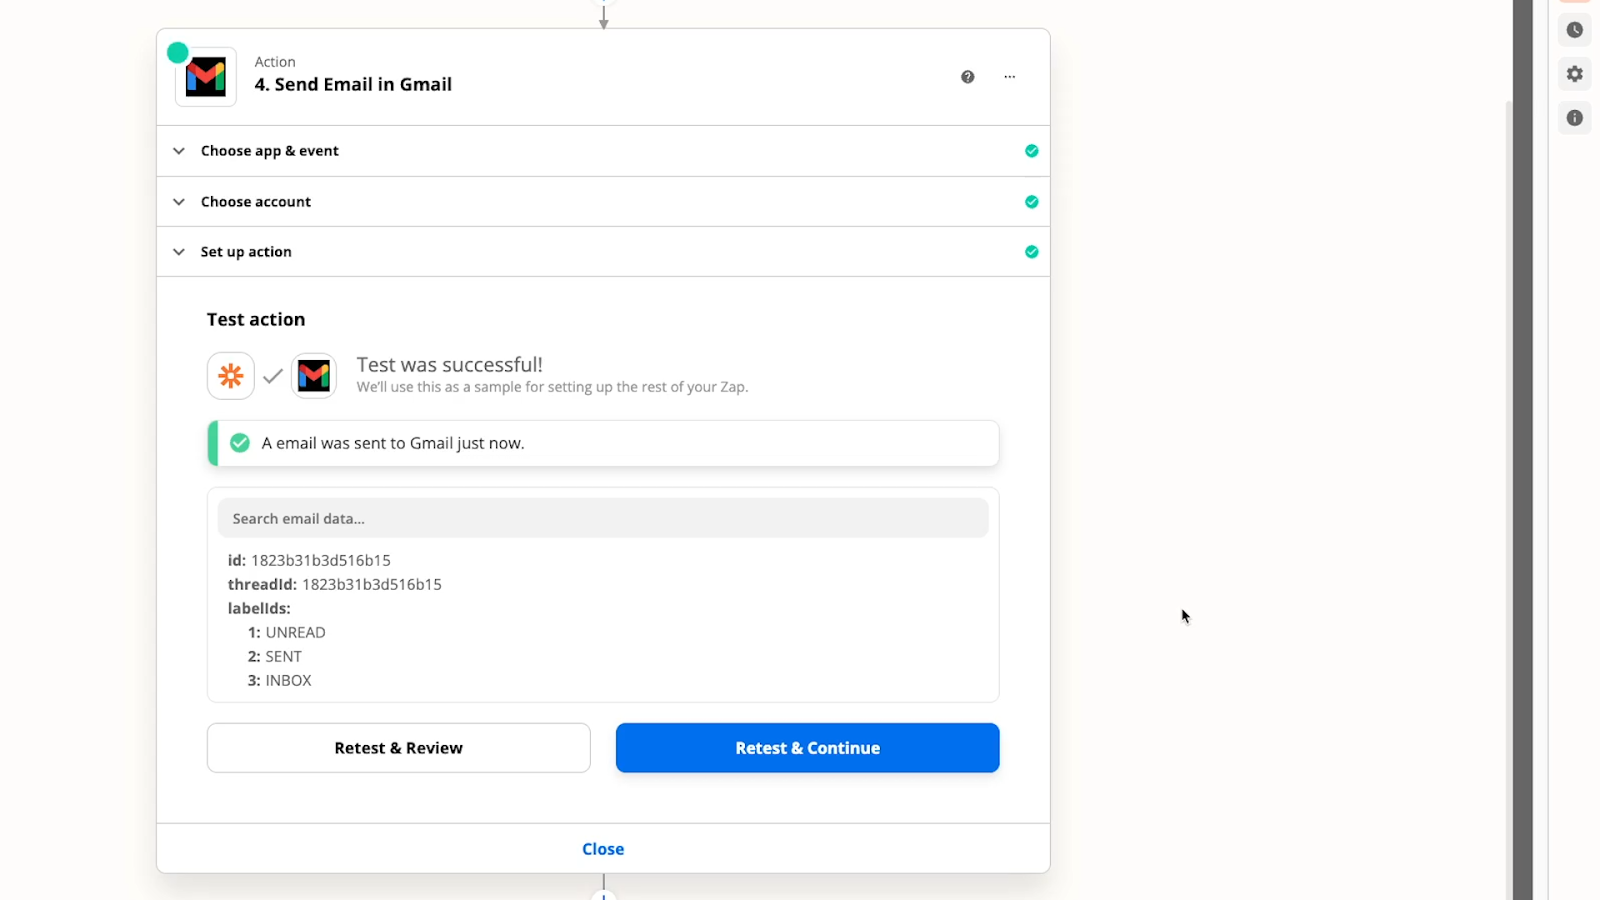
Once you’ve filled out all the required fields for your action, you can test the step.
To edit your second path, close the first one, and click “Edit” on Path B. The second path will be set up largely the same as the first, so you can mostly refer to our instructions for the first path again.
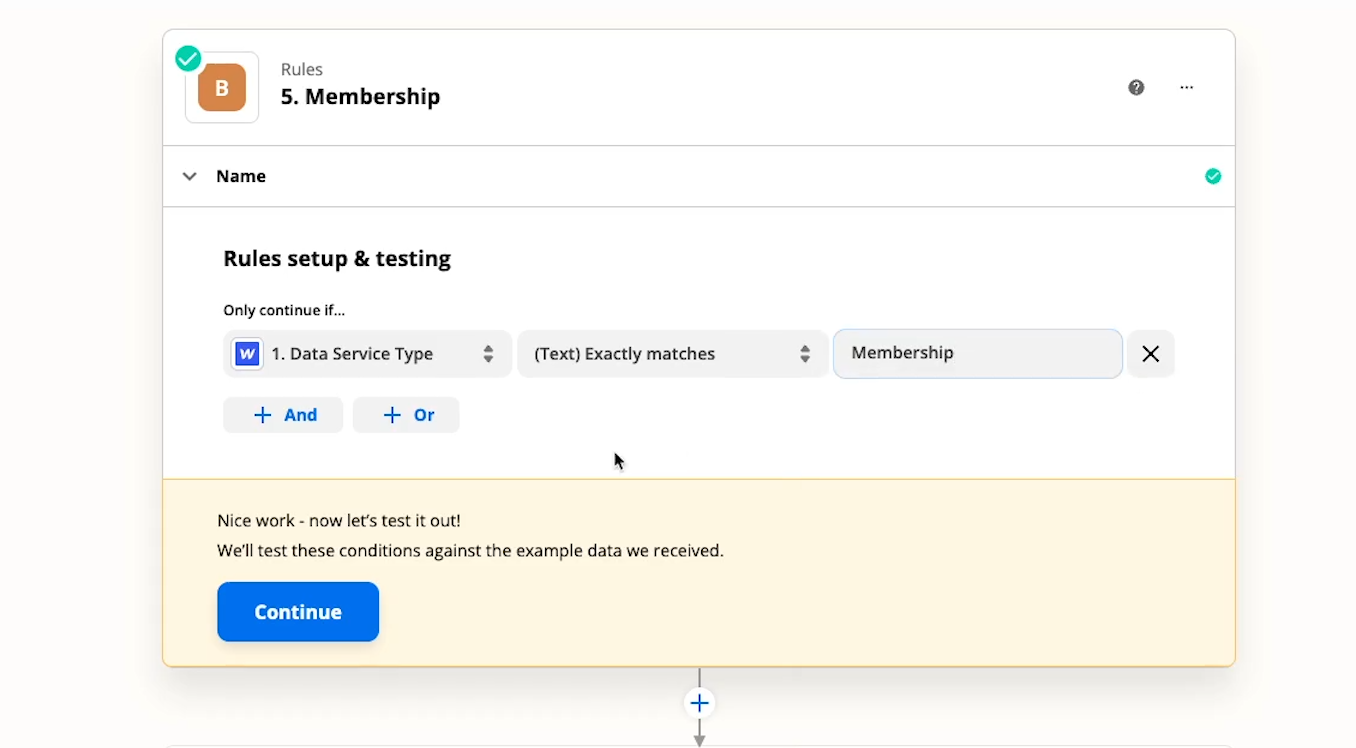
In our example, we just want to make sure that the rule for this path will only accept requests that have the service type set to Memberships, so we’ll set up a rule accordingly.
We’ll also include a membership-specific message in the email.

Finally, you should set a default path for your automation to use in case it doesn’t meet the conditions for either of your first two paths.
Click “Add new path”, and once again we’ll follow the same steps to create this final path.

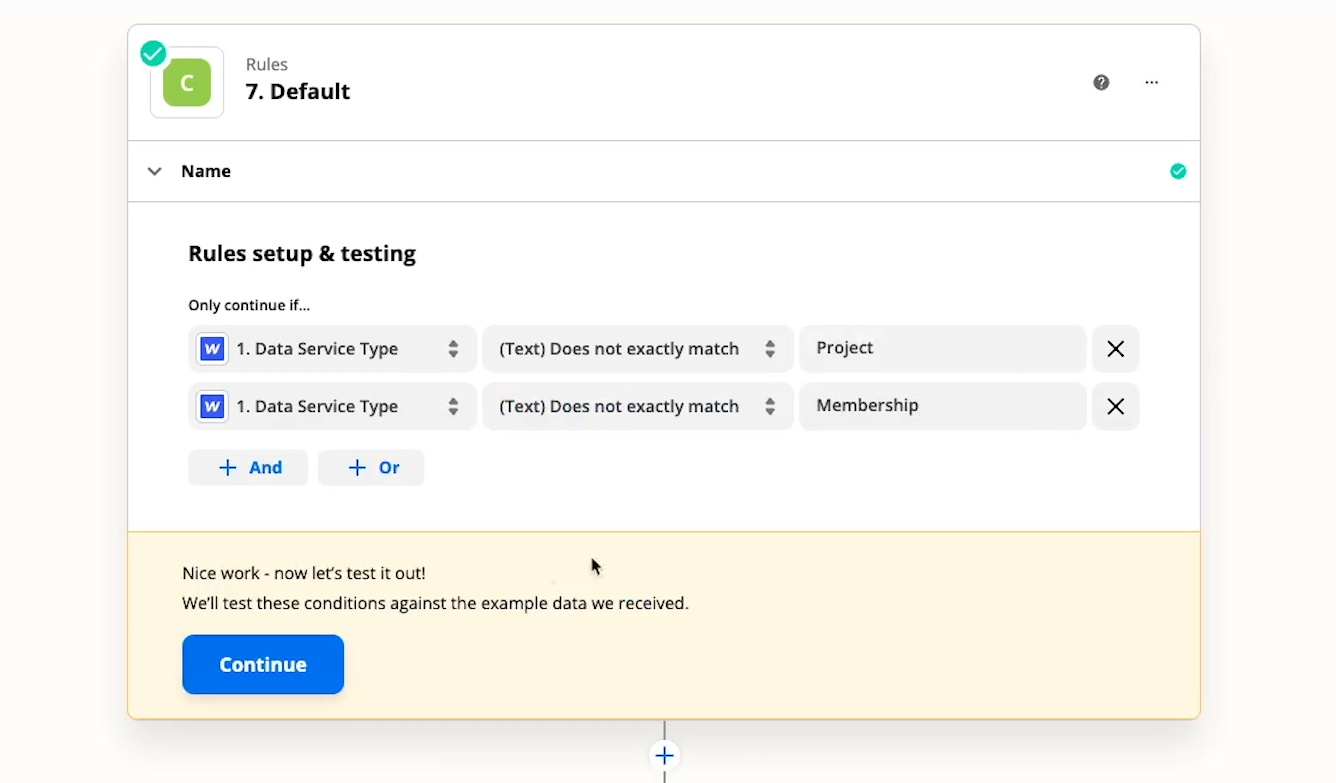
However, Instead of creating a path for Service Type responses that exactly match “Other”, we’ll make sure this path can be a catch-all for anything else. Having a default option is a good way to ensure that your automation will run properly no matter what.
We’ll set this path to run if the text in Service Type doesn’t match Project, AND doesn’t match Membership.
With this rule, this path will run if the user entered “Other”, or if they somehow managed to enter something else in the field. It also gives us a usable default response if we add other service types to the form.
Once you’ve set up your default path, test your automation a few times with some different data to make sure that every path works.
Here a few other things you should be aware of while using paths:
• You can only make 5 paths per path module in Zapier.
• You also can’t add any actions after a path module.
• You can nest paths within other paths, although we’d recommend Sub-Zaps instead.
Now you’re all set to start using Paths in Zapier. Paths will make your automations much more useful in real-world scenarios, and they’re very easy to set up. Just make sure to test the automation thoroughly and make sure that you’ve set up your rules correctly.
If you’d like to learn more about building no-code automated workflows, check out our blog or our YouTube channel. You can also follow XRAY on Twitter, Facebook, or LinkedIn.

.pptx.png)

