
One of the best ways to start unlocking the potential of automation is to start chaining several automated actions together. It’s great to be able to create a slide deck from a template with one form, but it’s even better to make a Google Doc at the same time, doubling your output without doing any extra work.
In this post, we’re going to go a step further and add the final action to the automation that we’ve been building over our last two blogs. With this addition, the automation will draft and send an email with links to the presentation and document that it just created.
If you missed our last two tutorials, be sure to check those out first to learn how to automatically create a Google Slides presentation and a Google Doc from one simple form.
Tutorial Steps:
1. Confirm the setup of your Airtable base
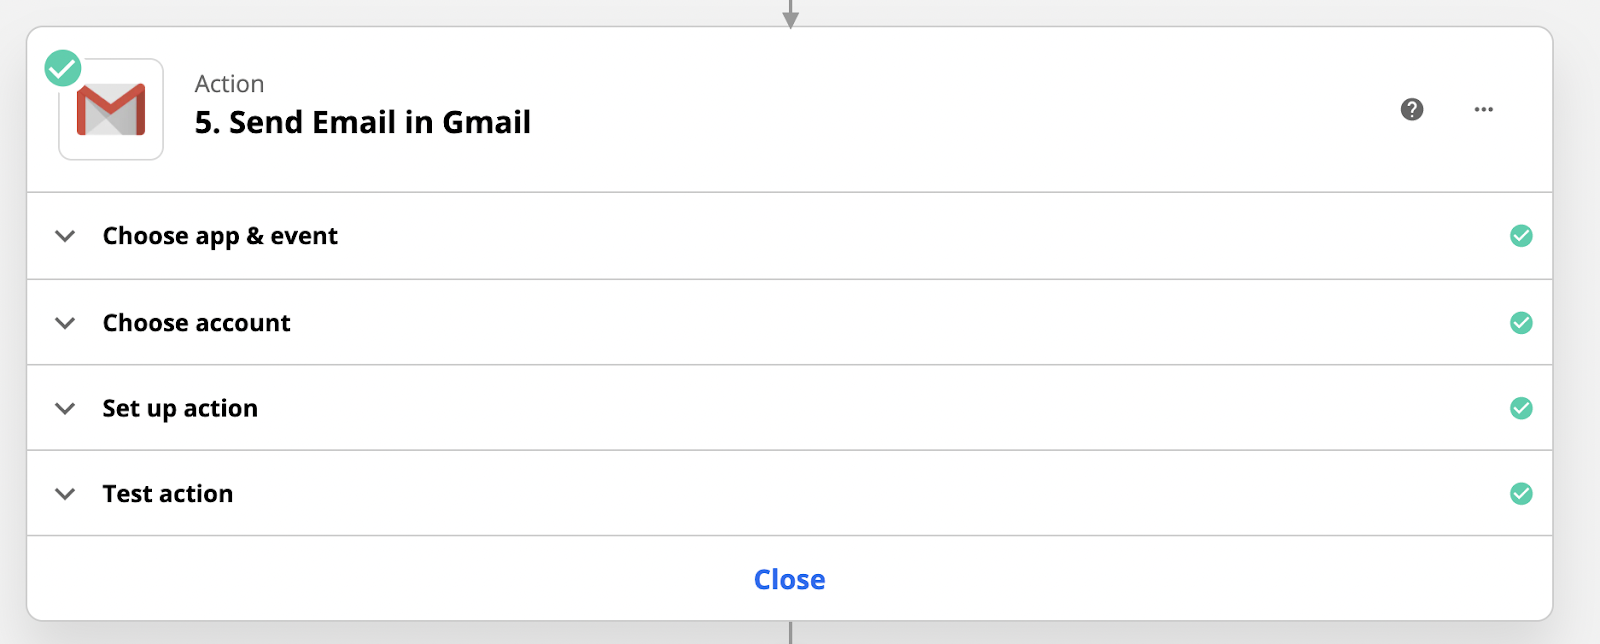
2. Add action: Send an email in GMail
3. Write an email template in Zapier
4. Fill in necessary email fields
5. Add links to your Google Docs and Slides files
6. Test your automation
In the last two tutorial blogs, you should have set up an Airtable base with columns that match the variables in your Google Slides and Google Docs templates. You may remember that there was also a “Client Email” that wasn’t used on either of the previous steps.
This final step is where we’ll make use of that email field, so make sure you’ve included it in your Airtable base. If you had to add it in, test your Zapier trigger again to pull in the updated data.

You’ll also want to enter a real email address that you have access to so that you can see the final product of your automation and make any adjustments you’d like to the email template.
Now head over to Zapier and open up the automation you’ve been building throughout these tutorials. Add an action to the end of the Zap, and choose Gmail as your app (or your preferred email provider - but bear in mind that the steps might be a little different than what we’ve outlined here). Sign in to your account, select “Send email” as the action, and continue.
Next, we’ll draft our email template directly in the “Body” field provided by Zapier. You can write whatever you’d like in this message, and use data from previous steps to create dynamic messages that include the meeting date, the client’s company name, etc.
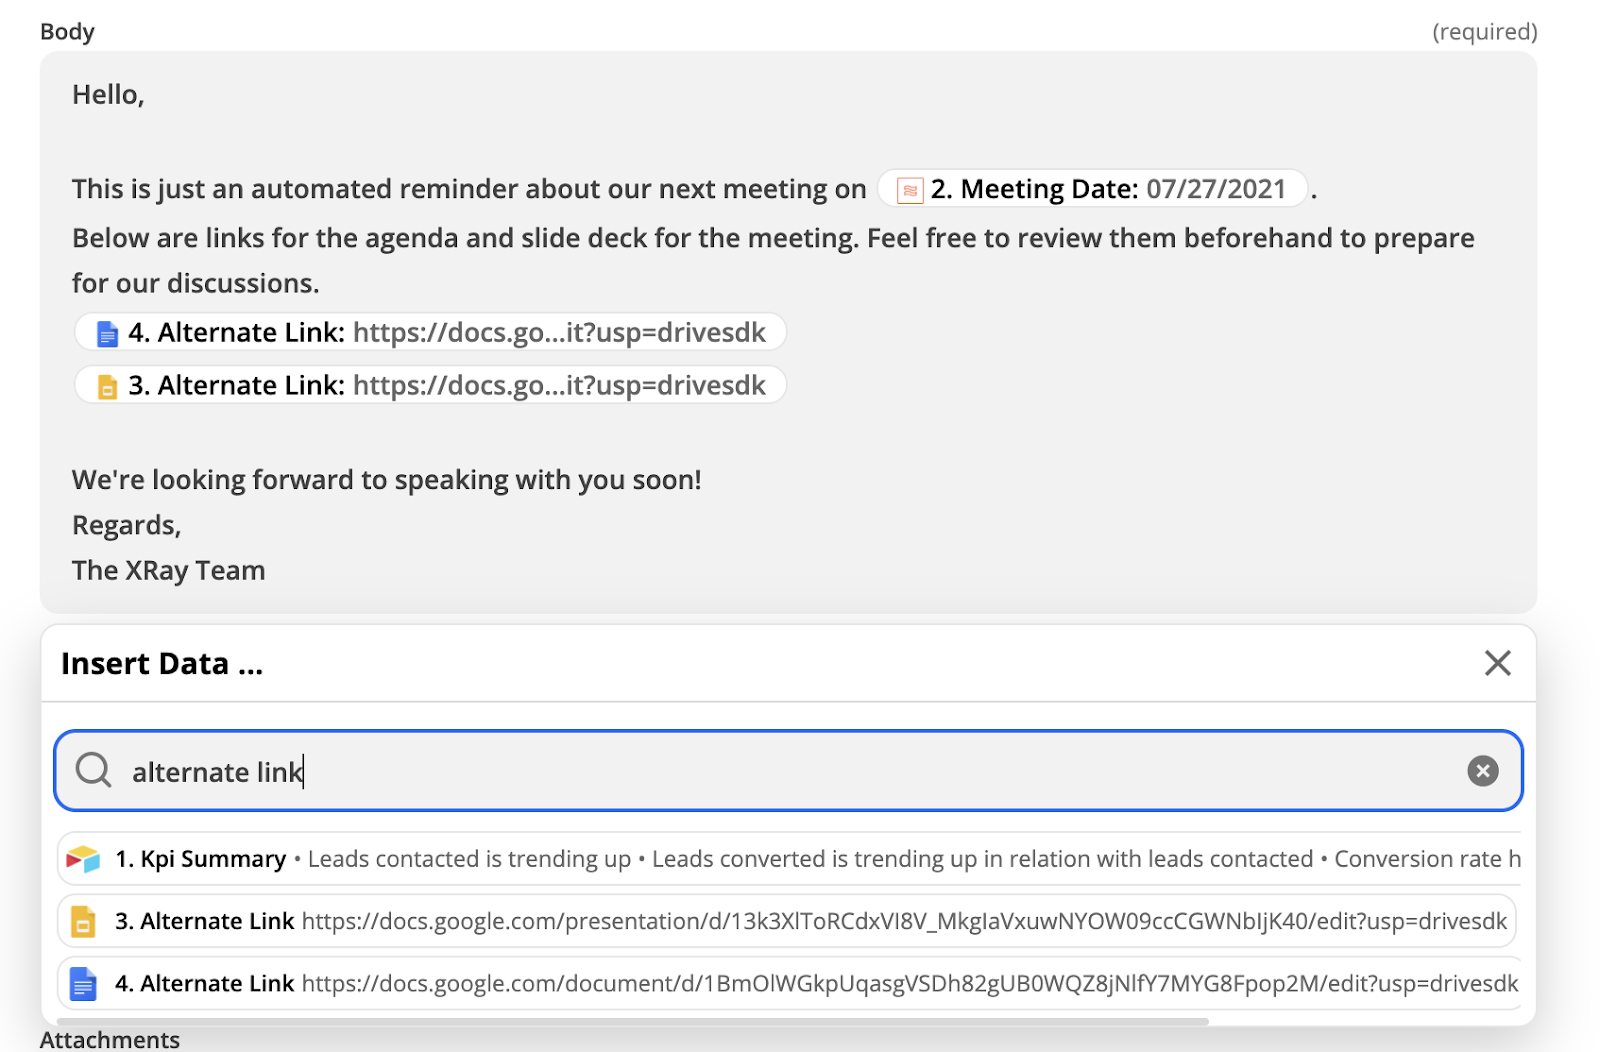
The main aspect we want to highlight here is how to send links to the presentation and document that you just created. To grab a link for the doc, insert data from the step where the doc was created. In the search bar, type in “alternate link”, and insert the piece of data that says “4. Alternate Link”. This “Alternate link” is the URL where you’ll be able to access the document. Then, do the same thing for your slide deck.
Now that the body of your email is all set, you’ll just need to fill out the rest of the fields needed to send an email. Subject, from, and CCs or BCCs you might want to add, and the recipient. In the “to” field, you’ll want to add the data for “Client Email” from the Airtable step. This way, it can send the email to whichever recipient you identified when you filled out the form to trigger the automation.
Dynamically generated data like this is a fundamental part of what makes automations useful. Simply performing identical steps and producing identical output with an automation only has limited applications, but creating customized documents from templates can be used in a wide range of scenarios.
With all of your email fields filled out, it’s now time to test the automation. You should see a success message telling you that Zapier just sent an email. Check the email address you provided to see the final message, which should look something like this:
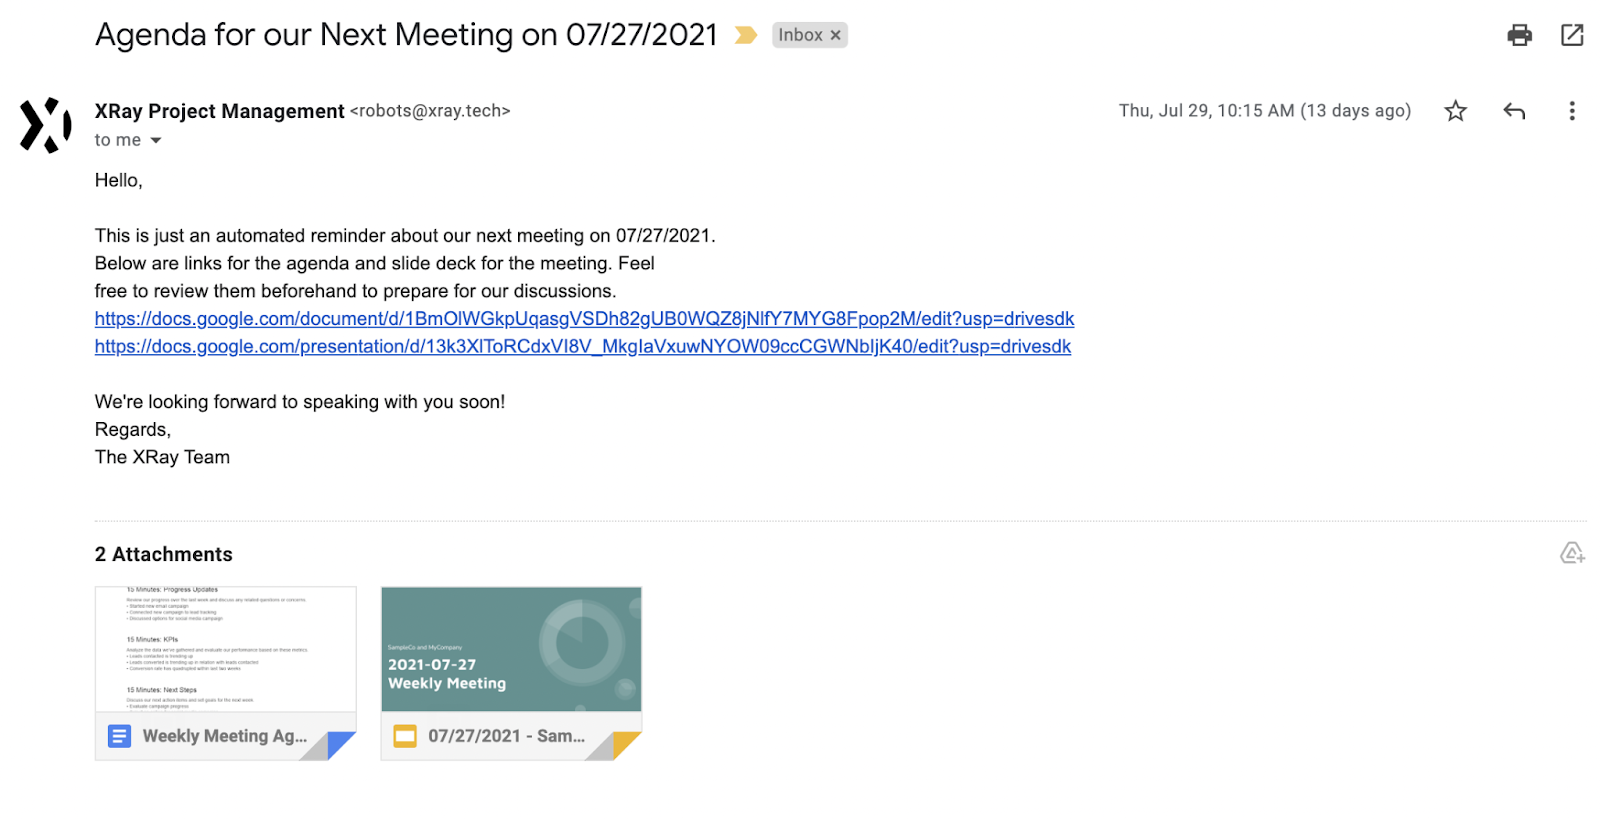
And now you’re all set. Your automation will create a Google Doc, a Slides presentation, and an email with links to both all by filling out a simple form.
Even if you’re not interested in automating your process for meeting agendas, the principles of this automation can apply to all sorts of situations. Consider any templated document that you use regularly, and think about how you can use these steps to automate that process, save time, and avoid errors.
If you’d like to find more automation tutorials or learn about XRAY’s approach to automating workflows, check out our blog or our YouTube channel. You can also follow XRAY on Twitter, Facebook, or LinkedIn.


.pptx.png)
.pptx.png)