
Airtable is one of the best database apps to use with your no-code and low-code automations. With customizable filters and views, Airtable lets you organize and manage your data with flexibility and precision as you build automated workflows.
One of Airtable’s most useful features for no-coders is the simple Form view option. Form views let you add records to an Airtable database by filling in a prompt for each field.
Forms are a great way to let colleagues and clients contribute to a database, and they help you ensure that you don’t have any incomplete records that could cause errors in your automations. They’re easy to set up, and they’re a very useful tool for any automator to have at their disposal.
At XRAY, Form views are one of our most common methods for triggering automations. In this post, we’ll show you everything you need to know to start using them.
All you’ll need for this tutorial is Airtable. We’d also recommend using an automation platform like Zapier or Make to see how Airtable Forms can trigger an automation to run.
First, open up an Airtable base that you’d like to add a Form to. In our example, we’re going to add a form to our Client directory.
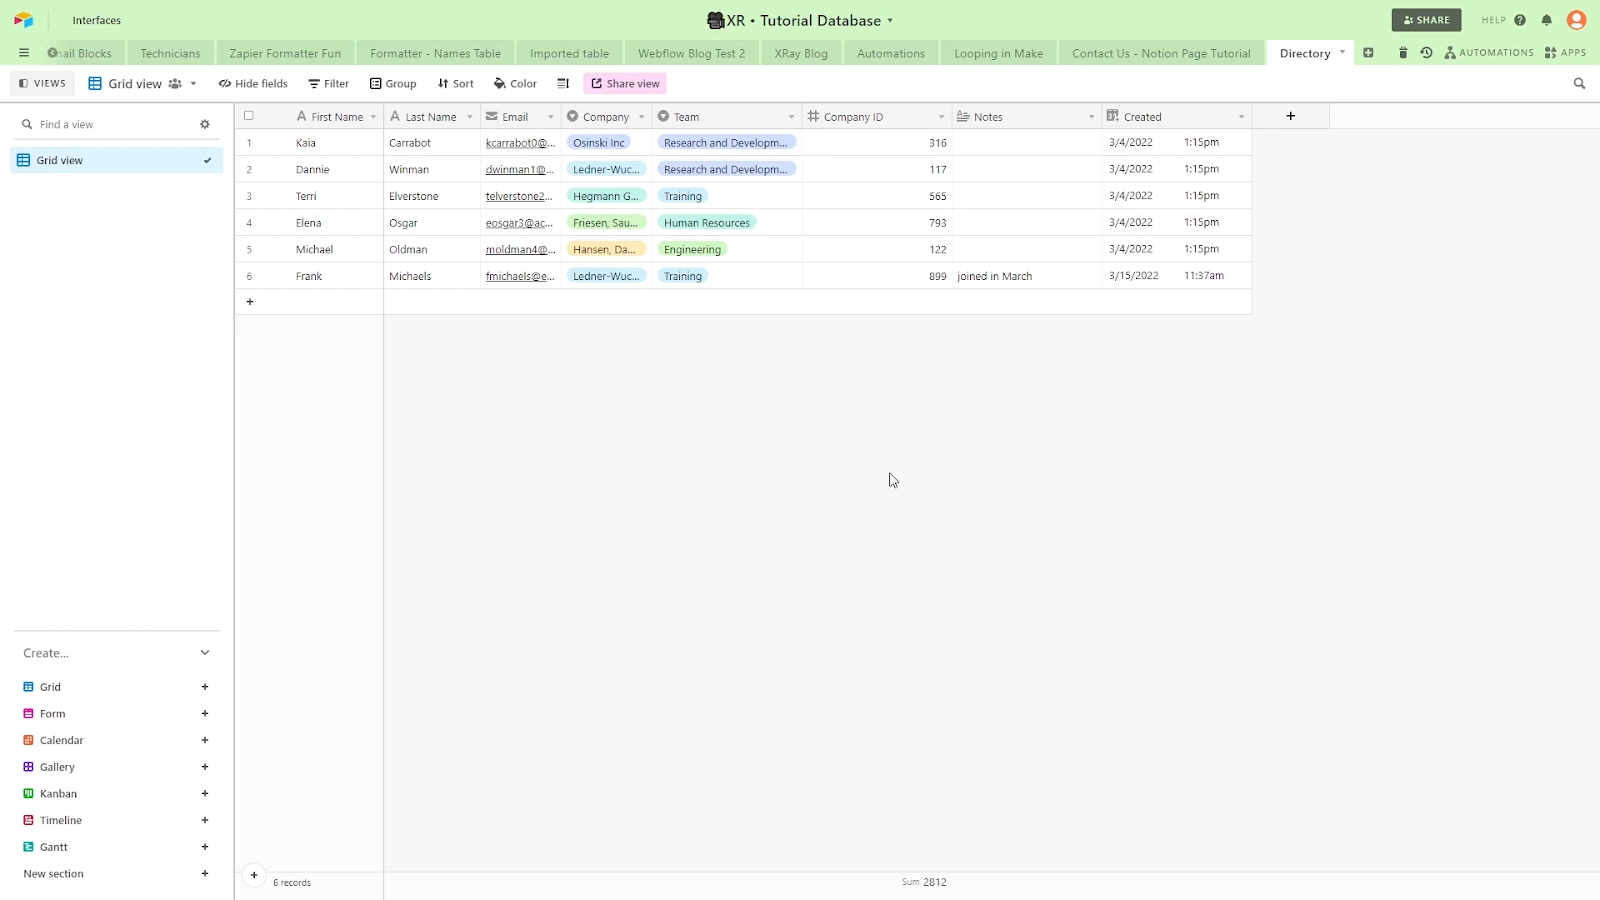
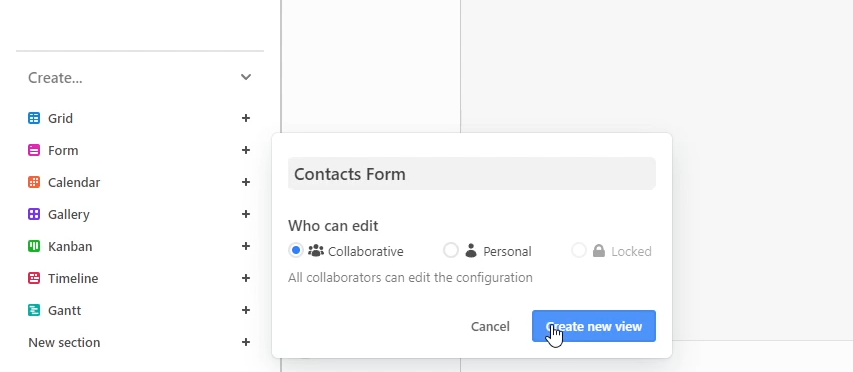
In the “Create” section in the bottom left corner, click on “Form”, and give your Form view a name. Airtable will create a new view that organizes all of your fields as questions in a form.
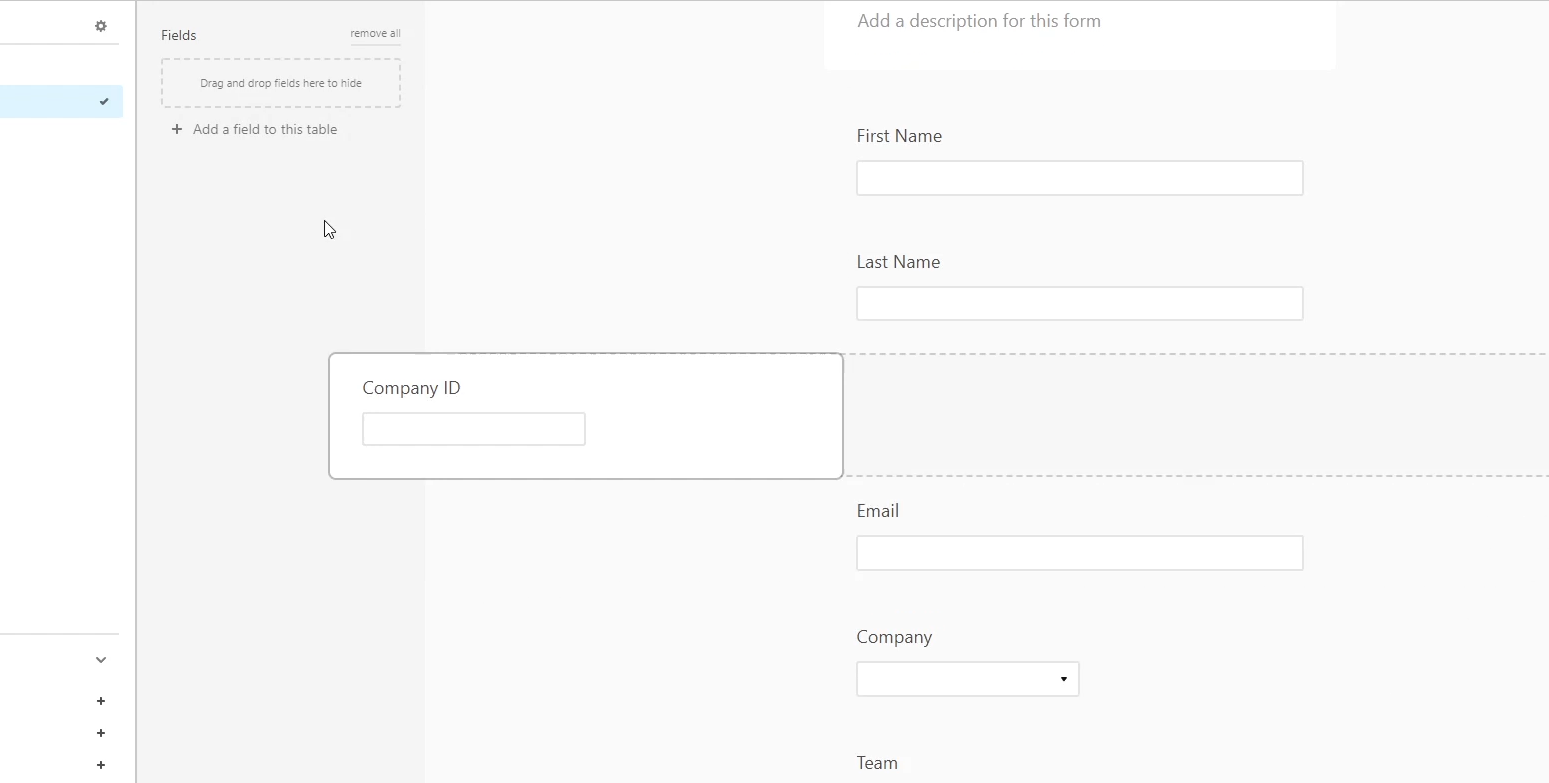
From here, you can edit your form however you’d like. By default, Airtable will include every field as a question, and it will use the field name as the text of the question. To remove questions from the form, just click and drag them into the “fields” section on the left.
You can also change the text of each question, and add helper text if you’d like to provide more information.
Note that all of your edits will only apply to the Form view. Removing a field from the form won’t delete it from the base or other views. Changing the question text won’t change the names of your fields either.
You can customize your form freely without worrying about messing up the rest of your data.
Once you’ve tweaked your form as desired, you can fill it out to add a record to your table.
However, you can’t fill out the form in this editable view. You can enter text into the fields, but you can’t actually submit your answers and create a new record.

Instead, you’ll need to click on “Share form”, and copy the link, or just click on the “Open Form” button. Now, you can answer each prompt and click submit.
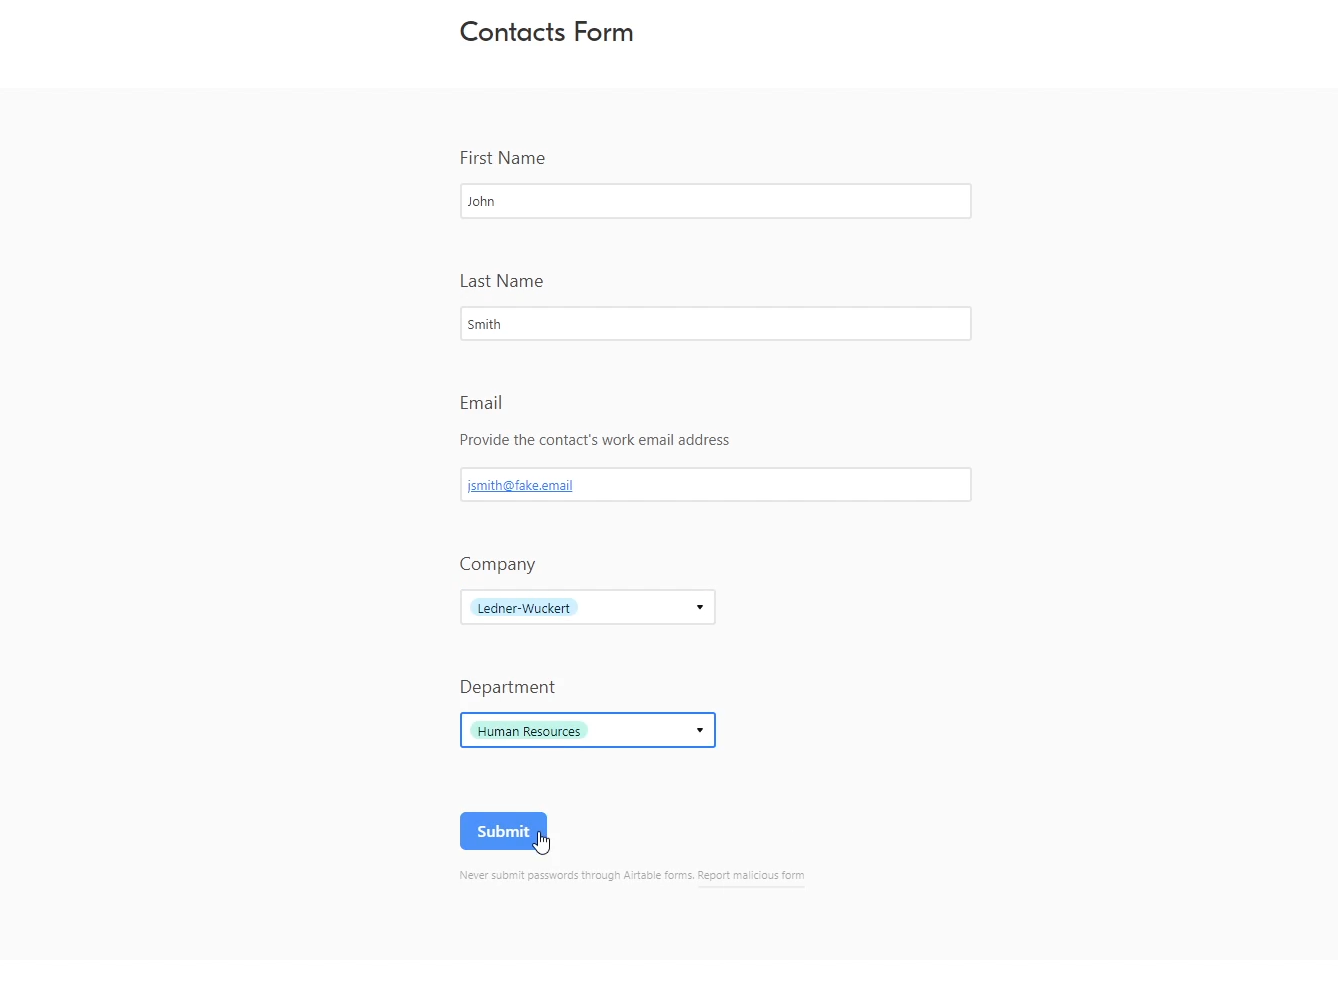
If you return to your Airtable base, you should see a record with your responses.

Both Zapier and Make have the option to trigger an automation whenever a new record is added to an Airtable view.
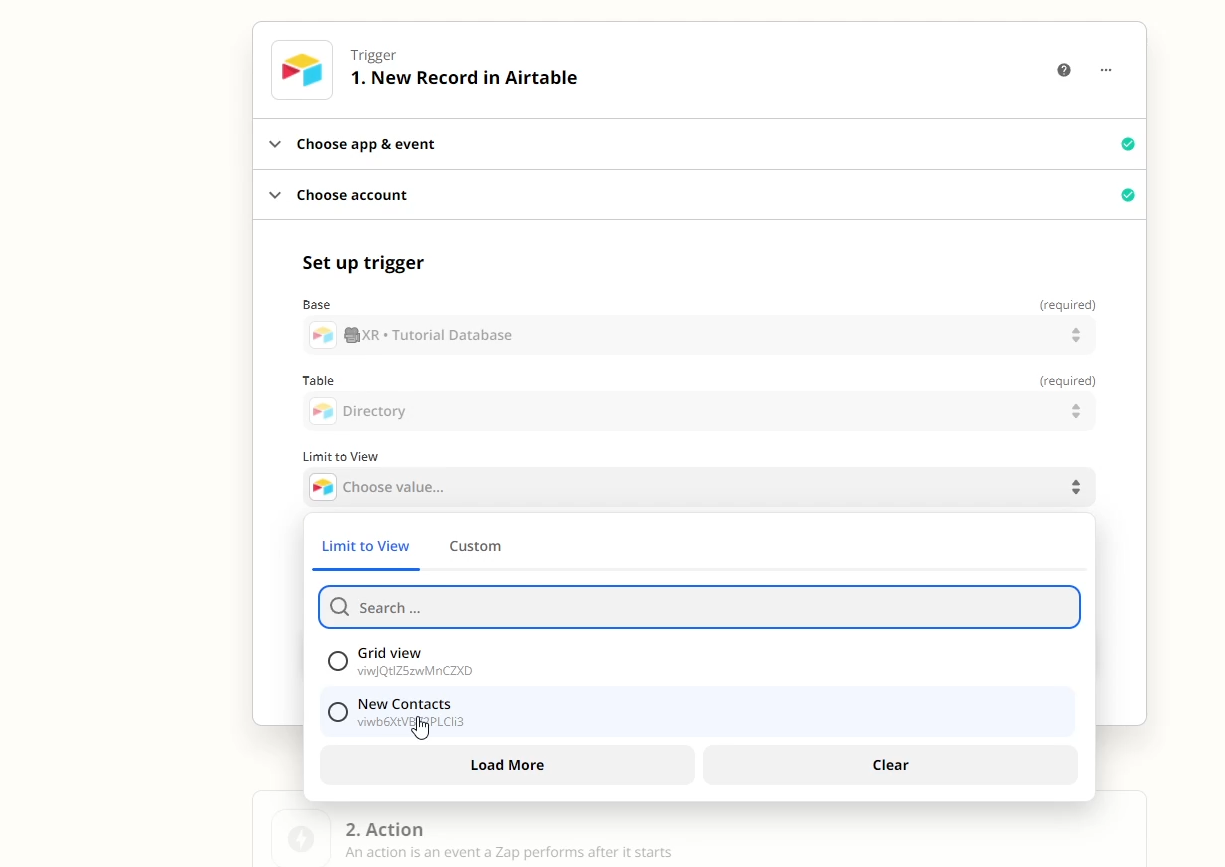
The main thing to keep in mind when you’re using Airtable forms to trigger an automation is that records don’t appear in the form view itself. You’ll need to designate another view (like a Grid) as the view that will trigger your automations.
In our automation, we’ll make a new Grid view called “New contacts” that we can use to trigger an automation. We’ll add a filter so it only includes posts that are a week old or newer.

In Zapier, we’ll create a new Zap, and set the trigger to “New Record in Airtable”.
After we select our bae and table, we can see our two grid views, but not the form view. We’ll select the “New Contacts” view as the one that Zapier should check for new records.
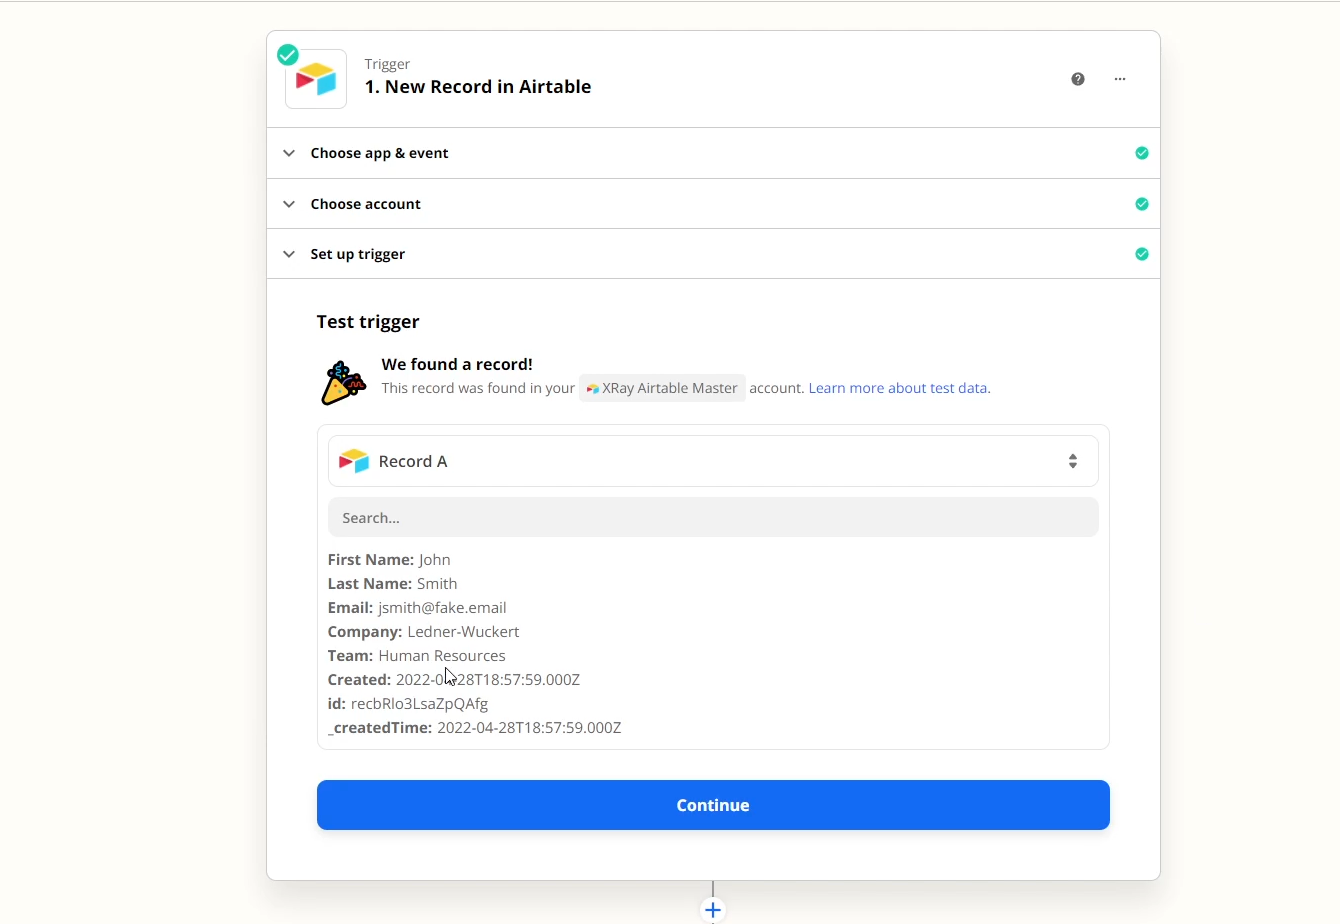
When we test the trigger, we can see the data we just submitted in the form. Now we can continue and build any automation we’d like with this data.
Airtable forms are a great way to let clients and team contribute to your databases without needing to grant them any sort of editing access. Once they submit an answer, you can also easily set up automations to use that data.
If you’d like to learn more about no-code and low-code automation, check out our blog or our YouTube channel. You can also follow XRAY on Twitter, Facebook, or LinkedIn.

.pptx.png)
.pptx.png)
