Every business has that one process.
The one you do every week, maybe every day, that eats your time and never gets easier. Client onboarding. Invoice follow-ups. Report generation.
Whatever it is, it lives in your head, eats up your time, and breaks the moment you're unavailable.
Here's the thing: that process doesn't need you. Not anymore.
With four steps, you can take any repetitive process and turn it into a workflow that someone else can run, or that runs itself. This is a simplified version framework we use at XRAY when helping our clients stop doing their jobs manually. And in this post, we're going to walk through it using a real example from our own business.
The four steps: identify, document, make it repeatable, then automate or delegate.
That's it.
Let's break each one down.

Don't overthink this. Think about your business –the first frustrating process that comes to mind is probably the right place to start. You're looking for something that happens frequently, takes up real time, and causes pain when it goes wrong.
At XRAY, our client onboarding used to be a mess. It was inconsistent. Things got missed. Launching each new project was much more stressful than it had to be. That made it an obvious candidate for automation early on.
Of course, something “client onboarding” is a large, multi-part workflow.
If you’re considering a similarly complex workflow, know that you don't need to fix everything at once.
Pick the one process that would make the biggest difference if it ran smoothly without you, and start there. You can always move on to other processes later.
For instance, within our larger Client Onboarding Workflow, we’ll just focus on the process of creating Google Drive folders and Slack channels for each new client.
Once you've chosen your process, write it down.
You don’t need to use any formal methodology, or some fancy new tool you've never used before.
Keep it simple, and use whatever works for you.
Grab a pen, open a notes app, or sketch it on an iPad – the format genuinely does not matter at this stage.
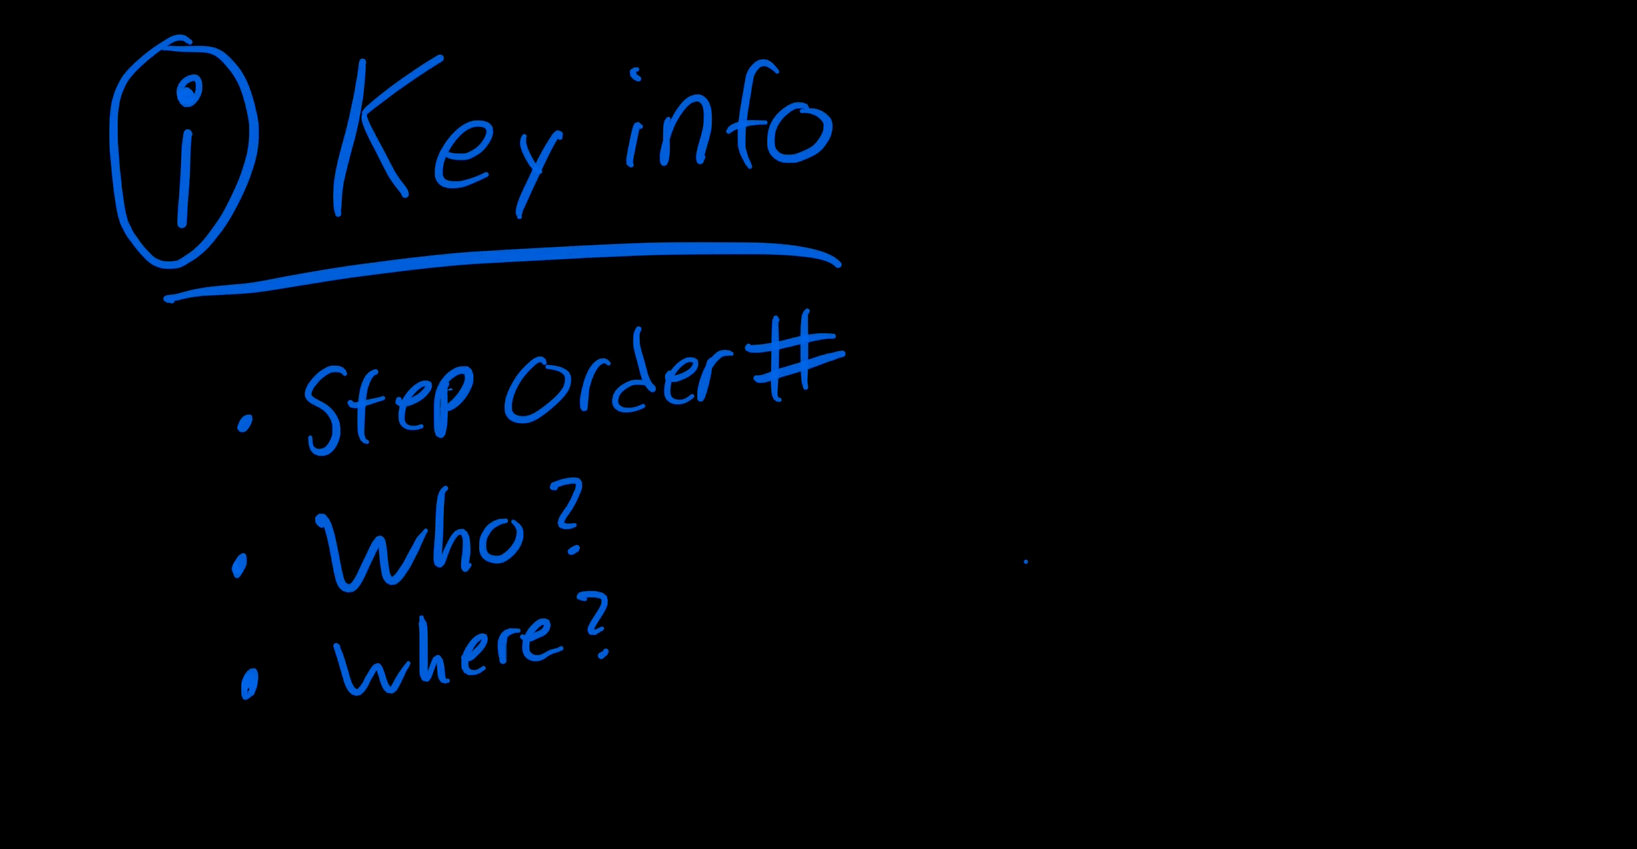
For each step, you need three things: the order it happens in, who does it, and where it happens.
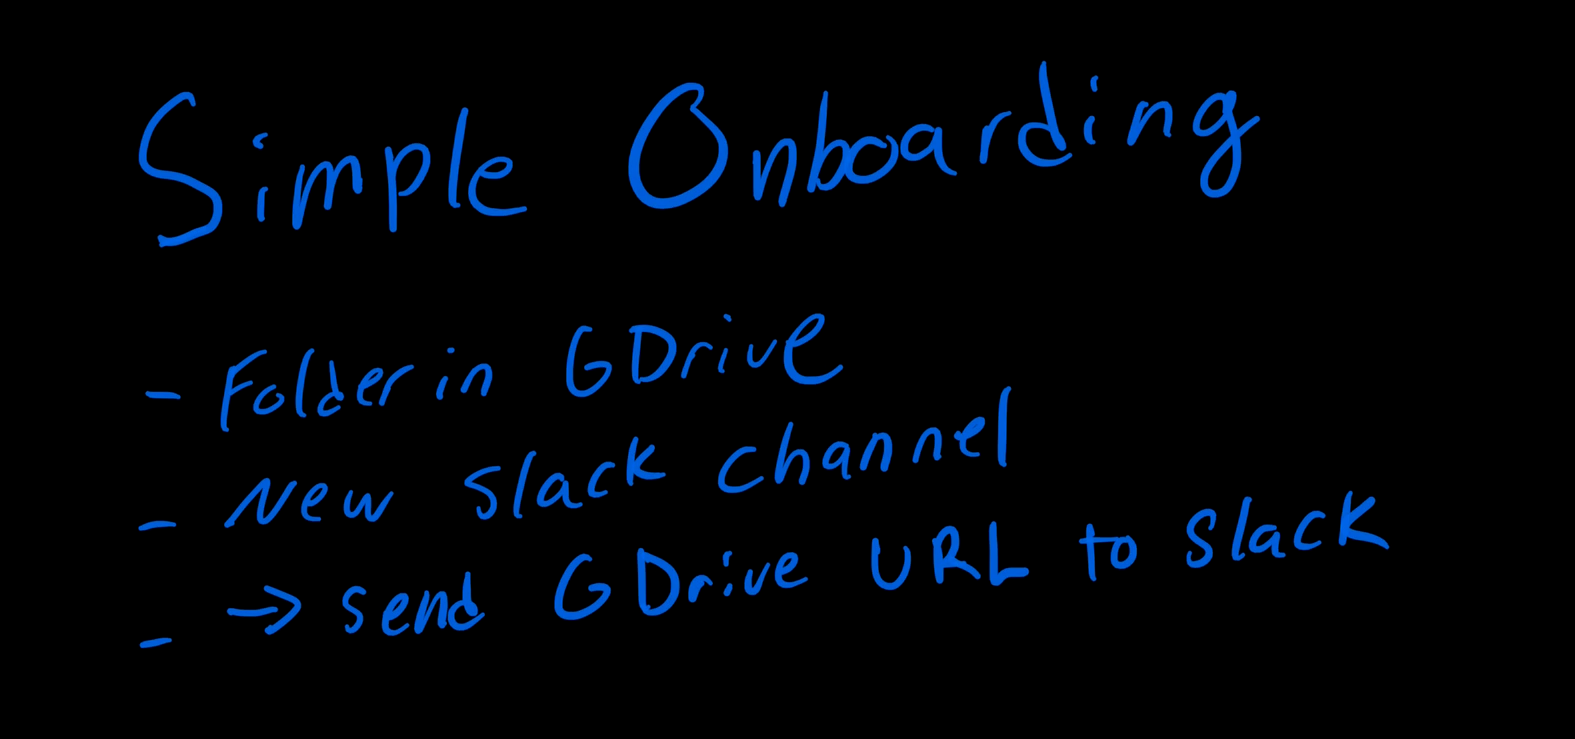
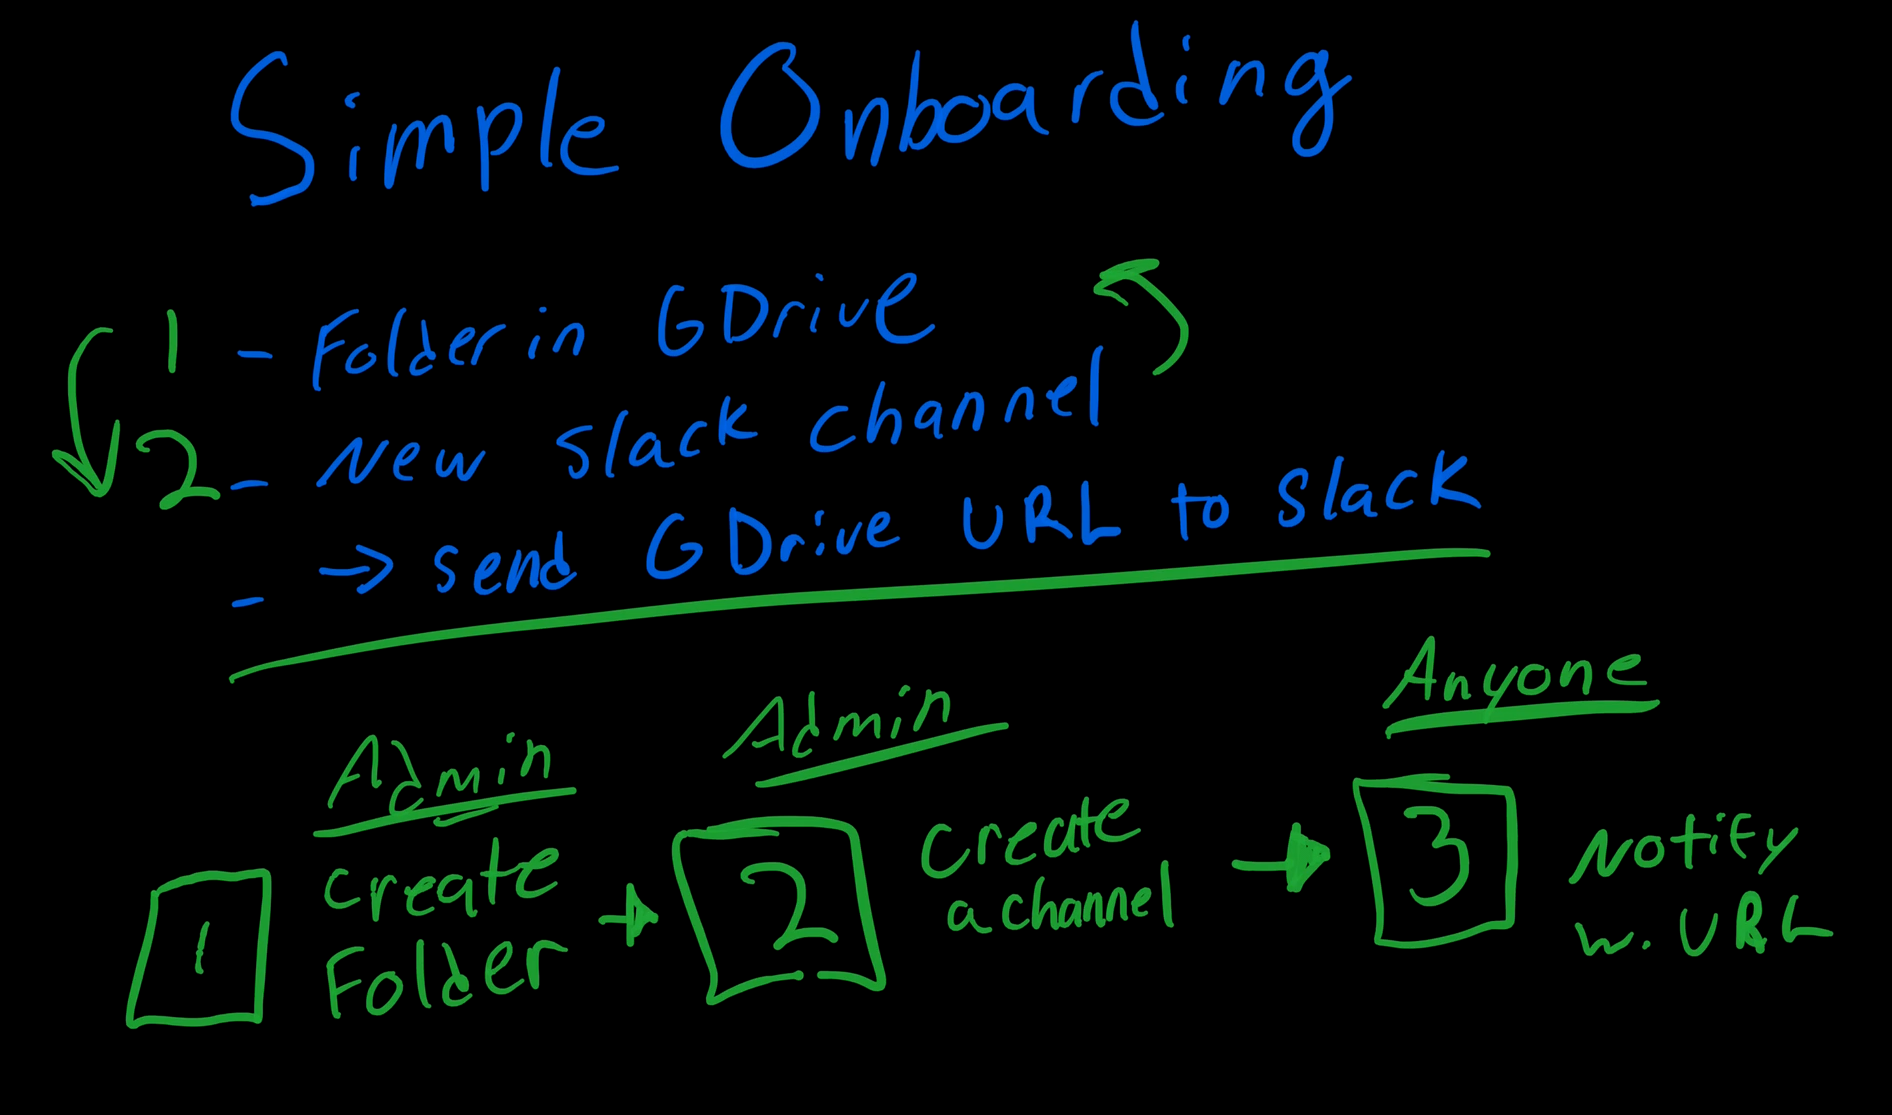
For our onboarding example, the simplified version looks like this:
• Create a new folder in Google Drive for the client
• Create a new Slack channel for internal communication about that client
• Send the Google Drive folder URL into the Slack channel so the team can access files
• Optionally, share the Drive folder with the client via email
You don't need business process model notation. You don't need a flowchart tool. You just need to get the steps out of your head and onto something visible.
In our example, creating the Drive folder and creating the Slack channel can happen in either order. But sending the Drive URL to Slack has to happen after both are done.
Some steps are flexible, some aren't, and it's worth noting which is which early on.
Also consider who can actually perform each step. Not everyone on your team can create a new Slack channel or a new folder in Drive, so tag which steps require admin access and which ones anyone can handle. This becomes important when you hand the process off to someone else.
It’s also important to note the level of access that any automations will need in order to execute the task.
This is where most people skip ahead and regret it later. A documented process isn't the same as a repeatable one. Repeatable means someone who has never done this before can follow your directions and get it right on the first try.
Think about the peanut butter sandwich exercise. In this exercise, someone is asked to write instructions for making a peanut butter sandwich, then watch someone else follow them literally. Do you start by opening the fridge? Taking out a knife? Which side of the bread gets the peanut butter?
The directions for any process can go in a lot of different ways, and the gaps only show up when someone new tries to follow them.
Your business processes work the same way. The trick is to sit in a simple pattern for every step: go here, find this, then do that. If someone new to your organization can follow along and produce the right result, you've nailed it.
In our onboarding workflow, one critical question is: what do we actually name each folder and each Slack channel?
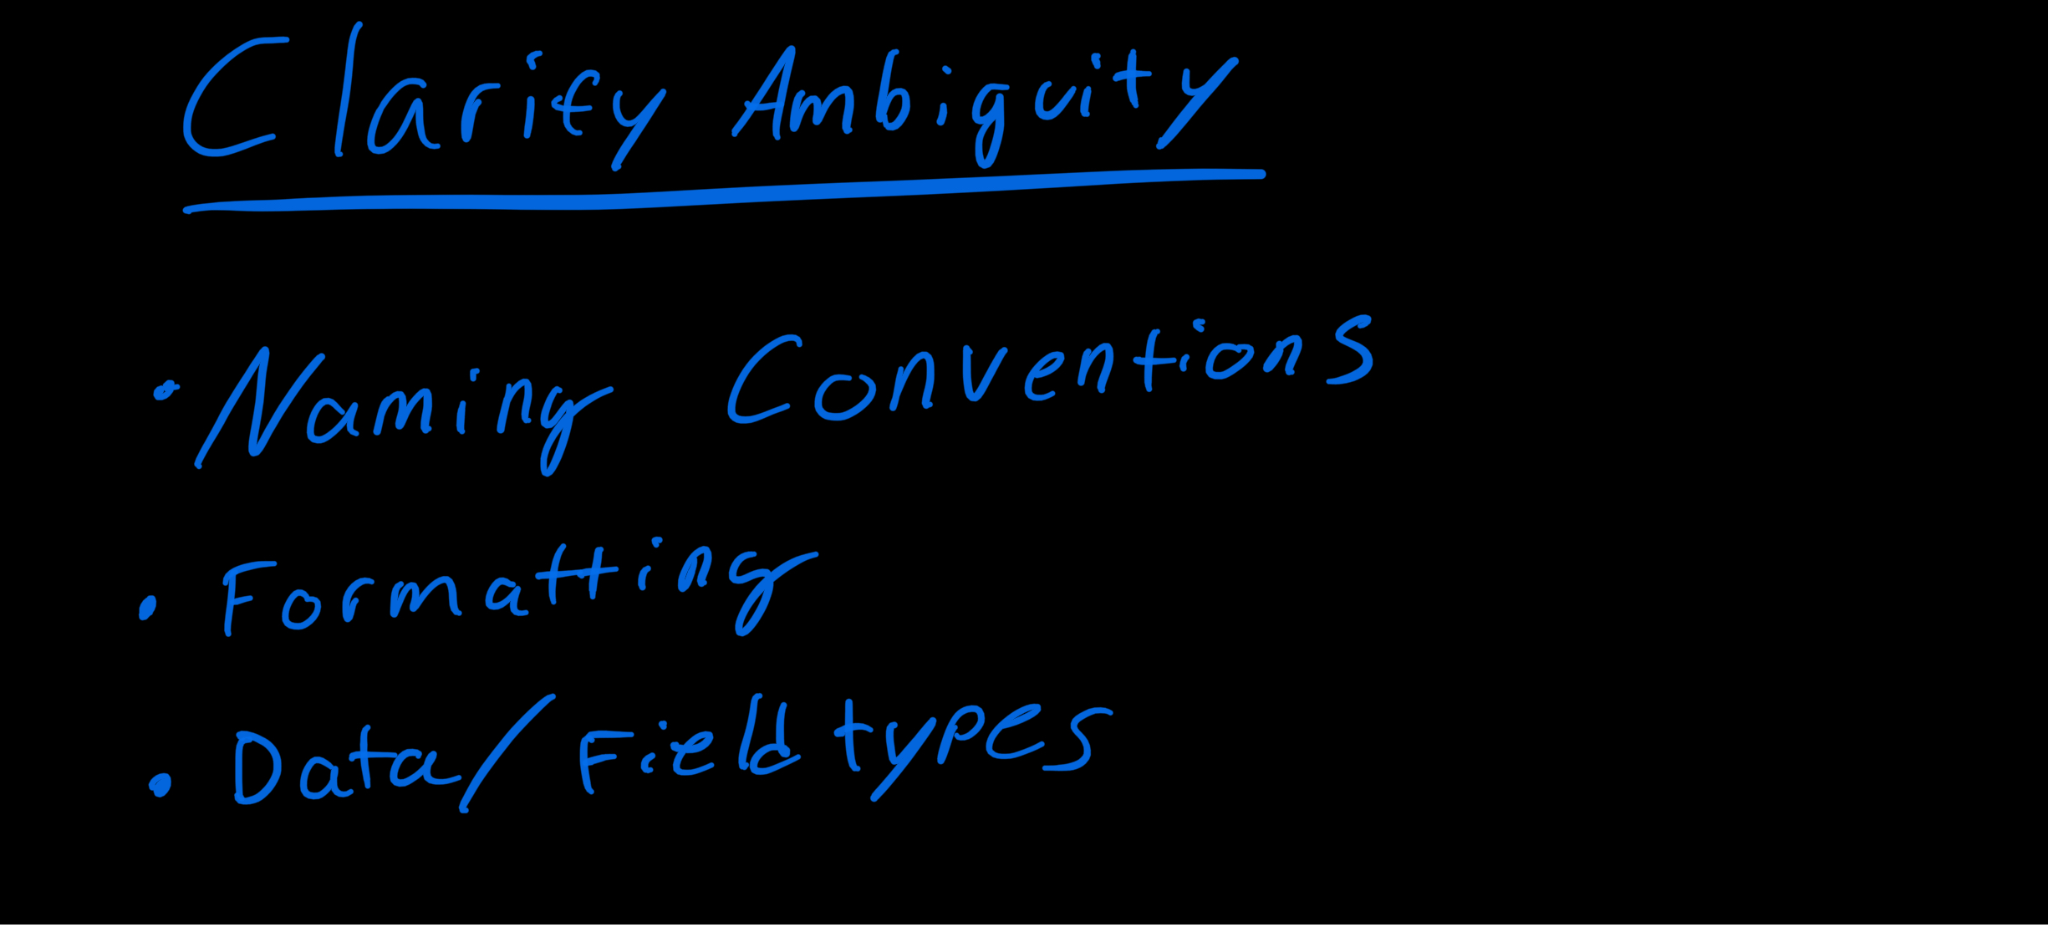
When channels and folders are named inconsistently, it becomes harder to find and organize them. The specific format you choose doesn’t matter much, but sticking to it consistently is important.
For example, at XRAY, Slack channels follow a specific format: xr_company_name. All lowercase, with underscores between words. That's because Slack doesn't allow special characters or capital letters, and the naming convention keeps everything alphabetical and easy to find in the sidebar.
For Google Drive, we use the full company name exactly as it appears on the signed contract. Drive allows spaces and special characters, so we take advantage of that to keep file names readable and consistent with our other records.
These details sound small, but they're the difference between a process that anyone can follow and one that creates a slightly different result every time someone runs it.
But don’t get tripped up by minute details. You don't need to document every micro-step. Details only matter when they actually matter. If you told someone (or designed an automation) to name a Slack channel using the client's email address, it wouldn't work because Slack doesn't allow @ symbols.
That's the level of specificity you're aiming for: enough to prevent the mistakes that would actually happen and interfere with the process.
At this point, you have a simple, repeatable workflow in the form of directions that another person could follow and execute correctly. You've already done the hard part. From here, you have two options.
If you want to delegate, you're already done. Hand the documentation to a team member and let them run it. That alone is a huge win, because you've just freed yourself from doing this task manually every time it comes up.
If you want to automate, you need one more piece: a structured source for the information that kicks off the workflow.
In many cases, your source can be something simple, like a form. Builders like Tally, Typeform, or even database apps like Airtable give you a clean, structured way to collect the data your automation needs. In our case, the form captures the client's company name and any other details the onboarding workflow requires.

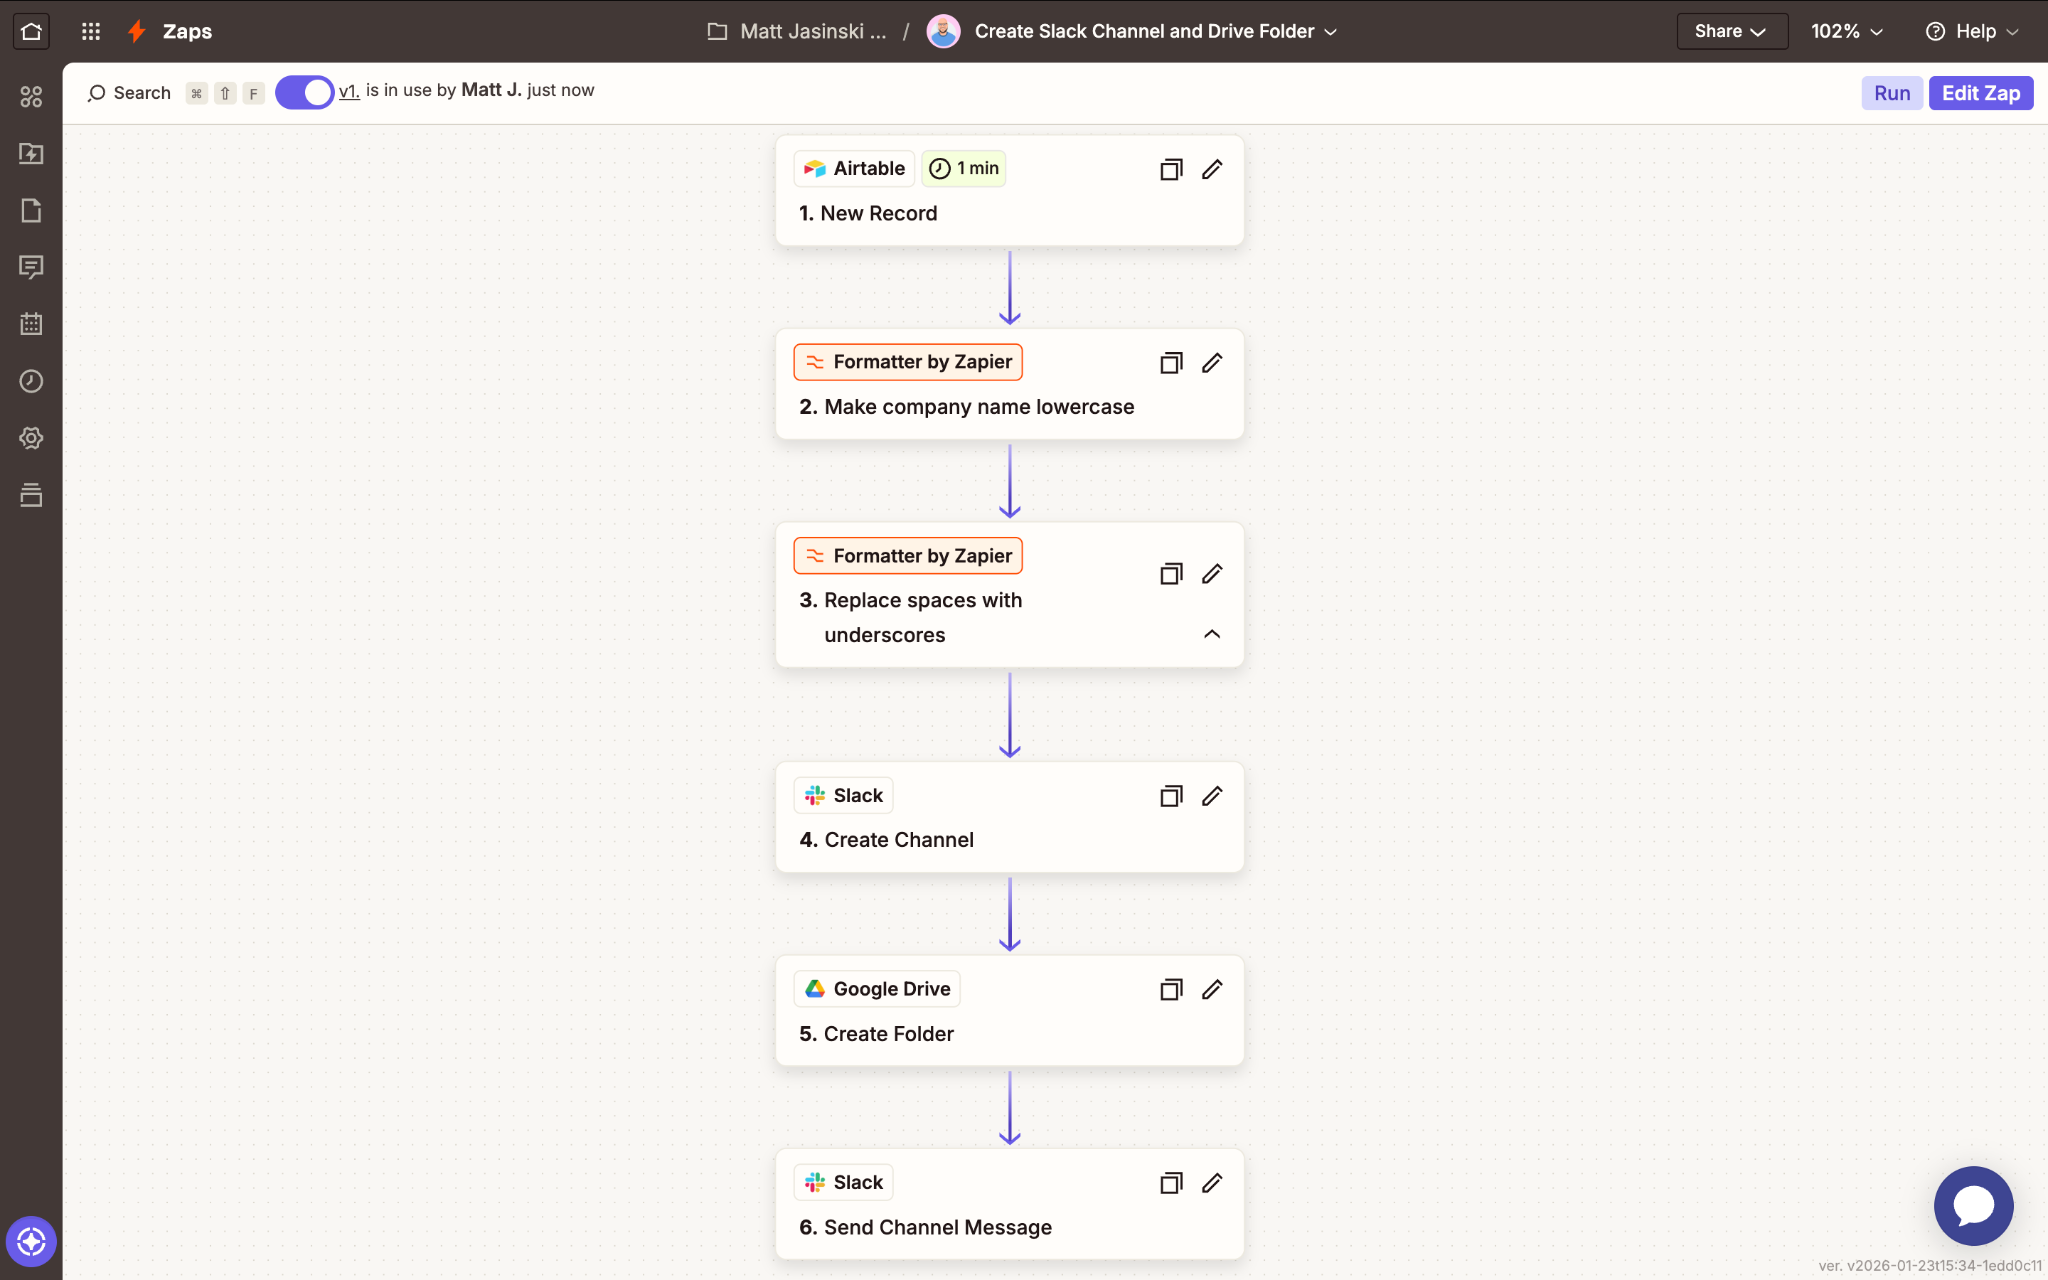
From there, a tool like Zapier connects the dots. When a form is submitted, Zapier automatically creates the Google Drive folder, creates the Slack channel, and posts the folder URL to that channel. It even reformats the company name into the syntax we want. All without anyone lifting a finger.
Zapier integrates with over 8,000 tools, so whatever combination of apps your workflow touches, there's a good chance you can wire it up without writing a single line of code.
Additionally, you can launch your Zaps with any trigger you want. If forms don’t fit your workflow, you can have your automations start based on specific events in your apps – like when a record is updated in your CRM, or when you receive a new email in your inbox.
Check out our free automation search engine at search.xray.tech to explore which triggers and actions are available in Zapier (and other popular automation providers).
Not ready to automate yet? That's completely fine. The diagram you created and the directions you wrote down are still valuable on their own. They give you a simple way to train new employees, a starting point for refining the process over time, and a clear picture of how your business actually operates beneath the surface.
Every time you revisit the documentation, it gets a little tighter. And when you are ready to automate, you'll already have everything you need to hit the ground running.
Transforming your entire business doesn't happen overnight, but it does happen one process at a time. Pick the one that hurts. Document it. Make it repeatable. Then get it off your plate.
Before you know it, you'll have an automated infrastructure handling your tedious tasks for you, making your business more reliable and more valuable. The goal isn't to work harder. It's to stop doing the worst parts of your job and start orchestrating the tools that do it for you.