
If your team is anything like ours, you’re probably sharing helpful and interesting links with each other every day on Slack.
While Slack is a great platform for sharing links and ideas, everything you send quickly gets buried in the infinite scroll of messages. Trying to find a link that someone shared a week ago can be a pain, and you might not have access to it at all if you’re using a free Slack plan.
To make it easy to find and review our Slack links whenever we want, we built a simple Zapier automation to store every link that someone sends to a base in Airtable.
In this post, we’ll walk you through how to build a similar Zap step by step. You can also follow along with our video of this tutorial on YouTube.
Setting up a simple automation like this is a great way for a newer Zapier user to get more familiar with the platform.
First, create a channel in your team’s Slack workspace dedicated to sharing links. This is the simplest way to trigger the Zap and gather your links in one place.
Once the channel is set up, send at least one message in it with a link. You’ll need it to test your automation as you’re building it.
Next, build a simple base in Airtable where you’ll store your links. You can set up your base with just a few columns: a link field called URL, a long text field called Message Body, a short text field called Sender, and a “Created time” field called Created.

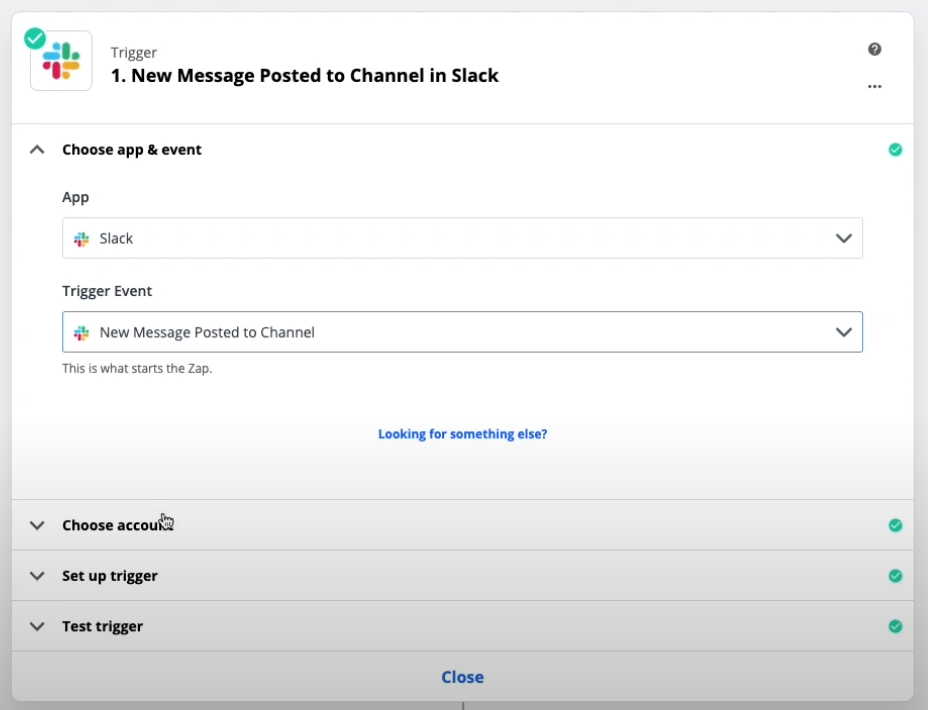
Then, create a Zap in Zapier. Your trigger app will be Slack, and the trigger event will be “New Message Posted to Channel.”
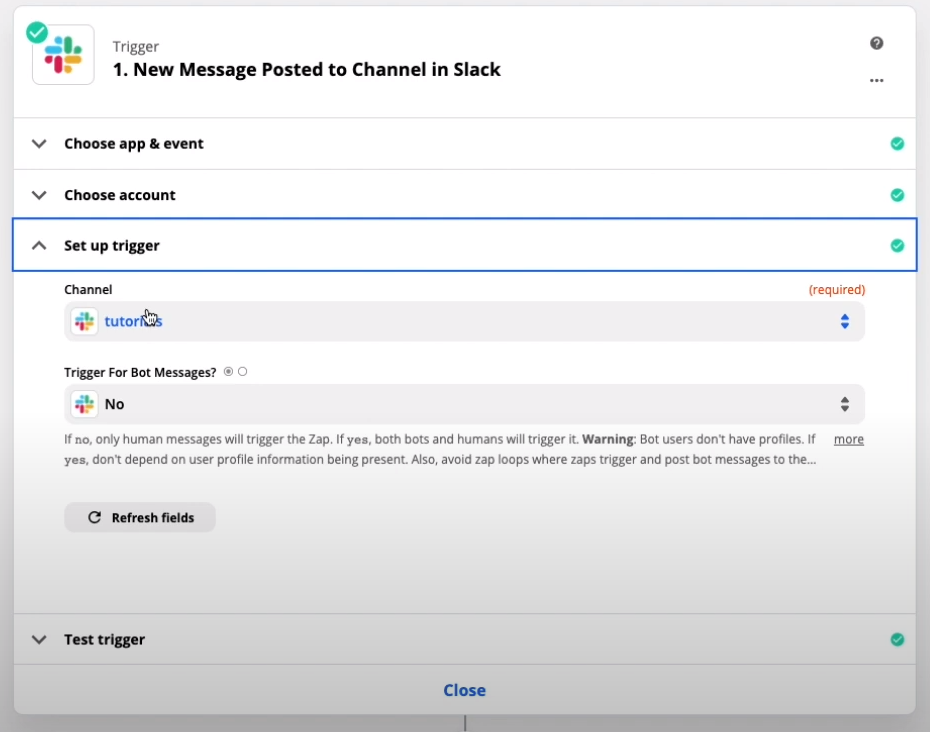
You’ll then have to log in to your Slack account, and select your new channel for sharing links. Set “Trigger for Bot Messages?” to No, just to avoid any potential technical issues like creating an endless loop.
Now you can test your trigger. Zapier should pull in the most recent message you sent in the channel, but you might need to click “Load More” if you sent your message within the last minute or so.
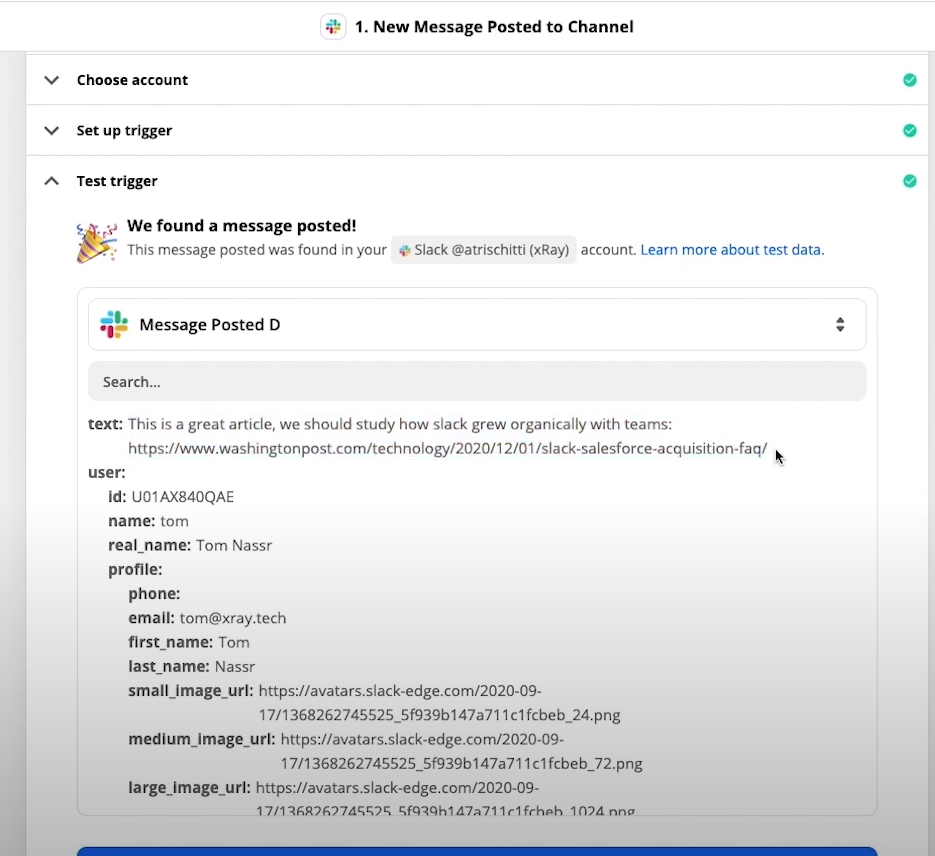
As you can see, Zapier pulls in lots of information about the message, but the main thing we’ll be concerned with is the field called “text” that contains the text of the message itself.
If your trigger worked as planned, you can now move on to the next step: setting up a filter.
Zapier’s Filter app is a useful tool to make sure that your Zaps only continue under specific circumstances. In this case, we only want our Zap to keep running if the message that triggered it contains a link.
To do that, you’ll first make a new action using the Filter by Zapier app, and choosing “Only continue if…” as the action.
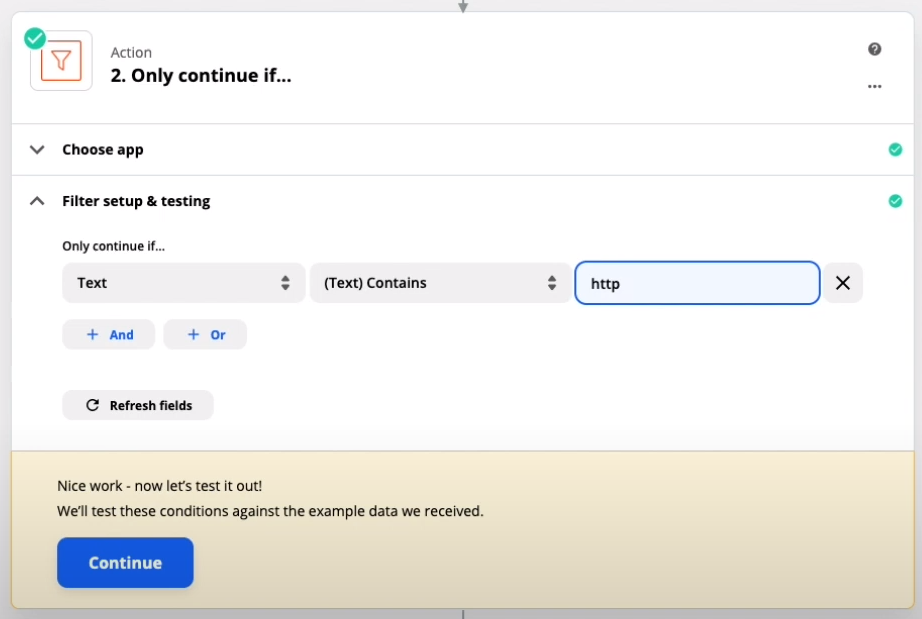
Then, set the filter to Text | Contains | http. This means that the Zap will only continue if the text of the message contains the string “http”, which will be present in all links but rarely mentioned otherwise.
Next, create a step with the Formatter by Zapier app. This app is useful for finding and modifying pieces of text within your Zaps.
Set the action event to text, and then set the transform selector to Extract URL. For the “Input” field, select “1.Text” - the number 1 here just indicates that this is data that Zapier gathered in the first step of your Zap.

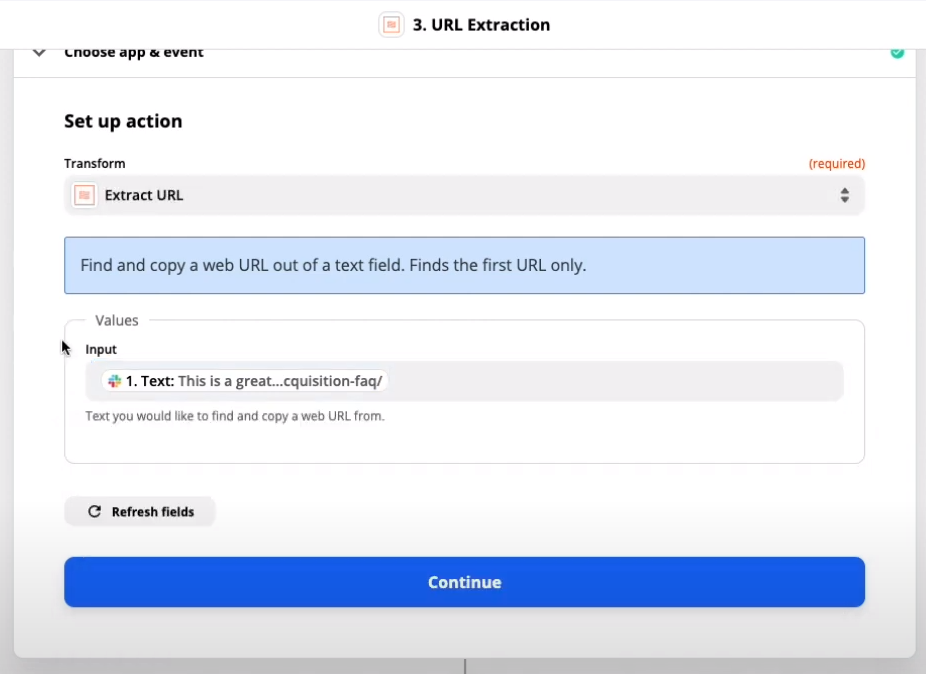
After you click Continue, you should see the link separated out from the rest of the message text. Now you can send this link to your Airtable database.
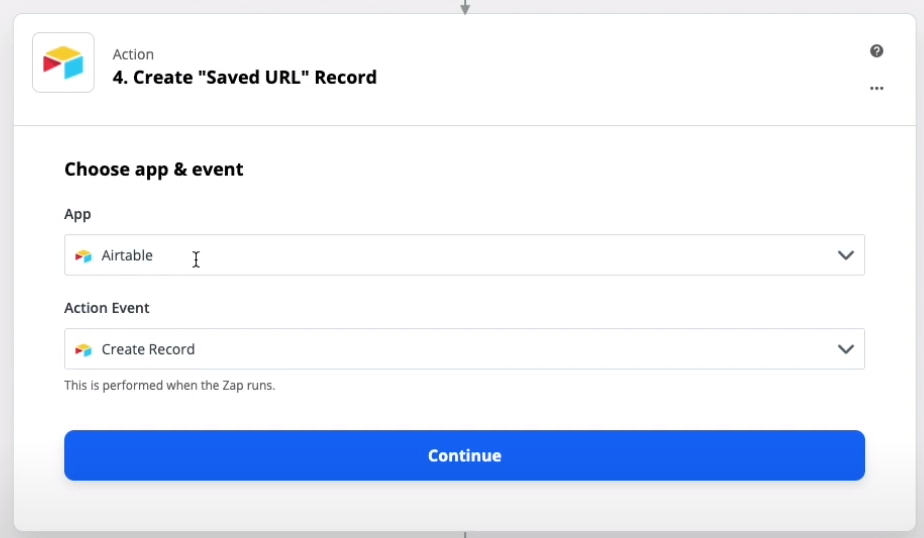
Create a new action, choose Airtable as your app, and choose “Create Record” as the action event.
Log in to your Airtable account and choose the Base and Table that you created earlier. Then, fill out each step with the appropriate information.
Make sure to use “3.Text” as the URL, and not a Text snippet from an earlier step. You can also leave the “created” field blank, as Airtable will populate it automatically.

Click continue and test this step. Your Airtable database should have a new record that looks something like this:

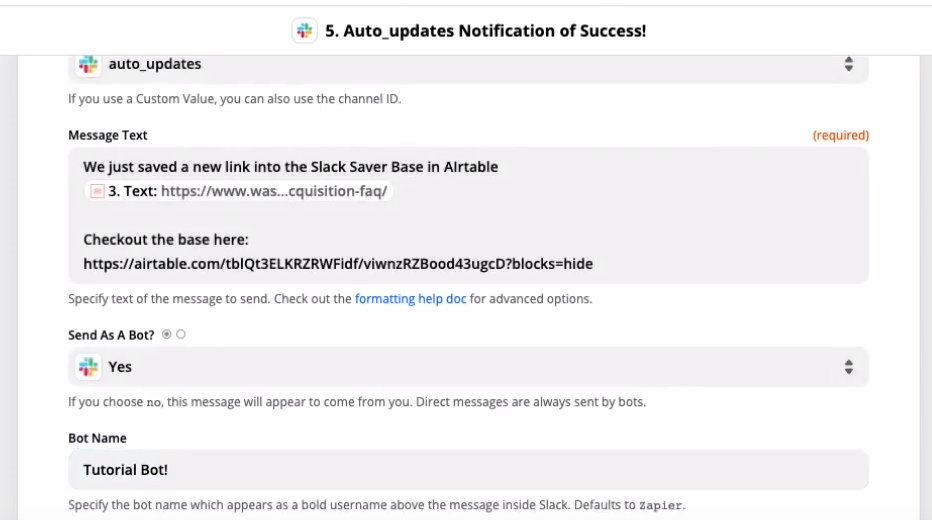
This step isn’t strictly necessary to make your Zap work, but at XRAY, we’ve found that automations work best when they’re transparent and easy to keep track of.
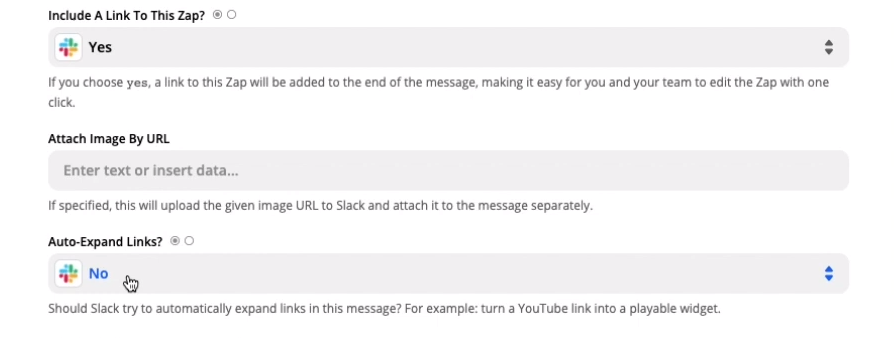
To do that here, you can just create one more step that will make the automation send an announcement in Slack each time it runs. Send the message to a dedicated Auto Updates channel like so:
And that’s it! You’ll now have a permanent record of every link you share on Slack, even if you lose access to those messages on Slack itself.
You can check out our blog or our YouTube channel for more tutorials ranging from beginner material to more advanced content for seasoned automators. You can also follow XRAY on Twitter, Facebook, or LinkedIn.


.pptx.png)
.pptx.png)