
Routinely used documents are an important part of any company. Sending out contracts, progress reports, and proposals is an essential part of conducting business, particularly for those in the agency world who are constantly pursuing new clients.
Automating those common, templated documents that you send every week is a great way to start saving time and reducing errors. In this post, we’ll show you how you can build an automation to create and send proposals with just a few clicks.
1. Create a proposal template in Google Slides and add variables
2. Create an Airtable base with fields for each variable
3. Trigger: New Record in View in Airtable
4. Action: Format
5. Action: Create Google Slides Presentation from Template
6. Action: Upload File in Google Drive
7. Action: Delay
8. Action: Send Email in Gmail
With this automation, you’ll be able to create and send a customized proposal to a client just by filling out a quick Airtable form. By using linked records, an extremely useful Airtable feature, you’ll be able to prefill paragraphs of text with just a click. By simply selecting the service or package you want to add to the proposal, Airtable will automatically find the associated description.
Once the form is filled out, the Zapier automation will make a copy of your template file, replace the variables with your specified text and data, and email a PDF of that file to your specified client email address.
Copy this Zap:
https://zapier.com/shared/b33e1122a56ef8f679cf610424371e055fd3a66d
For this automation, you’ll need:
First, we need to create a proposal template in Google Slides. While an app like Google Docs might seem like a more appropriate choice, Slides has one key advantage that makes it ideal for this automation: the ability to replace variables with images.
Create your proposal with all of the content, styling, and images that you want in the final version. You can change the layout of the slide to 8.5” x 11” by navigating to File > Page Setup.
Then, identify the content that you want to replace or update each time you create and send a proposal - things like the client’s name, an image of their logo, and the description of the services you’re offering. Replace these pieces of text and images with {{variables}} enclosed in curly braces. Avoid using hyphens or spaces in your variable names.
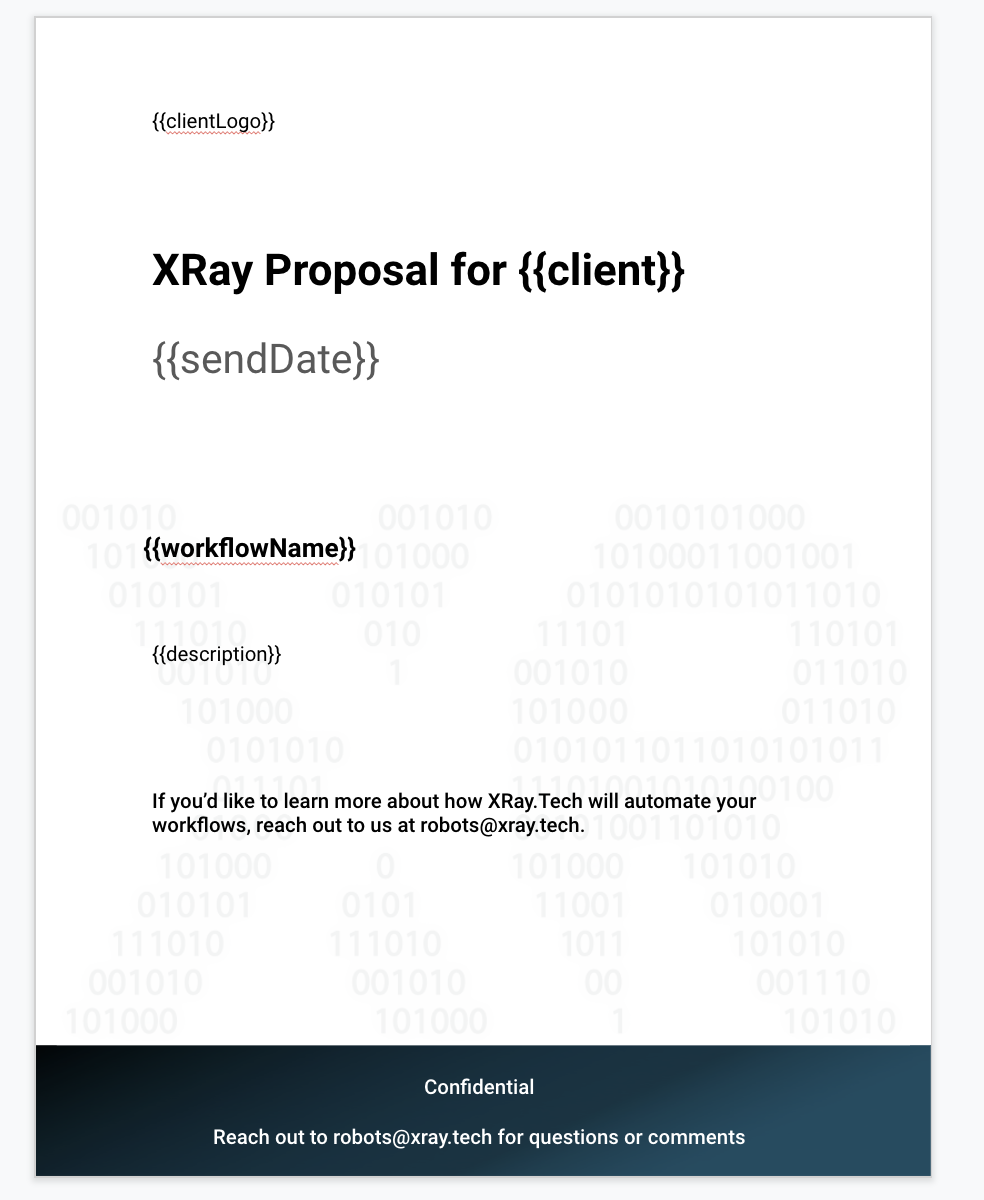
This notation will let Zapier identify those pieces of texts as variables, and it will be able to insert custom data into them.
Once your proposal template is all set, make a note of the save location or the ID in the address bar between /d/ and /edit. Note that you don’t need to save this file as a template in Google Slides.
Now, open up Airtable and create a new base from scratch. Create a column for each of the variables that you added to your Google Slides proposal template. You can also include a send date and time to schedule exactly when you send the email with your proposal.
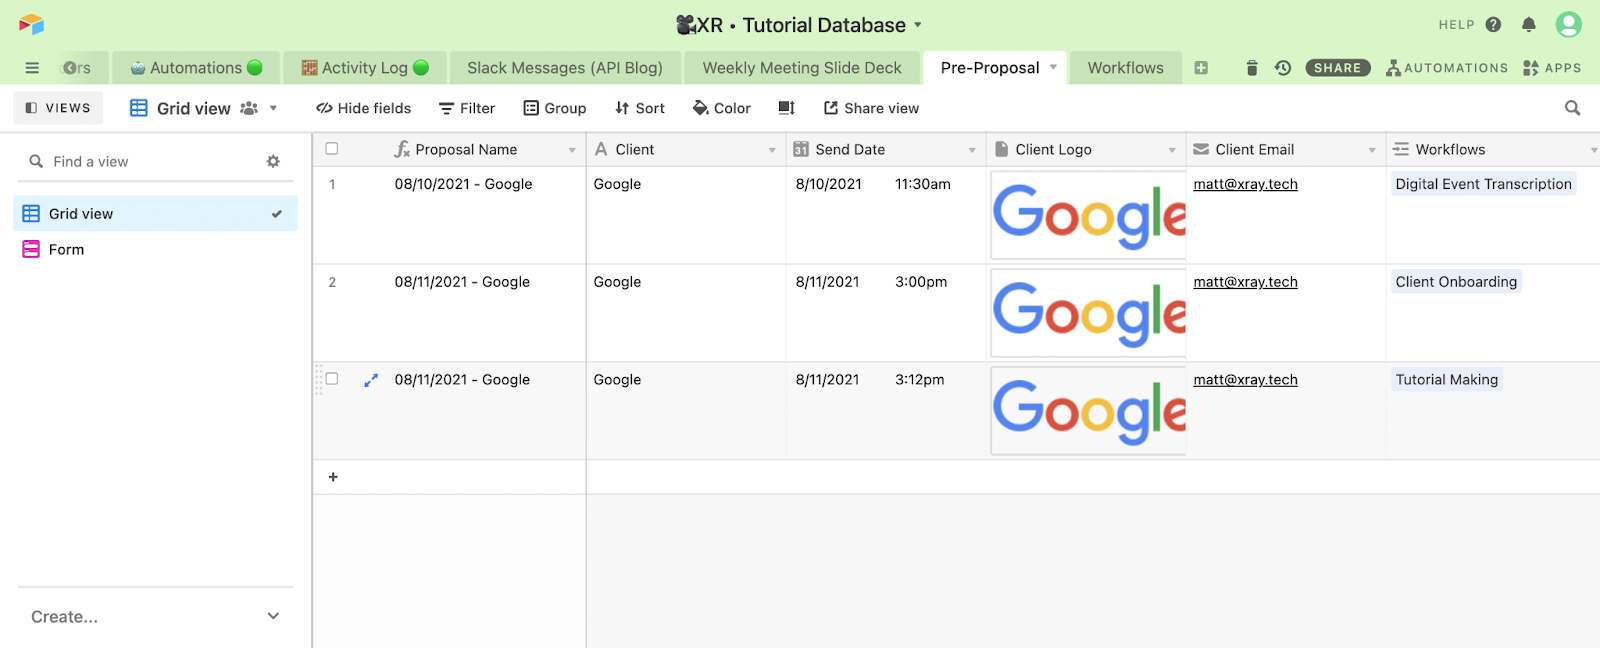
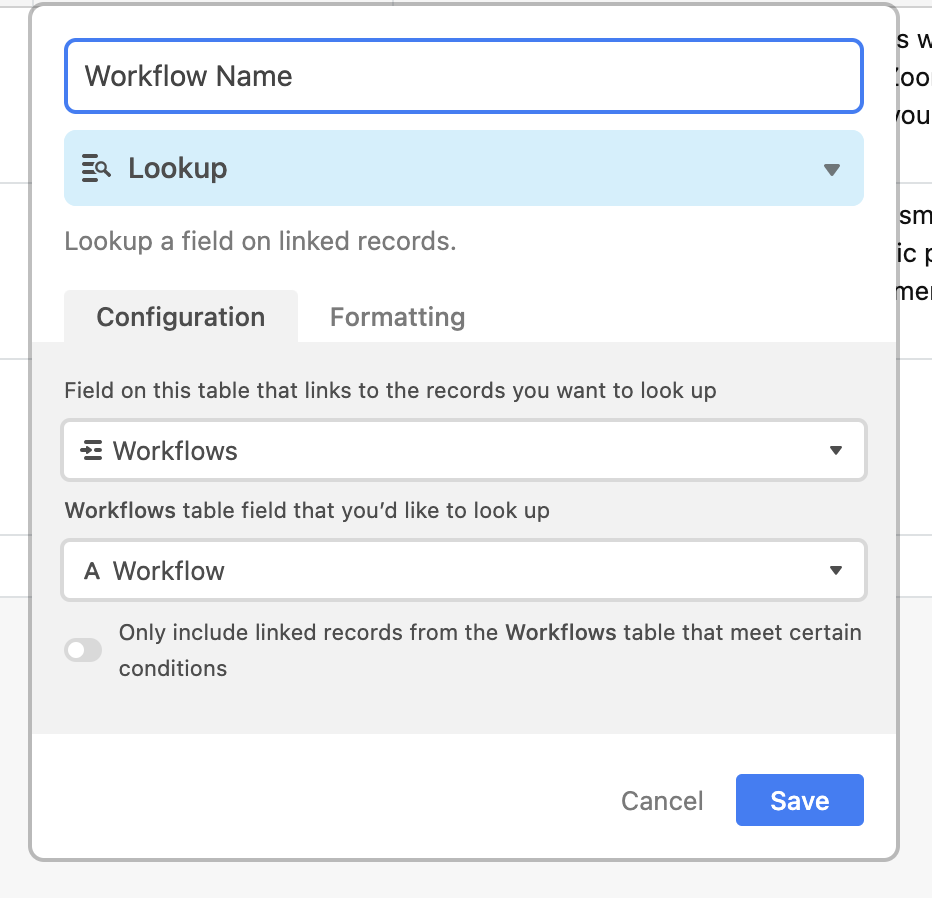
For information like the service title and description, you may want to use a linked record and lookup fields. This will let you add all of your services into a separate table, and simply pick which one you’d like to add to the proposal to have the name and description automatically filled in.
To create a linked table, first make a second table in the same base. Add columns for each piece of information you want to include (in our case, Workflow Name and Workflow Description).
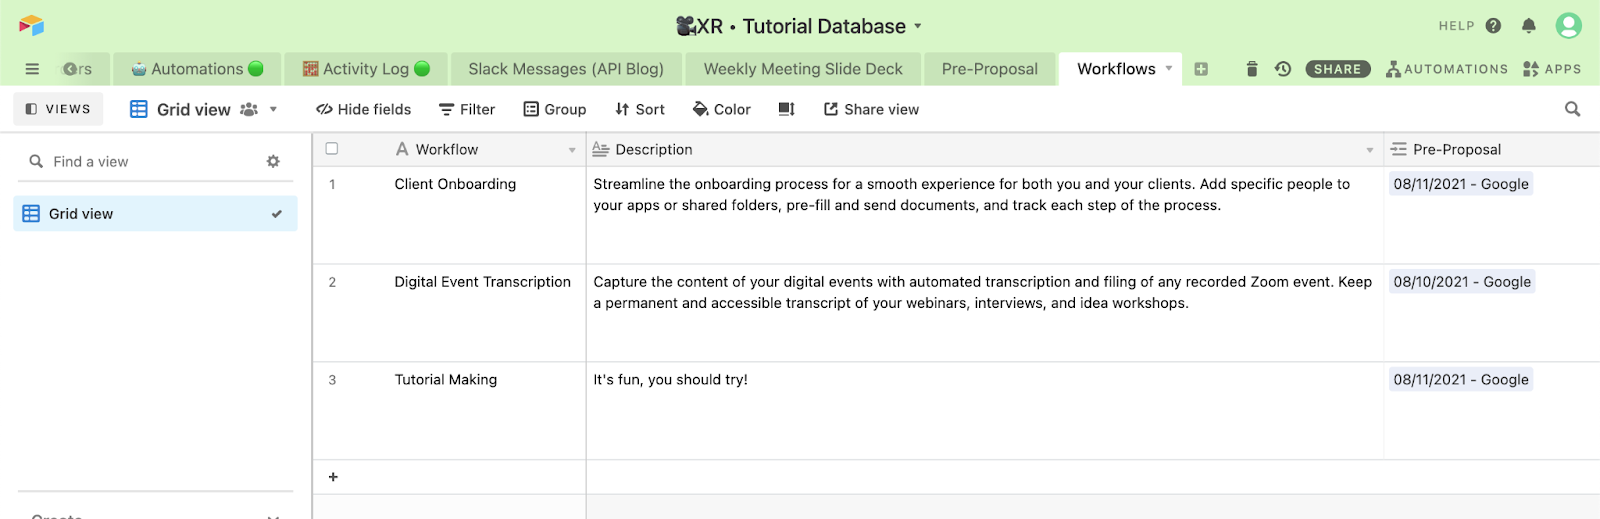
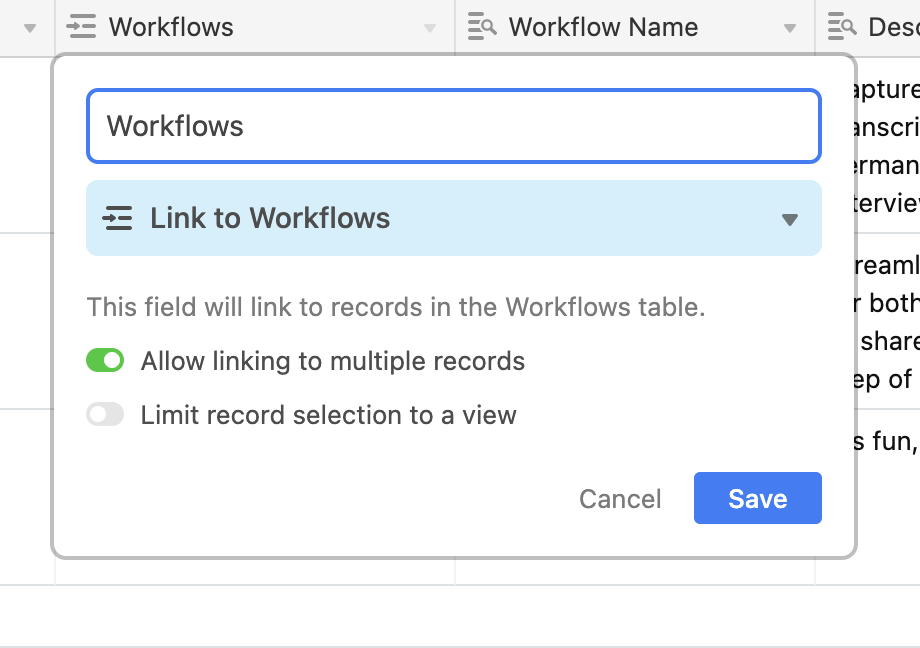
Then, go back to your other table and add a column. Set the type to “linked record”, and choose your other table from the list. Then, make new columns with the type set to “lookup” for each of the pieces of data you want to pull in from the linked record.
Finally, create a form view for your base, open the form view, and fill it out with test data.
Now it’s time to build the automation in Zapier. Choose Airtable as your trigger app, and select “New Record in View” as your trigger. Choose the grid view from the table you created in the previous step.
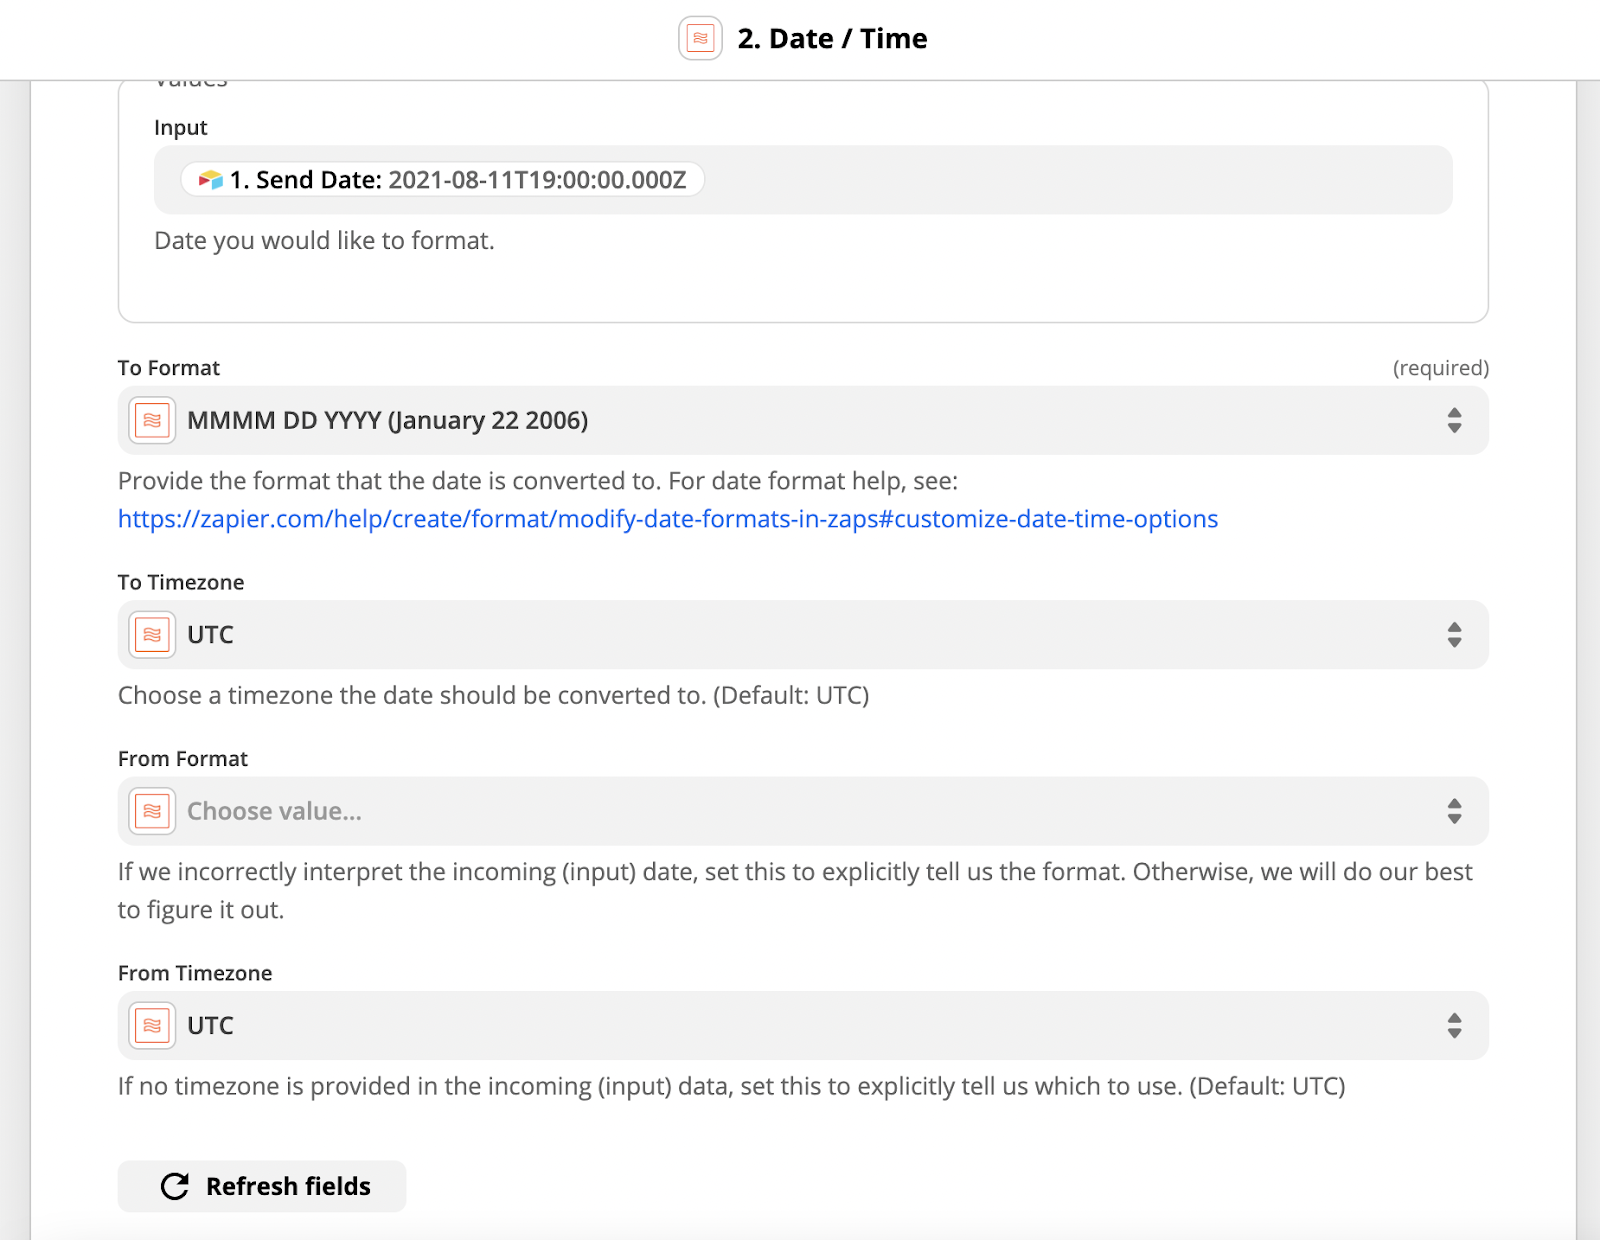
To make our “Send Date” field a bit more readable, we’re going to use a quick “Formatter by Zapier” step to convert it to “August 11” rather than the original long date/time code that we start with. We’ll still use that full date and time later to schedule the email, but this shorter version will look better in our proposal.
Choose Google Slides as the app for the next step in the automation, and pick “Create New Presentation from Template”. Find the template file you created earlier, either by using its ID or navigating to its location.
Then, match your data from Airtable to each of the variable fields that Zapier provides. Test the step and continue.

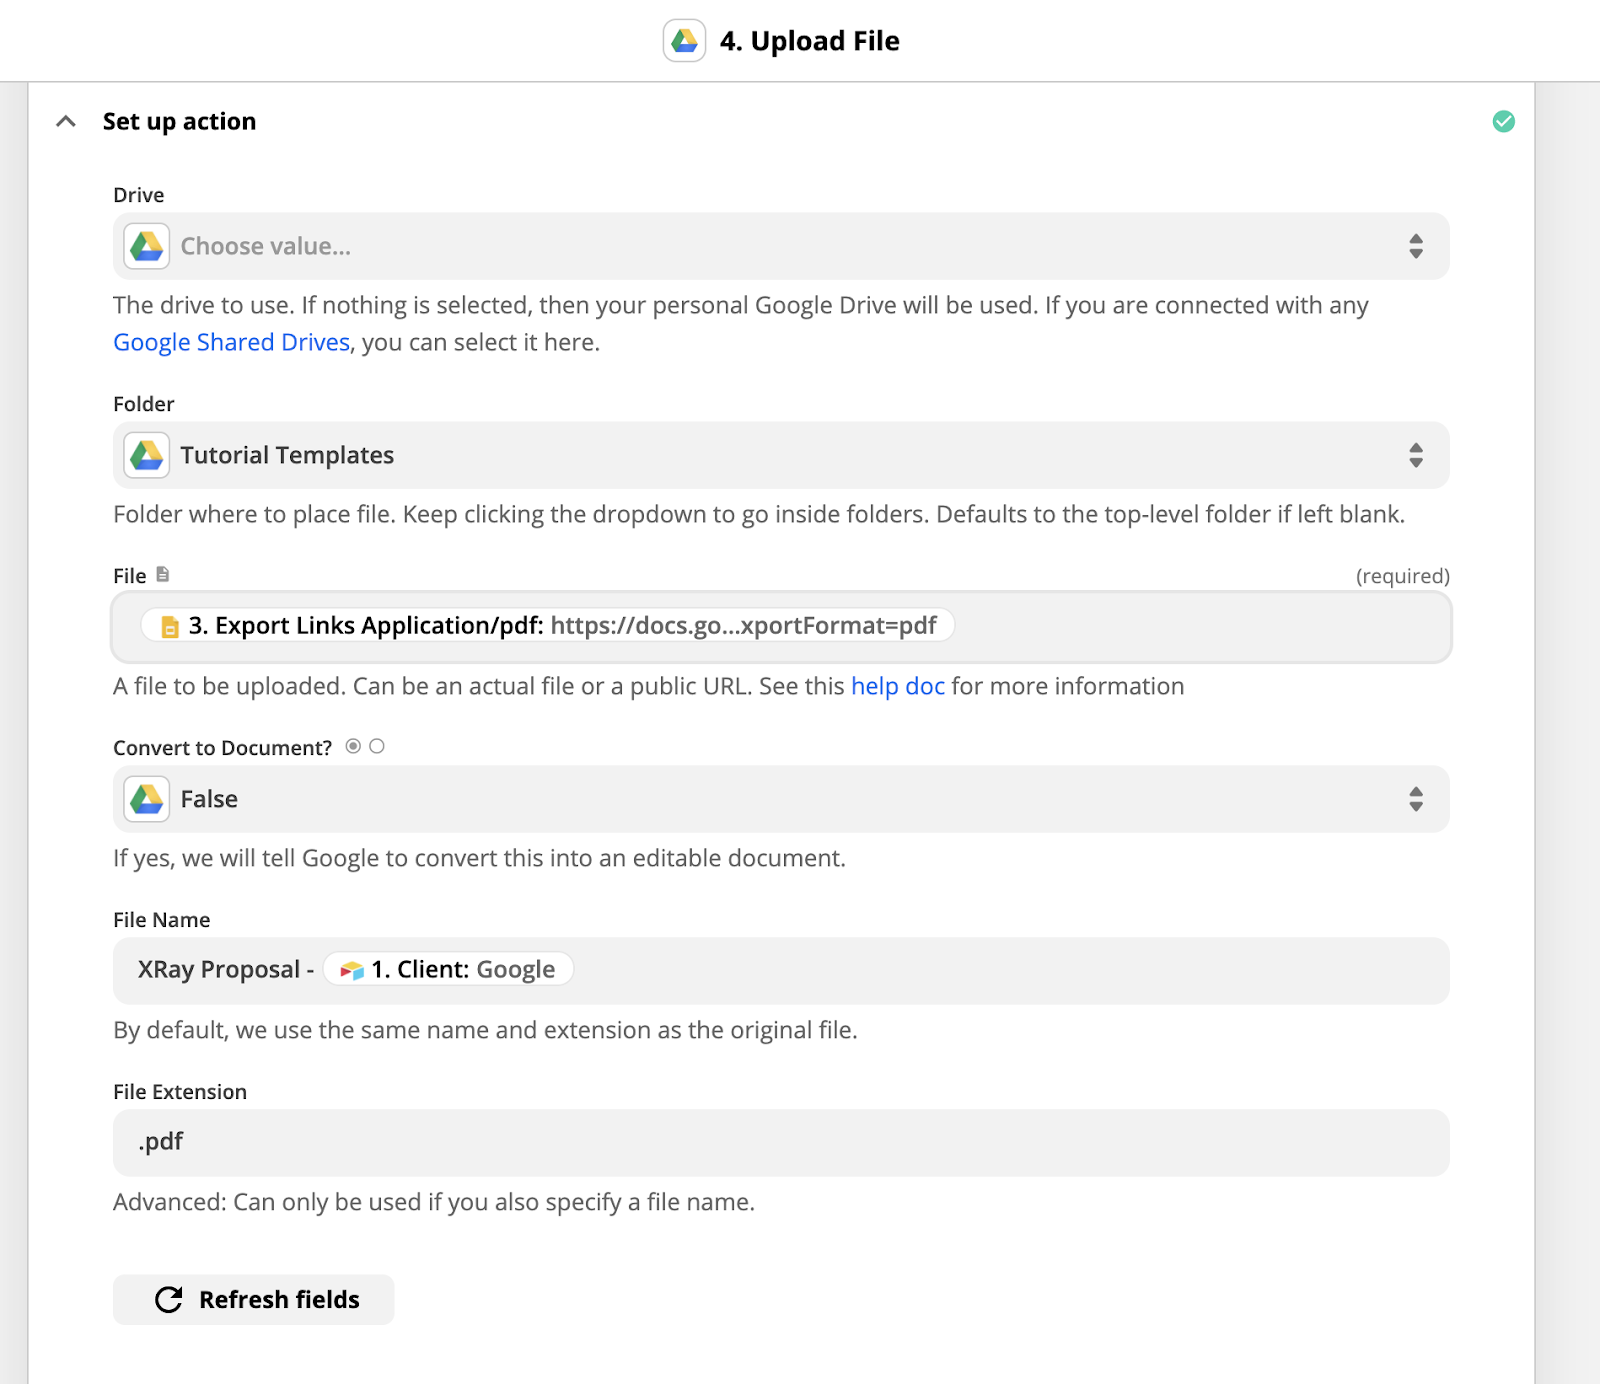
Next, you’re going to export a PDF of the Slides presentation and save it in Google Drive. To do this, add another step to the automation with Google Drive as the app, and Upload File as the action.
Choose a folder where you want to save your proposal PDFs, and then select “Export Links Application/pdf” from your Google Slides data. Select “False” for “Convert to Document”, and give your PDFs a name.
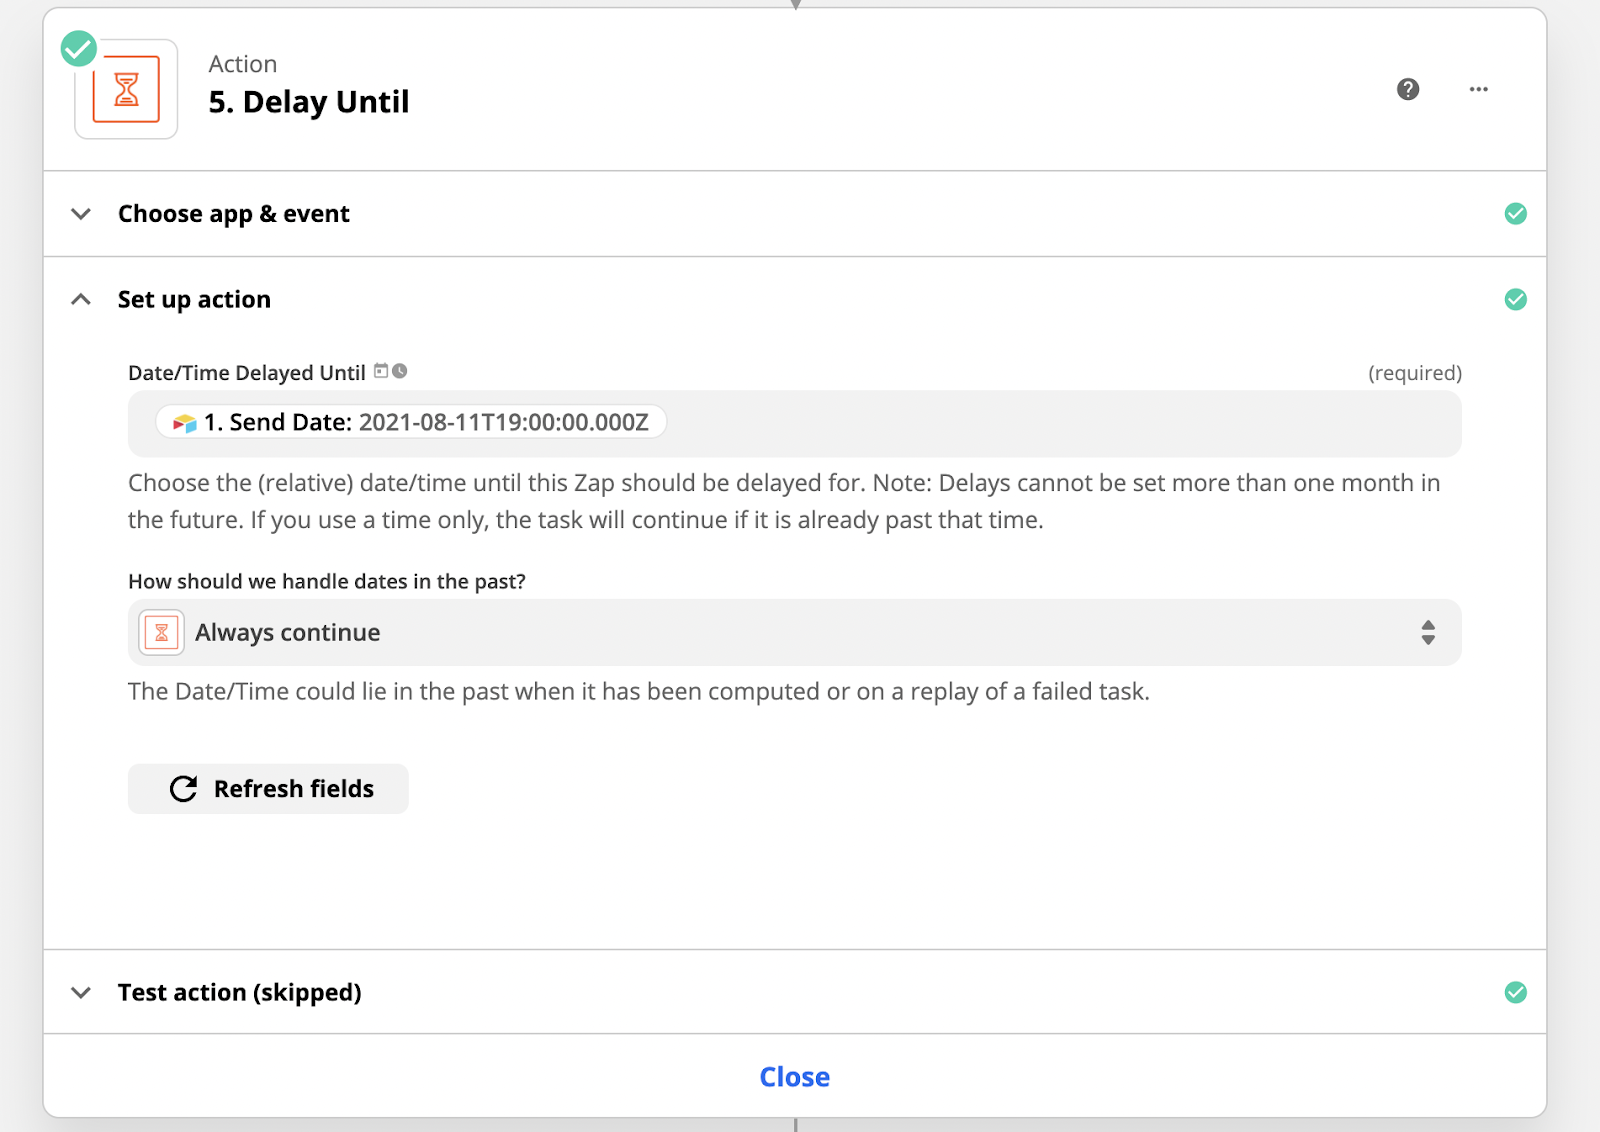
We’re nearly finished with the automation, but first, we’re going to add a quick delay step so that you can schedule the email in advance. This way, you can create proposals well in advance of sending them.
Just add a “Delay by Zapier step”, choose “Delay until”, and set your Send Date from Airtable as the time to delay until.
Finally, we’re going to add a GMail action so you can send your proposal to a client. Pick “Send email” as the action, and fill in the fields with the appropriate data. Be sure to fill the “To” field with the client email that was entered into Airtable, and fill out the body of the email however you want.
Then, under attachments, select “File: Exists but not shown” from the Google Drive step. ‘Exists but not shown’ is just Zapier’s way of saying that it can’t show you a preview of the file.

Test this step, and you should be all set. If you used your own email for the “client email”, you should see a new message arrive in your inbox soon with a PDF attachment.
While document templates are already a great step towards saving time and reducing errors, automating those templates takes it a step further. By using an Airtable base with linked records, you can send out an automation prefilled with whatever service and description you want. Since you never have to interact directly with the template, you don’t need to worry about accidentally changing the design or formatting or copying and pasting the wrong data.
If you’d like to learn more about how automation can enhance your workflows, check out our blog or our YouTube channel. You can also follow XRAY on Twitter, Facebook, or LinkedIn.

.pptx.png)

